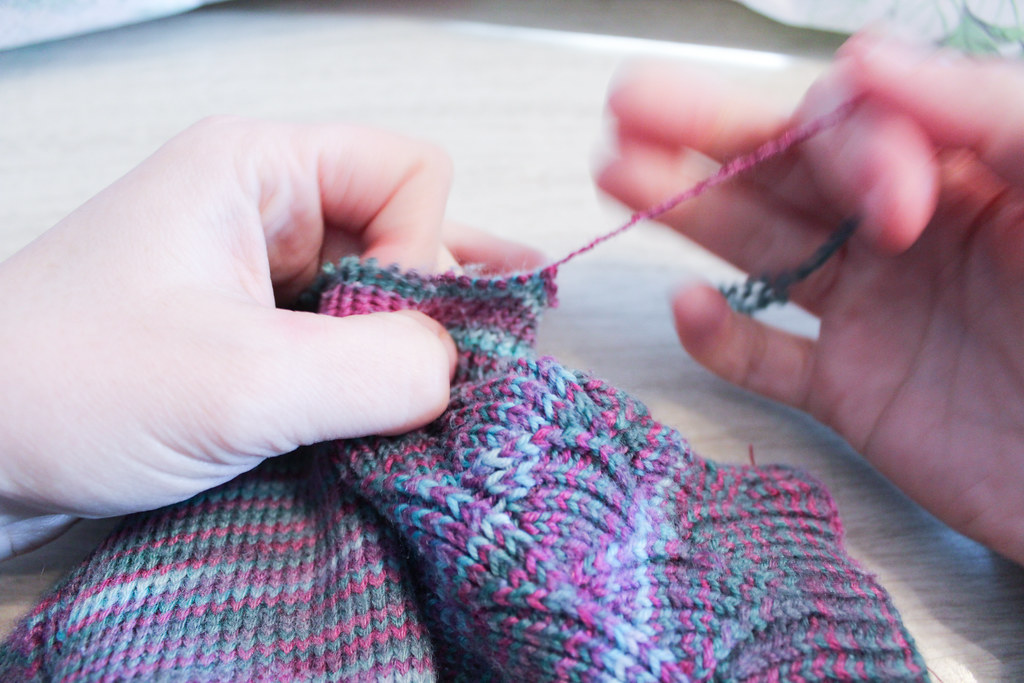
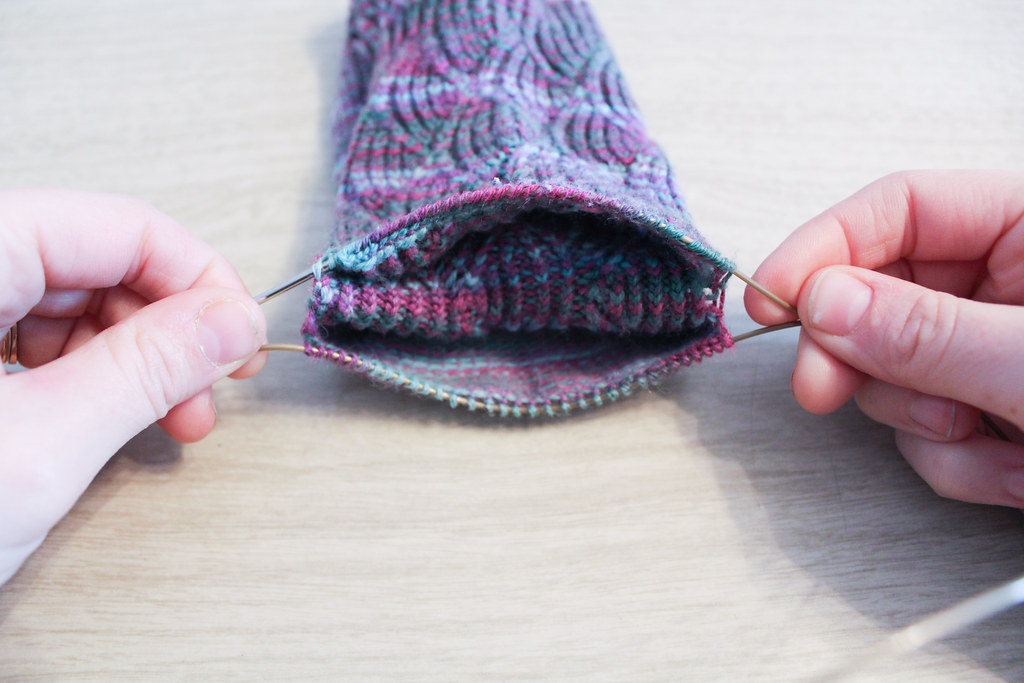
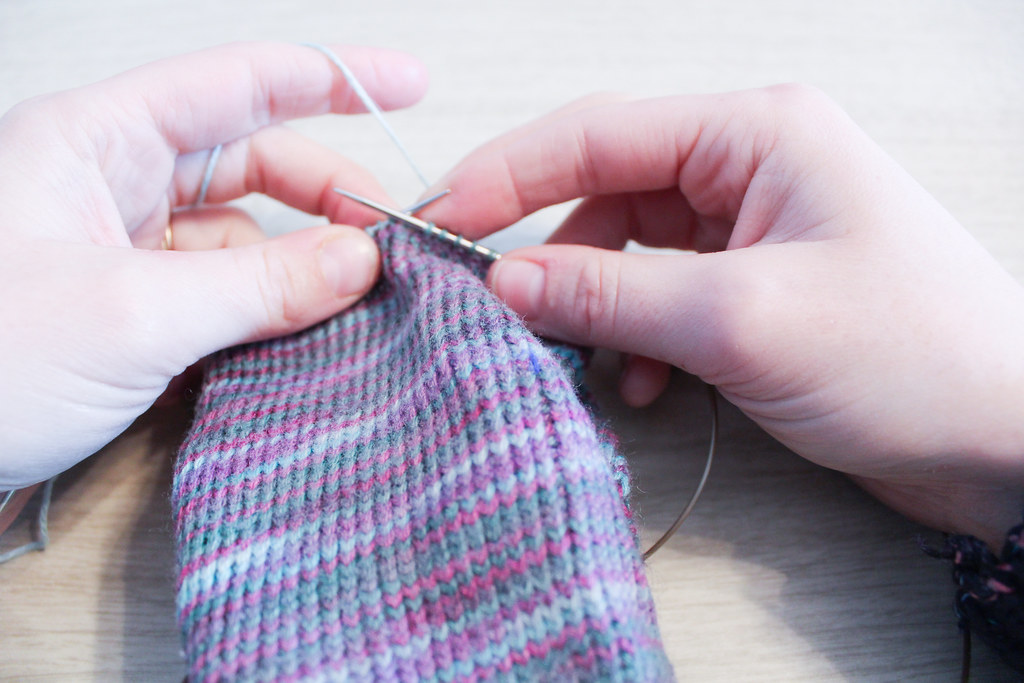
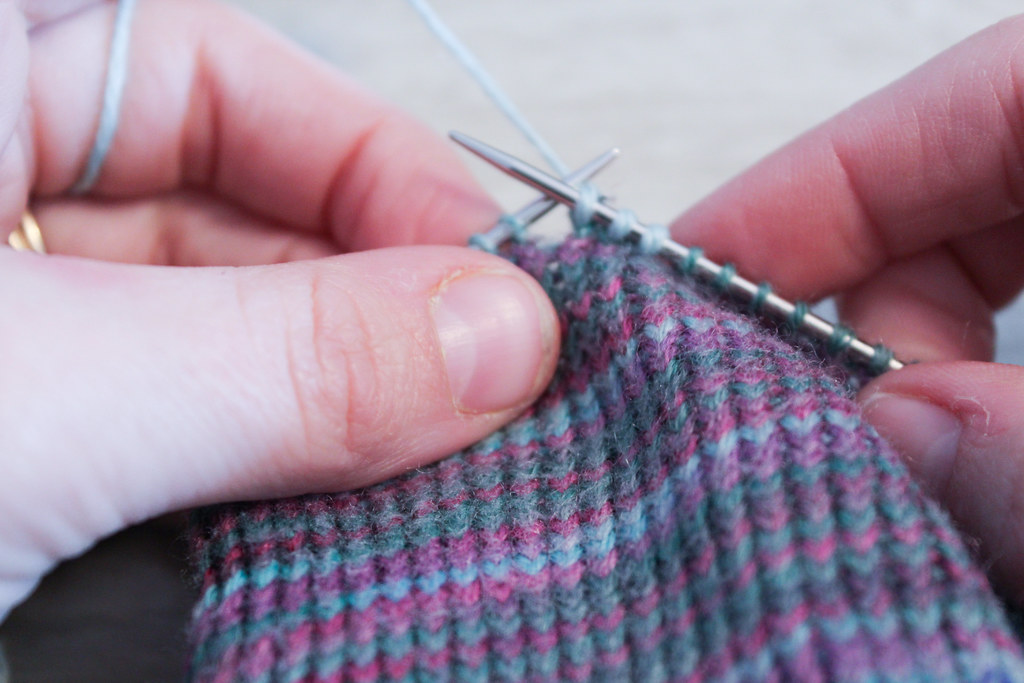
One of the first steps when I get a piece is an initial evaluation to make sure everything is ready to be worked on. It always helps when clients secure stitches and mark the areas that need to be worked on. In this paticular case, a hole had developed in a supremely soft knit afghan… clearly it needed repairing to be used this winter! I feel like the end of 2020 has been a year of wanting to snuggle under a blanket, especially as in the Northern Hemisphere it’s getting cold.
The Largest Textile I’ve Blocked to Date: A Knit Lace Chuppah

When I first spoke to the young lady, she admitted that she had gotten in touch with a few other finishers, and none of them could take on an item so large. She estimated that the finished piece would be about 10 by 10 feet. I have to admit, I went through the house with a measuring tape, measuring each room in my house to see if I could fit something so large. Luckily, our kitchen with all the furniture out would work. It was 14×14 feet – which would give me just enough room to be able to walk around it when the piece was laid out.
Recent Repair of a Knit Afghan
Now that I’m getting back into the swing of things, I wanted to document a unique repair that I worked on. This 52-year old afghan was in need of some TLC before it got handed off to the next generation. Working with this piece was a true pleasure, with the yarn in remarkably good condition for it’s age. The afghan was a huge ripple pattern, with 9 panels joined together by intarsia.
INTARSIA. Think about that… it wasn’t seamed. It was 9 balls of yarn that were worked on at the same time across the blanket.
But back to the repair! There were several holes – mostly along the edge where ends had worked loose, but also one spot in the center of the piece.
Darn It! How to Repair your Knitting Online Workshop Available

But in the back of my brain I was trying to figure out how I could create my own, readily available version of Crockett’s book. Becasue as much as Crockett’s book was instrumental in my own start into repairing things, I’d found some other methods of working that I wanted to share with people. More than a year ago I teamed up with Interweave to try and create a course that would answer the need I’d seen.
I’m proud to announce that Darn It: How to Repair your Knitting is finally available! This class covers a lot of ground: repairing knit fabrics, purl fabrics, cables, lace and (my favorite!) colorwork (which has some special challenges). It breaks down, step-by-step, how to approach various reparis, and how to make them nearly invisible (if that’s your desire).
Let’s look at what the class includes:
In This Online Workshop You’ll Learn:
- A variety of repair techniques including duplicate and Kitchener stitch
- How to fix holes before they even happen
- Step-by-step repairs for stockinette, Fair Isle, cables, and lace knitting
- The secret to weaving in ends invisibly
- Tips for sourcing repair yarn and mimicking original yarns in older or heirloom pieces
Lesson Outline:
- Intro
- Darning vs. Reweaving
- A Stitch In Time: Finding Holes Before They Happen
- The Duplicate Stitch
- Repairing Stranded Colorwork
- Kitchener Stitch
- Repairing Cables
- Mending a Hole in Stockinette
- Weaving in Ends
- Repairing Lace
- Conclusion
Skill Level:
Any! Students should have basic knitting skills and some knowledge of knitting cables and simple lace.
Optional Materials for Practice Swatches:
Small amounts of worsted-weight yarn in several colors for practice swatches and repair; Size 7 or 8 knitting needles; locking stitch markers; crochet hook; tapestry needle and sharp-tipped needle; Size 7 or 8 double-pointed knitting needles
Unique Sweater Pillows Tutorial
Lately I’ve been able to dig my teeth into some interesting projects like the hobbyhorse blanket I repaired a couple of weeks ago. Today I wanted to share with you another project I’m working on. I was approached by a client interested in having six sweaters turned into pillows. A dear friend of hers had passed away, and she wanted to take her friend’s distinctive sweaters and turn them into pieces she could treasure.
I’ve worked a few times with commercial made sweaters; although more often I’m taking them apart for teaching purposes or using them to practice techniques I’d like to teach. While this isn’t a tutorial per-se, it’s an outline of my process and some tips and tricks I’ve discovered after working on other smaller projects similar to this.
My first step was taking the sweaters apart. All but one was chain-stitched together, which made disassembling them pretty easy once I got the hidden stitching undone. The last one was sewn together, which was a bit more of a pain to take apart. At least it was done in mattress stitch!
Next I ironed on stabilizer. The stabilizer gave the knit fabric more woven qualities, which was needed for several reasons:
- It made sewing into the fabric infinitely easier.
- For colorwork or stranded knitting sweaters, it prevented unraveling.
- The stabilizer prevented the fabric from distorting by keeping lines straight and preventing stretching.
- For sweaters with button bands or zippers, it prevented them from accidentally opening. It would allow some of the sweaters button bands to not be sewn, preserving some of the sweater-like qualities.
- It allowed the finished pillow to be sturdier.
On the very last piece of sweater I was just shy of covering the entire sweater. Since I would be trimming most of the edges away, I pieced together a few extra scraps of stabilizer I had to finish it off (you can see this above).
After the stabilizer was on, I began to look at each sweater, determining the notable features of the sweater – what made it distinct? How could I choose a shape that complimented the look of the piece? Would the pillow look better as a square or rectangular pillow?
This tall ice-skating Santa would have gotten cut off as a square pillow. I also loved the beading on the edge of this sweater and the beaded snowflakes. I had to fudge cutting this pillow out to make sure that I caught all the elements that made it interesting.

I cut pieces to preserve the button bands, then had to make sure the button bands were in the center of the pillow
I thought it was important to keep the qualities of the sweater above that made it interesting – button bands and ribbing at the edge. This pillow had a really thick button band that was nearly impossible to sew through, needing a lot of hand stitching.
After cutting out all the pieces and making sure I’d gotten them to the correct size, it was time to pin them together. For most of the pillows I was able to use my sewing machine to sew at least three of the sides. For two of them I was also able to machine sew part of a fourth side, saving on a lot of time.
The top pillow above, with the blues and greens, ended up being a favorite. I love the buttons on the button band!
Next I began hand-sewing the final edge of the pillows. I used #10 crochet thread instead of normal sewing thread. This was becasue I was having to yank at the pillows to get them to look the way I wanted them. This was doubly true when sewing through the button bands, and getting three layers of very thick knit fabric to come together. Even still, sometimes I wasn’t careful and had the thread break. Not fun!
Mattress stitch (aka ladder stitch) was my stitch of choice.
The pillows are coming together now! I wasn’t always able to get the ribbing to come together evenly on the bottom. It’s a nitpicky detail, and probably something only I could notice. It couldn’t always be helped though. I love here how I could keep the button band unsewn, so it looks like the button band on a normal sweater, with that dimensionality! The thick stabilizer unerneath will prevent stuffing from escaping.
Some close shots of the lovely beadwork on the bottom of the Santa sweater. I just had to keep a detail like this. I’m already wondering how to replicate this in a handknit design.
This has been a fun project and a unique way to honor a passed friend. In the next few days I’ll wrap up with the final touches – removing lint, straightening edges and getting ready to send these pieces back to my client.
Repair and Restoration: Behind the Scenes
Last Thursday I had a lovely surprise: Jeanne Huber, a reporter in the Washington Post, quoted me heavily in answer to a question about repairing an afghan. She had been asked a question: was there a way to get the holes in her afghan repaired? Huber called Fibre Space (one of the yarn stores I often teach at), who in turn recommended her to me. Huber had gotten in touch with me on a Friday afternoon, and between packing up to leave for a long weekend, I chatted to her on the phone about how I do repair.
Huber did a lovely job with the article, taking my rambling replies and distilling them into the pertinent information. As a result, I’ve been able to chat with a number of people looking to have family pieces repaired.
Still, it left me realizing that there’s a bit of mystery to what I do, and I wanted to expand a little upon the article.

Blanket in the process of being repaired
How I Approach Repair Work
When someone gets in touch with me looking to get an item fixed, I try and have a dialogue with the customer about their goals. What is it they want from the repair? What would be the ideal results for them? Are they looking to have an item repaired so they can use it further or are they looking to have the holes fixed so that the problem doesn’t get worse? Are they on a budget? Are they looking for the item to look pristine or are they willing to allow the repair to become part of the character of the object?
Each person has a different idea of what “fixed” means.

Based on the customer’s feedback, I come back with a number of options.
Sometimes this means the repairs are visible repairs: so that the owners can show where the original piece is, and where the repairs are. Sometimes this means we transform a piece: adding a cute embroidered kitten over an elbow patch. Other times the repairs are nearly invisible as I splice new yarn into the old.
Just as I put time and thought into repairing damaged items, so can you put the time and thought into what you want from your repair. Worried that a piece of yours might need help? Check out my post on what to look for. Already decided to have your piece fixed? Get in touch with me through my finishing form– I’d love to start our conversation!
Changes: Pricing and Holiday Deadlines
It’s getting to be the end of October (where did all the time go?) and that means we’re starting to move into the Holiday season. This is the time of year where the amount of finishing and repair I do nearly triples!
I love doing finishing and repair work – I love being able to help you finish your projects and make them perfect! I love helping you restore older pieces that have gotten loved on a little too much.
But the reality is that Finishing & Repair are the types of work I can only do so much of in a day before my well runs dry. It’s also time (and very often space) consuming. There’s a reason I get so many different large shawls, blankets and other large items to block! I’m fortunate that Mr. Turtle and I have been able to dedicate a space in the house just for this type of work, and that he’s totally chill with finding a bunch of sweaters and other things drying on the guest bedroom bed.
What Changed?
Quite a few things have changed since I last changed my pricing- nearly two years ago now! And many of these changes have led to me concluding that prices need to increase.
- I moved, and it became more costly for me to drive to my drop-off/pickup locations.
- More individuals have opted to mail, and have me mail back, their items. Postal prices have increased.
- The type of projects I tend to get have become more complicated: most of my customers like to handle the “smaller items” themselves, and send me the more difficult projects.
- My volume of projects has increased! Now, don’t get me wrong – I’m happy about this. BUT! The reality is that knitting, crocheting, seaming, blocking, pinning, etc are all hand and arm heavy activities. I’m relatively young, but I’d hate to find that 5 or 10 years down the road, I’ve given myself a repetitive stress injury. Because of that, I limit the amount of hand-heavy activities I do during a day, and I make sure I have time to stretch in between. This means I have a finite amount of time during the day I can devote to finishing and repair.
- I’ve gotten better. As I practice more and learn more, the quality of my finishing and repair has increased, and I believe that my expertise is worth it!
Frankly, I’ve known I’ve had to raise my prices for nearly 6 months, but the reality of the holidays coming really drove the point home – my prices are not sustainable.
So what does this mean for you, my customer?
- Coming Sunday November 1st, my prices will be increasing on Finishing & Repair work. My hourly rate will increase from $30 to $40. Many of the categories in my Finishing line of services will also change – some won’t change as much as my hourly rate, and some won’t change at all. But most things will be increasing by a little.
- On Monday November 30th, I will no longer be accepting Rush Service. This will continue thru January 1st, and then Rush Service will return. You may still request (and receive!) Express Service. That means if you want to get something finished or repaired before the Christmas Holidays – get it in sooner rather than later.
- There will be a new surcharge for oversized items. Details are still being determined. But the long and short of it is: I have cats. I make sure all my finishing stays in places where it won’t get affected by cats. This is fine for smaller items, but when I need to work on really large things, I have to rearrange my house to create a space where I can work that won’t also have cats laying all over it. This extra effort needs to be taken into account – otherwise I’m going to get frustrated and grumpy every time I go to work on large items. I don’t want that to happen.
- Note: for any of you that have gotten items to be before the November 1st deadline, don’t worry! Your projects will be charged under the old system.
Got questions about the changes? As always, you can leave me a comment, or drop me an email, and I’ll be happy to answer them!
Thank you so much for being loyal customers!
How to Set a Zipper in a Sweater
The rights have reverted back to me for a number of blog posts I did for Jordana Paige’s blog a few years ago, and I’ve begun re-posting them on occasion to have them on my own website, and so students can reference them. This particular tutorial about setting a zipper into a sweater, I’ve updated and refreshed, but much of the technique remains the same.
Setting in a zipper is a process that takes time, patience, and a certain amount of willingness to fiddle. Not everyone likes to do that, which is why so many of the finishing projects I do involve setting in zippers. But if you’re willing to take the time, setting in a zipper can be very satisfying!
To set in a zipper you will need: a zipper, yarn to match the garment, yarn (or embroidery floss) in a contrasting color, a sewing needle (with a sharp point!), pins, and the 2 sides that you are attaching to the zipper.
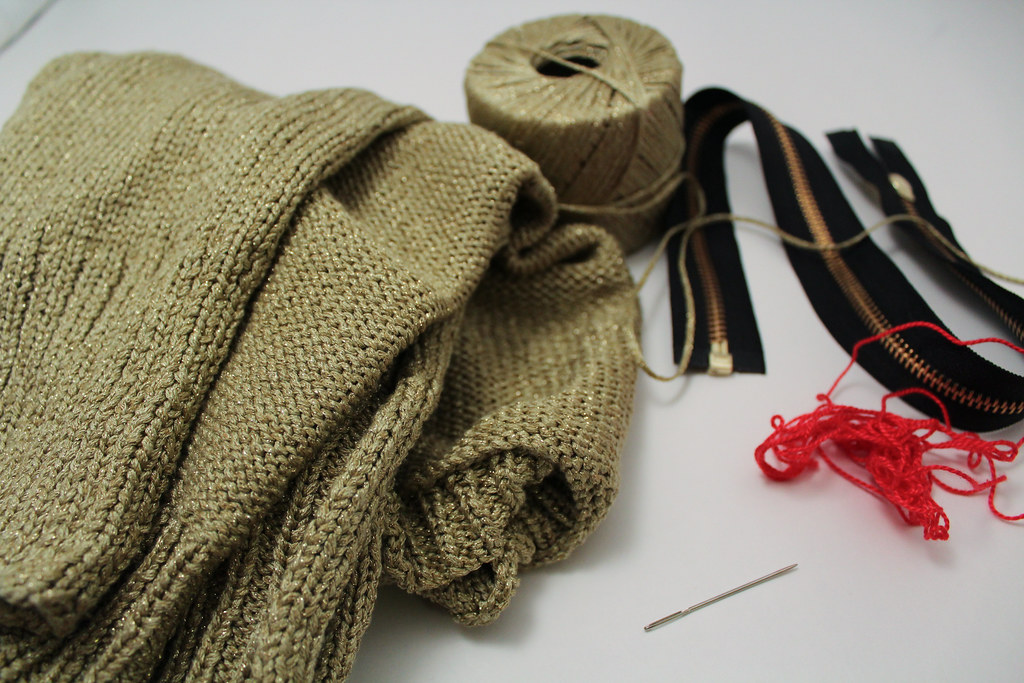
It’s helpful to have all your materials available!
Please note: When purchasing a zipper, make sure you get the correct type! You don’t want a zipper for a bag, as it is attached together at both ends – you’d never be able to get your garment off! Same thing with double ended zippers. Take time to read the package and know what you are getting. Also pay attention to length. As I explain below, get the right size zipper, or a little longer.
The first thing I do is block the two fronts to the garment I’m attaching the zipper to. Make sure the front is blocked to the correct measurements, and that your zipper will match those measurements, or be slightly longer. If you need to, you can trim the top of the zipper to the length you want. Make sure you use a file to eliminate any rough edges, and sew a new stopper so your zipper tab doesn’t come off.
Next, pin the zipper into place on the inside of the garment. Make sure that you are not pulling or distorting the knit fabric – at all. If you pull the fabric to stretch to the zipper, it can cause the zipper to pucker or wave. After you’ve gotten things in place, I like to run a basting stitch along the zipper, as I don’t like to get poked with pins. It also makes super-sure your zipper doesn’t shift around.
To do a basting stitch, take some waste yarn or thread, and use a running stitch, sewing the zipper to the fabric with big stitches. When you’re done attaching the zipper, you can remove the basting stitch, so don’t worry if the basting stitch isn’t perfect.
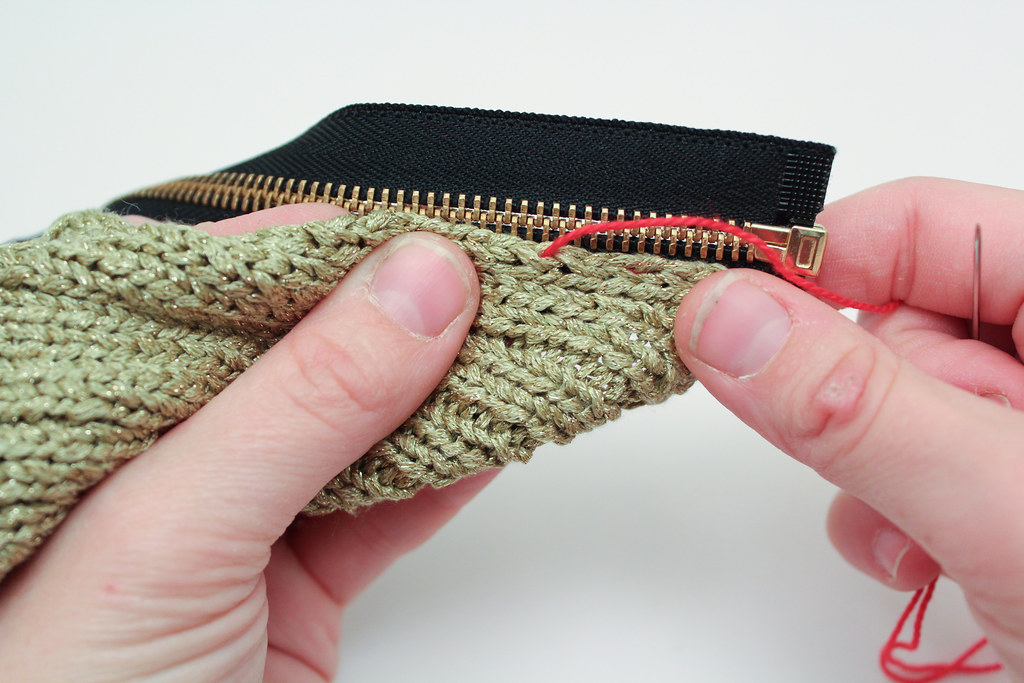
Using a running stitch to baste the zipper to the fabric.
After I’ve finished basting (and this is another good reason to baste your work, because you can’t do this if the zipper is pinned), I check to make sure that the zipper can zip up and down without catching on any fabric. Better to find this out now than after I’ve sewed everything together! This is your opportunity to make any adjustments.
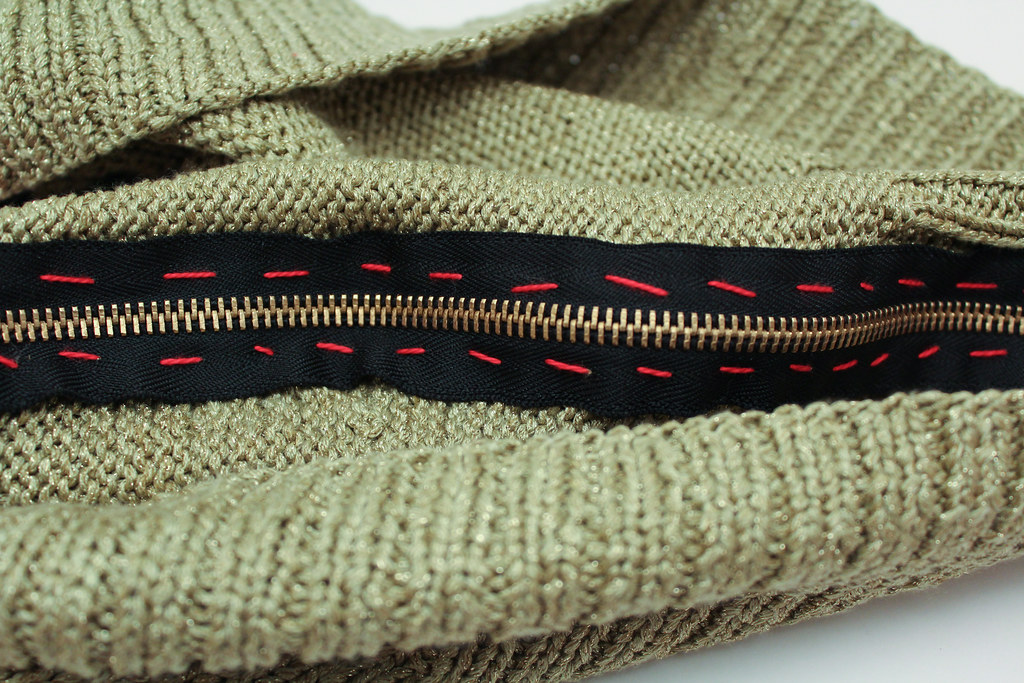
The basting stitch on the wrong side of your work.
Finally, you can sew the zipper to the piece. Depending on the piece, sometimes I use the yarn the sweater was worked in. Other times, if the yarn is delicate, loosely plied, or extremely fuzzy, I’ll use sewing thread in a color that is close to the color of the yarn. Either way, I use the same technique.
Working from the back, I secure the yarn. When I sew, I make sure that each time I’m going over only a single strand of yarn between two stitches. Basically go into the purl bump if viewing from the back. Mostly, I choose the space between the first and second stitches against the edge.
Working very slowly, I sew my way up one side, then up the other. Be patient. Take your time. Check your work often. Use small stitches. Because the zipper is located at the front of the sweater, I’m super careful to make sure that my sewing doesn’t show. Sometimes, if the fabric is wide, I’ll run a second set of stitches further out along the zipper band, so it doesn’t flop and lies nicely down. You can see I did this from the picture below.
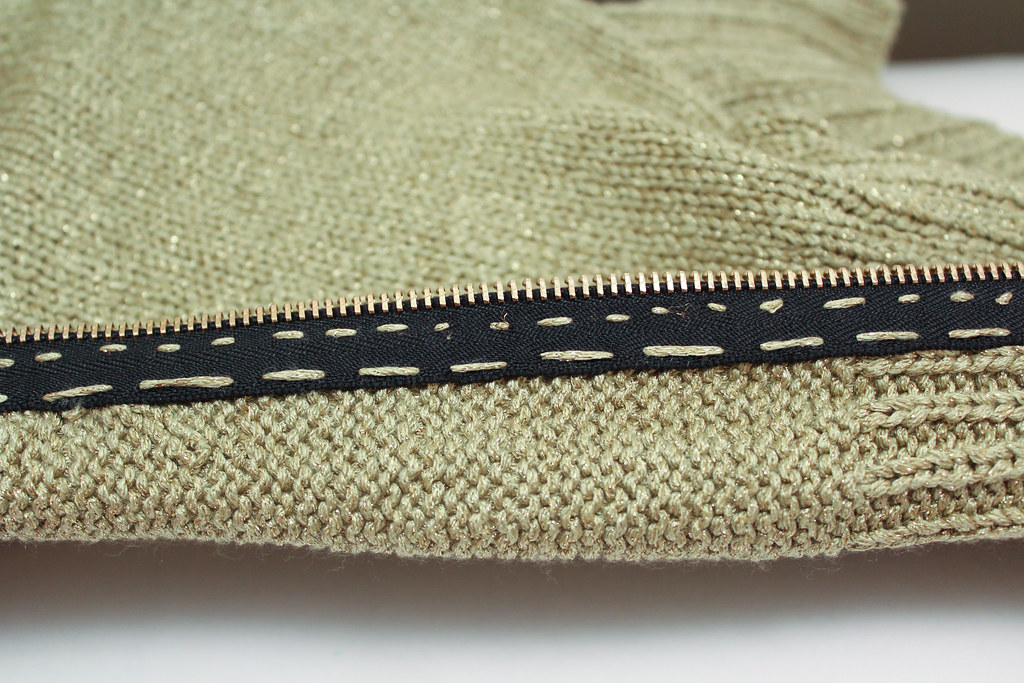
The zipper, sewn to the sweater with two rows of stitches.
When you’ve finished attaching the zipper to both sides of the fabric, I check my work. Check again to make sure the zipper moves smoothly along the track. Then, and only then, if I’m happy with what I’ve done do I remove the basting stitches. Finally, weave in your ends.
My favorite Reference Books
Michael and I had to travel unexpectedly this last weekend, and I ended up having to take a lot of work with me, as I had several design calls and patterns to finish up. This meant I ended up packing several parts of my library, for reference. I’m not sure what took up more space; the yarn, or the books.

Around the Corner Crochet Borders by Edie Eckman:
I love this book for the fun colors and variety of orders, and how each of them is shown going around a corner, so I can think about how I’d adapt things for curves. I love this one for the inspiration.

Another great reference, this simmer volume I use to supplement the previous one. Between the two of these they’ve got most of the more complicated trims represented. I occasionally come across something new, but these two make for a solid edgings collection.
Again, great for inspiration, though I rarely use anything in it without modifying it myself, it gives me some good thoughts on how to use texture, if the stitch is a cable or not.
The Essential Guide to Color Knitting Techniques by Margaret Radcliffe
I love her use of color, and I love the variety of stitches featured in here, especially the slipped stitch section. I love just paging through this book when I need to refresh my brain.
The Principles of Knitting, by June Hemmons Hiatt
Whenever I need a different perspective on how to explain something, I go here. There is truly very few things missing from this book, and I love how it’s laid out. It’s a tomb to carry (and there’s a kindle version, but I find that I like the paper). If you don’t own this book and you love learning the why things work, you should get it.
What do you have in your library and love to refer to? It doesn’t have to be knitting or crochet related!
What You Need to Know to Repair Handknit Socks: Adding a New Afterthought Heel
One of the reasons I love my mother is because she gives me back the hand-knit socks I made her to repair. Today I’m going to show you why I love afterthought heels, and how easy it is to replace the heel in an afterthought heel sock.
These socks are Pomatomus, an older pattern on Knitty. You might notice here that my stitches on the sole are twisted… I had a theory a few years back that socks with twisted stitches might wear better. While I don’t think that’s the case anymore, please just ignore the twisted stitches if you notice such things.
 |
| Holes in the Sock |
As you can see above, a hole has developed between the heel and the body of the sock. This is due to a few different things – first, I didn’t really know how to weave in my ends as well as I do now, so things are not staying together as well. Second, my mother has a rather wide heel-to-ankle ratio (like me) and I’ve learned since I made this pair that it’s better to add a bit of extra room at the heel. Finally, these socks are over five years old, and one of my mother’s favorite pairs I’ve made her – so they are just wearing out.
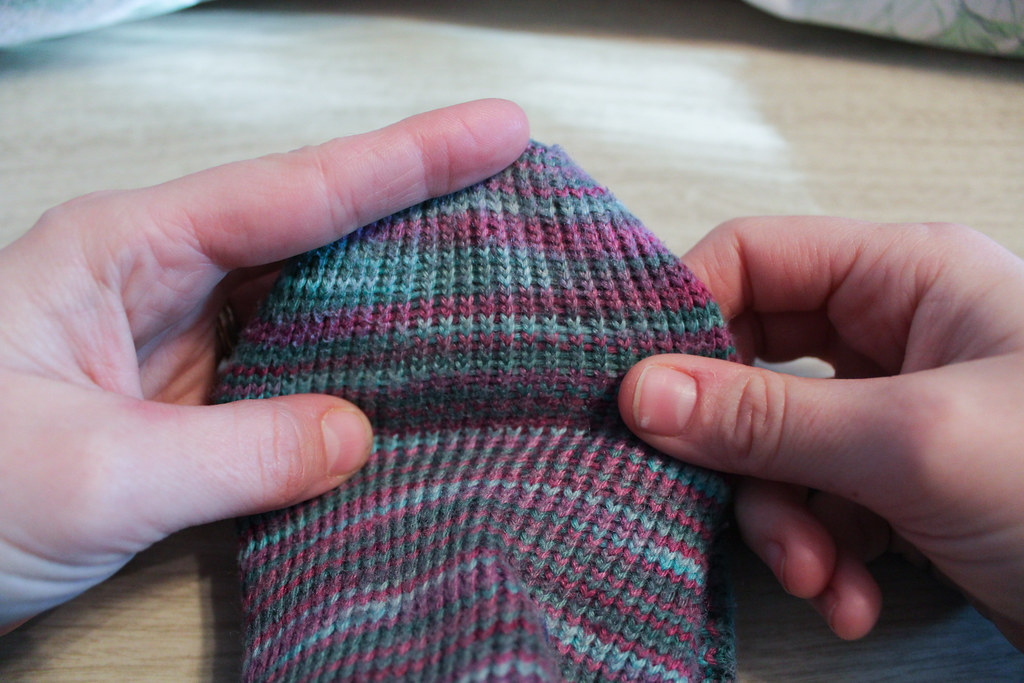 |
| Thin Stitches |
You can see how thin the stitches are wearing.
So I’m going to make my mother a new pair of heels, and in the process save the yarn to do some other repairs to the sock (mostly reinforcing). The first step is to remove the old heel.
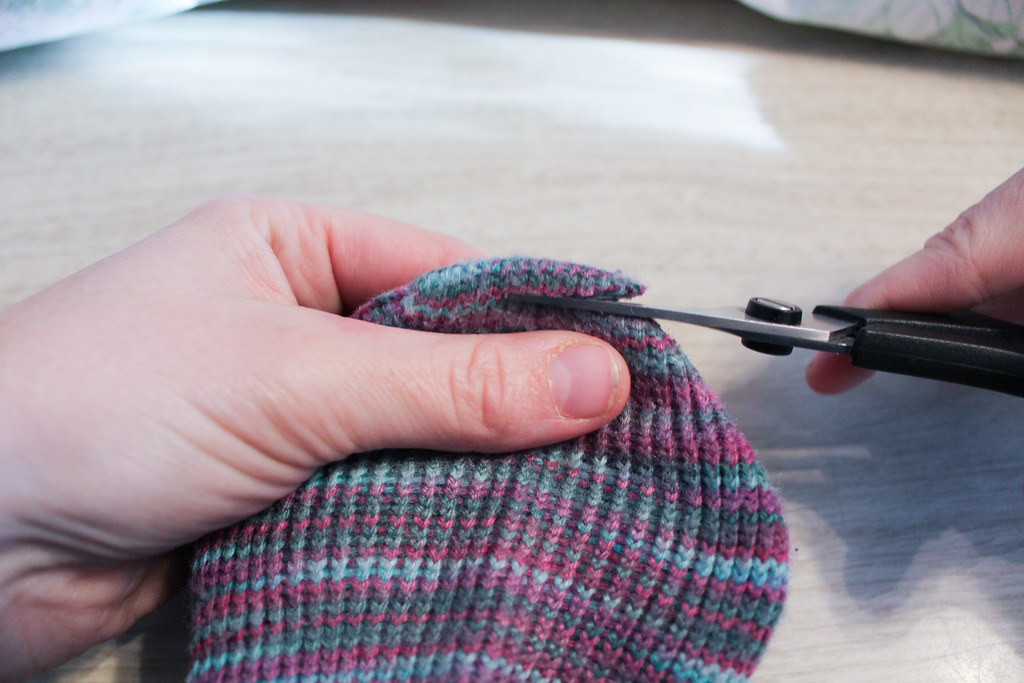 |
| Make small cuts! |
I used scissors to just cut the first few rows because the yarn was so felted together there, and I’d done a better job weaving in the end at the heel, so I could find the end to unravel.
Snip!
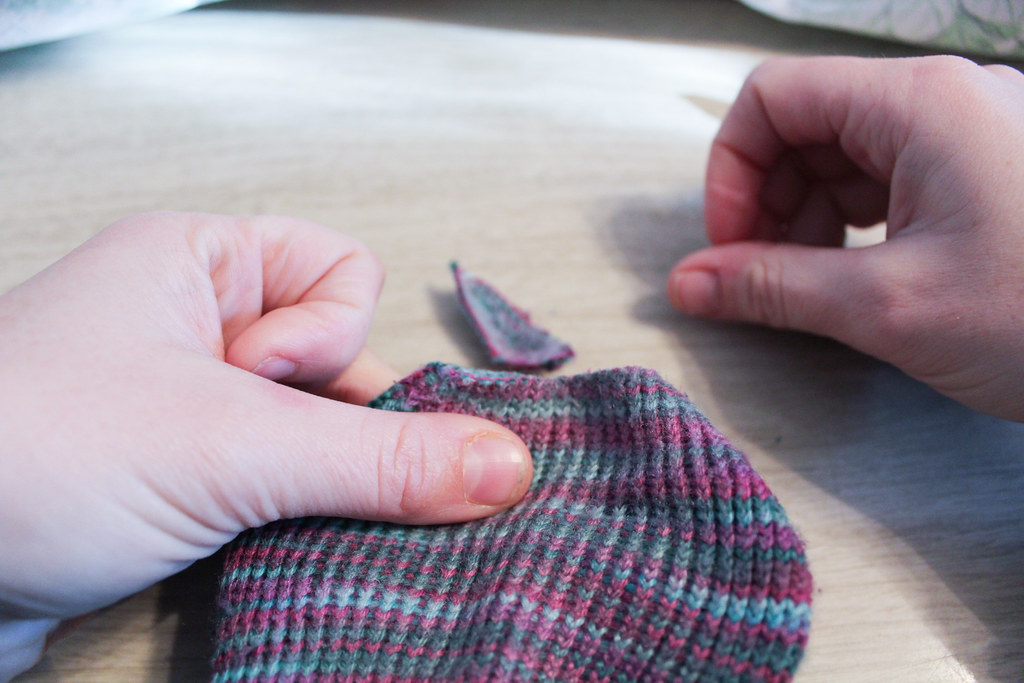 |
| All Gone! |
Heel tip is gone.
I then began pulling the little bits of cut stitches away from the yarn that didn’t get snipped, until the fuzzies were all out.
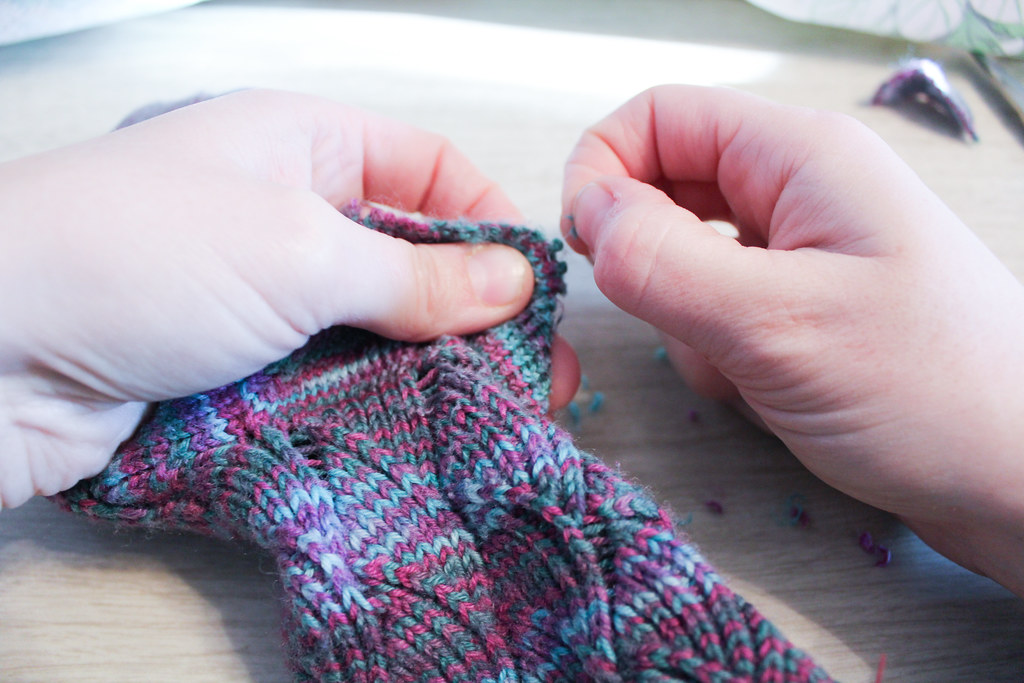 |
| Removing little fuzzies |
It took a while, and I ended up with a lot of lint to throw away.
Then I found an end to start pulling. It worked for about half a row, and then ended, because I had snipped it in the process of snipping out the other end.
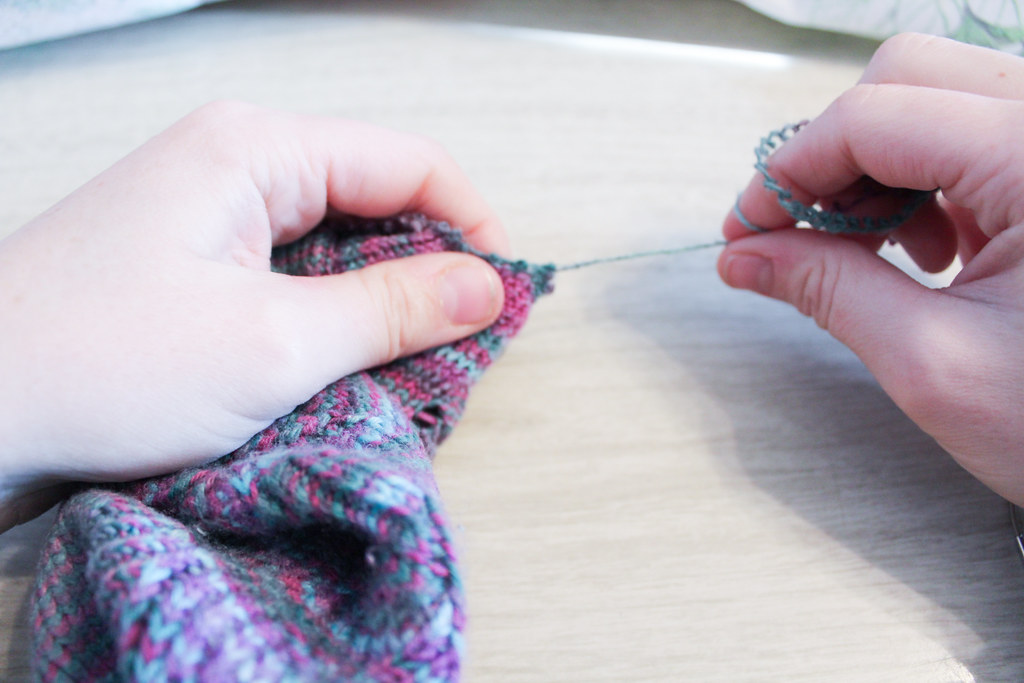 |
| pulling yarn |
The second end I started pulling was good. I kept pulling that until I was on the last row of the afterthought heel. I then started picking up stitches as I pulled out each stitch. I was slow and careful – I didn’t want to drop any stitches!
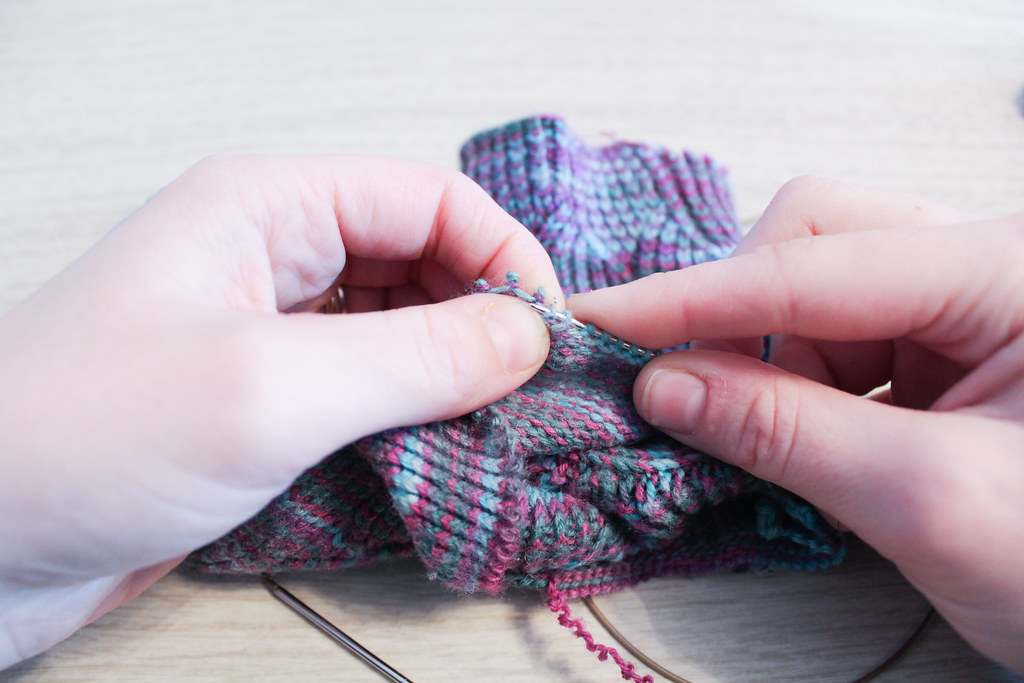 |
| Picking up stitches |
The thing that worked to my advantage was that this sock has been washed and dried many times – the yarn wanted to stay in the place where it had been – in the stitch. So I’d have to actively tug at stitches in order to make then drop, because the yarn is so matted together with wear.
 |
| kinky yarn |
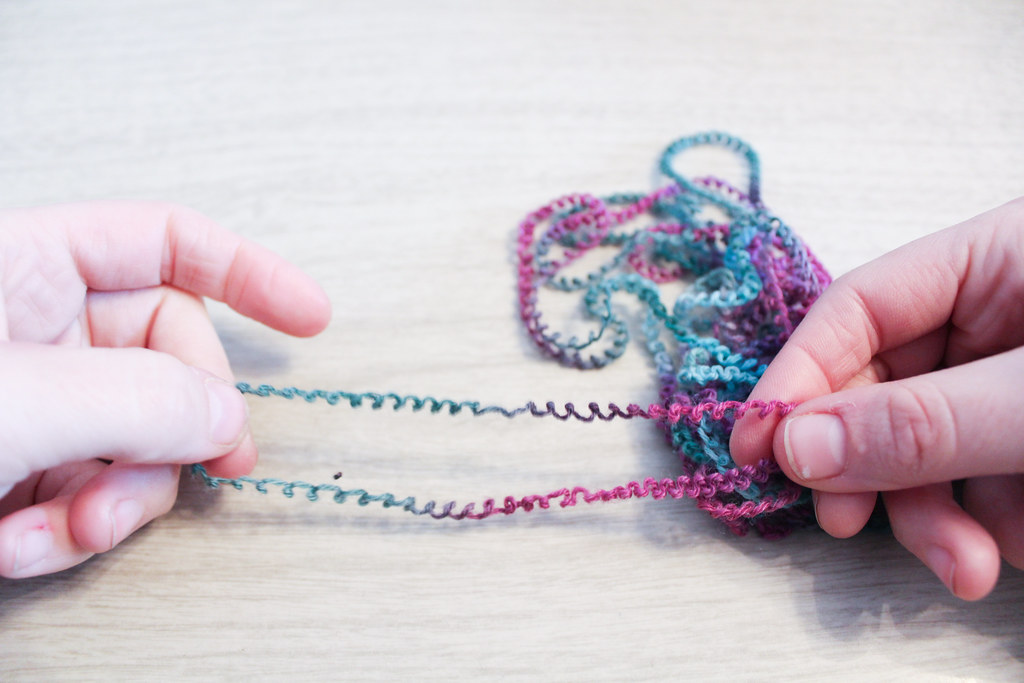
As you can see, the yarn wanted to stay crinkly even after I’d pulled it all out. It reminded me of a spring.
 |
| boing! |
This yarn I gathered up and made into a mini-skein. I wet it down, hung it from a hook in the Farm’s basement, and hung a wrench from it until it was dry, to straighten the yarn out again so I could use it for other repairs.
But back to the sock heel.
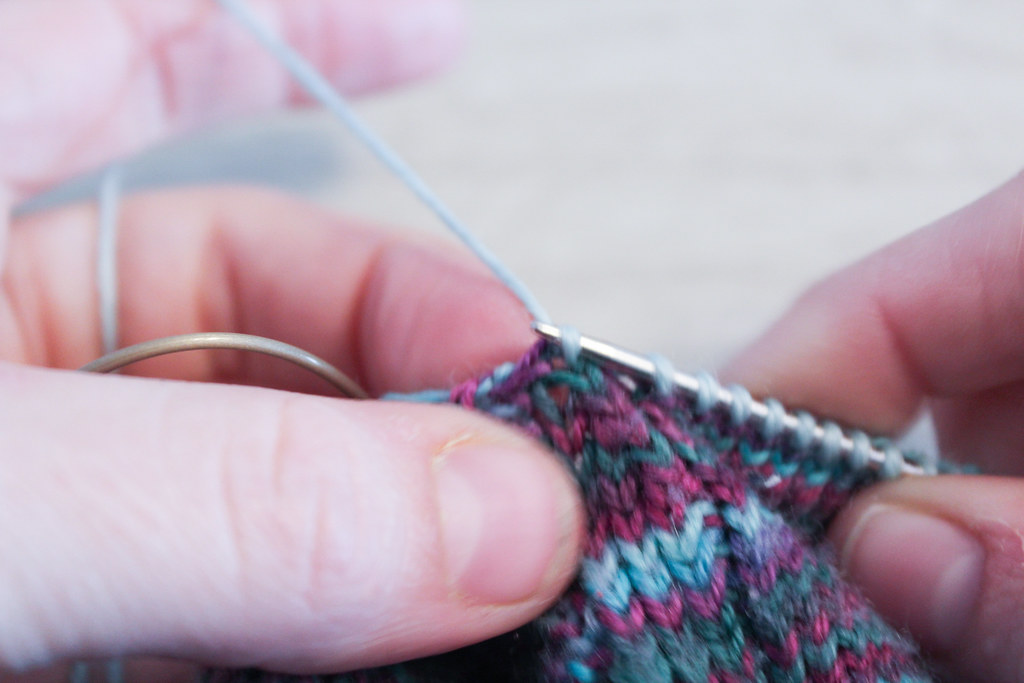
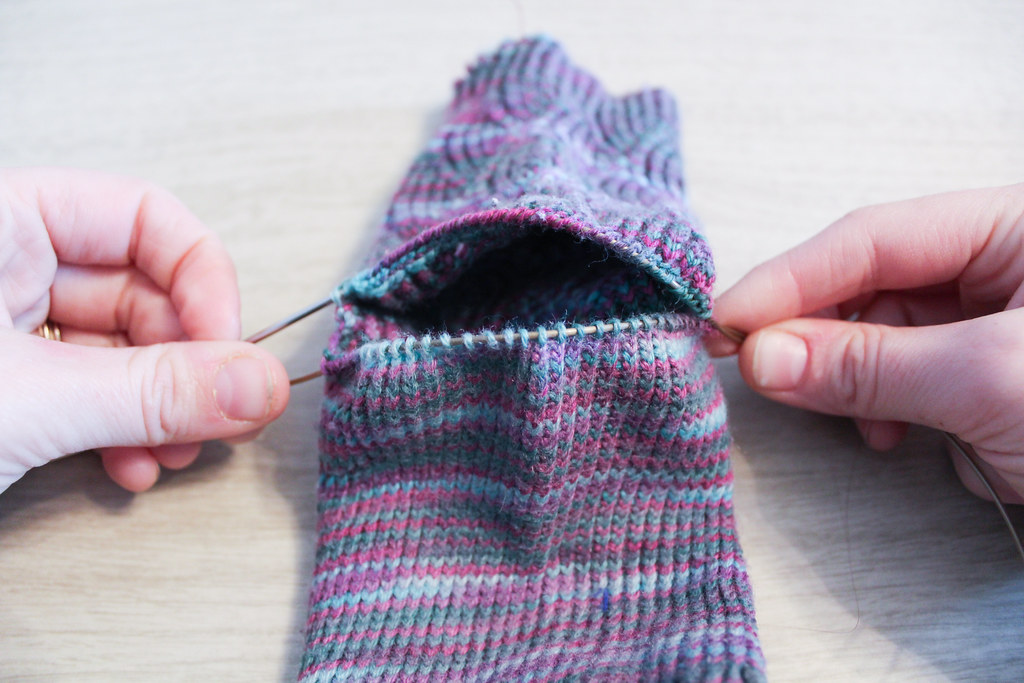
When you’ve picked up all the stitches on both sides, it should look like the sock has sprouted a mouth.
 |
| open heel |
Om-nom-nom-nom.
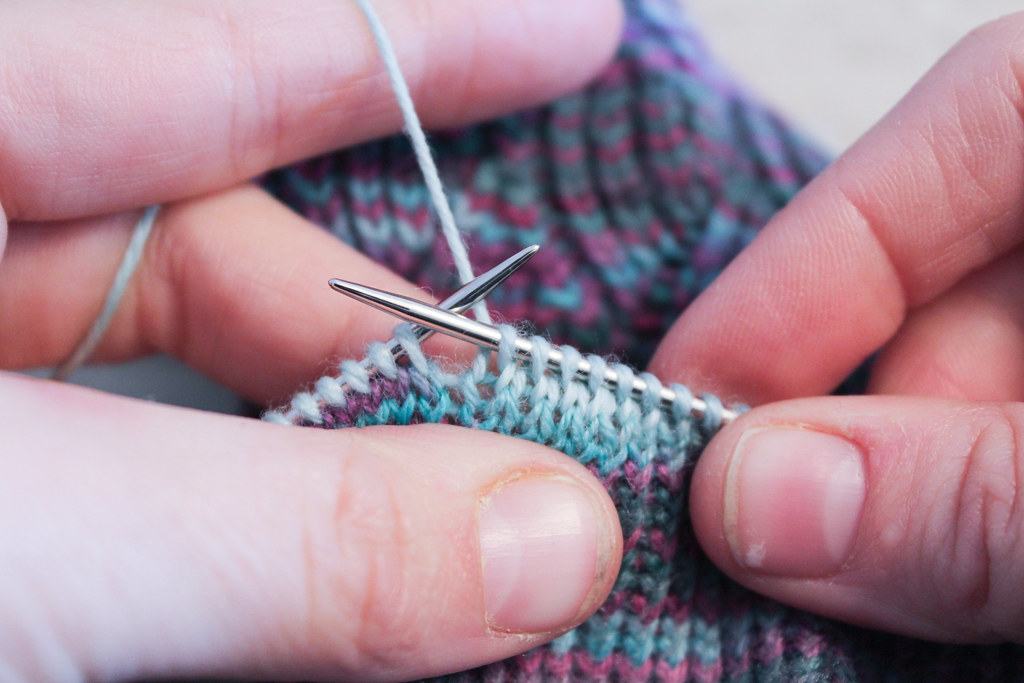
You’ll notice how, at each side of the live stitches on the cable to the needle, there’s a little gap, where there’s no stitches. In a bit, when we’re working with the new yarn, we’ll pick up stitches along those gaps so there aren’t any holes.
I like to slip to the middle of the sock to join my new yarn. This makes the join less obvious, and also because I think it’s easier to weave in ends in plain stockinette rather than where the gaps are. (Another trick I learned since making these socks!)
I joined the yarn by just beginning to knit with the new yarn, along the old stitches. I left the tail hanging, as I’d weave that in later.
When I got to the gaps I was talking about earlier, I picked up 2 stitches, along the edge, trying to keep the yarn nice and tight here, so the stitches didn’t become sloppy.
Then I kept knitting all around, doing the same for the 2nd gap as I did for the 1st gap. After I knitted all around, then I began my preferred method of decreases, whichever you prefer for an after-thought heel.
I worked, continuing to decrease, until I only had a few stitches left. Rather than doing the Kitchener, I just mattress stitched the live stitches together, pulling tight as I went. I think it creates a nicer ending, rather than trying to get my Kitchener stitches to match my gauge.
You’ll note, below, that I happened to work the heel in a slightly tighter gauge than the rest of the sock. This happened for three reasons. First, my gauge has changed in the last five years. Second, the yarn I used for the heel is slightly lighter weight than the yarn for the sock. This is because I wanted to match for color rather than for the exact right yarn. Third, I used a smaller needle size to accommodate the smaller yarn. I think, after wearing them a few times, the difference in gauge will even out, or at least become less noticeable.
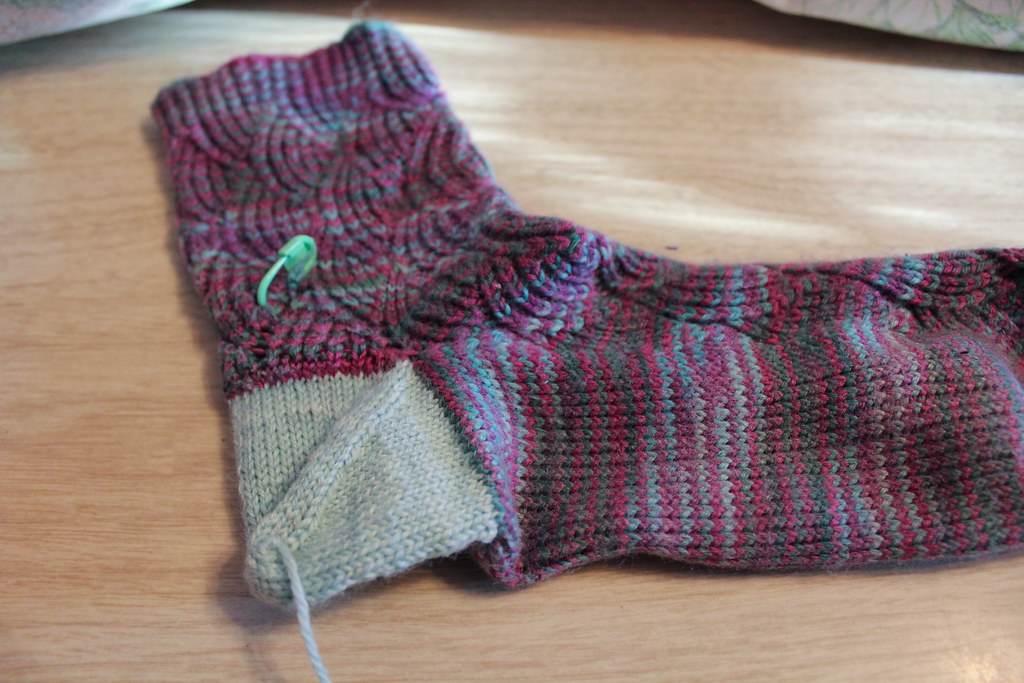 |
| fixed sock – the stitch marker is to mark a place I need to fix |
Got questions? Shout them out! I’d love to help troubleshoot your own sock repairs!


