MENU

Talking with Marian Schembari

This morning I spent some time talking to Marian Schembari, a Davidson College classmate of mine.  Marian’s been a person I’ve enjoyed following since we graduated: from her facebook ad that got her a job in publishing, to her dynamic transition from a Couchsurfer user to employee, and finally to the freelance career she has today – she’s always doing something smart and interesting.  Oftentimes I’ve drawn parallels between the tracks of our careers – as we’ve both struggled to figure out what to do when the career we thought we wanted to do didn’t quite work.  While I realized that I wasn’t suited to academia and an office job, Marian realized that publishing wasn’t quite a good fit for her.  In the years since 2005 (when we were across the other in our freshman dorms), I’ve went from being a little in awe of Marian (she had a great roommate and a great sense of style and an amazing writing voice) to being respectful of her as a businesswoman – one who has managed to make several right-turns in her career and still remain passionate and articulate and true-to-herself.

So I was curious as I sat down to chat with Marian over Skype this morning.  She had put out a call on Facebook, wanting to talk to women who ran small businesses, and I figured it would be a fun way to say hello and reconnect.  It’s funny – despite never being good friends in college (probably due to me often just feeling/being awkward), we managed to chat for just under an hour about so many different things we had in common.

One of my goals each month this year was to call up and talk to someone I thought was neat or cool and just chat.  I’ve mentioned this before (especially on twitter).  The goal was a simple one: the job I have now, on an everyday basis, is a largely solitary one, and I wanted to reach out to people who I thought were neat and just connect.  Also, because I tend to have a fear of calling up people I don’t know, this was a way to work on that problem!  Think of it as establishing my own water-cooler.  I kept the rules loose – the chat could be in person or on the phone, and it didn’t have to really be for any reason other than I thought the person was nifty.  This mission has led to me establishing connections I didn’t think was possible, and even some young friendships.

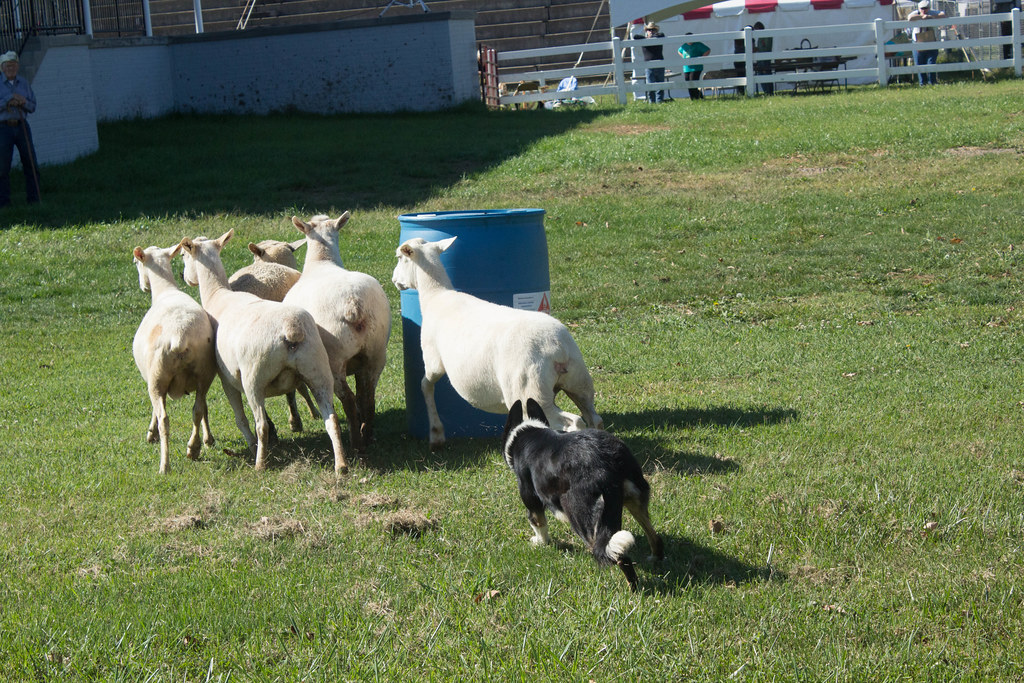
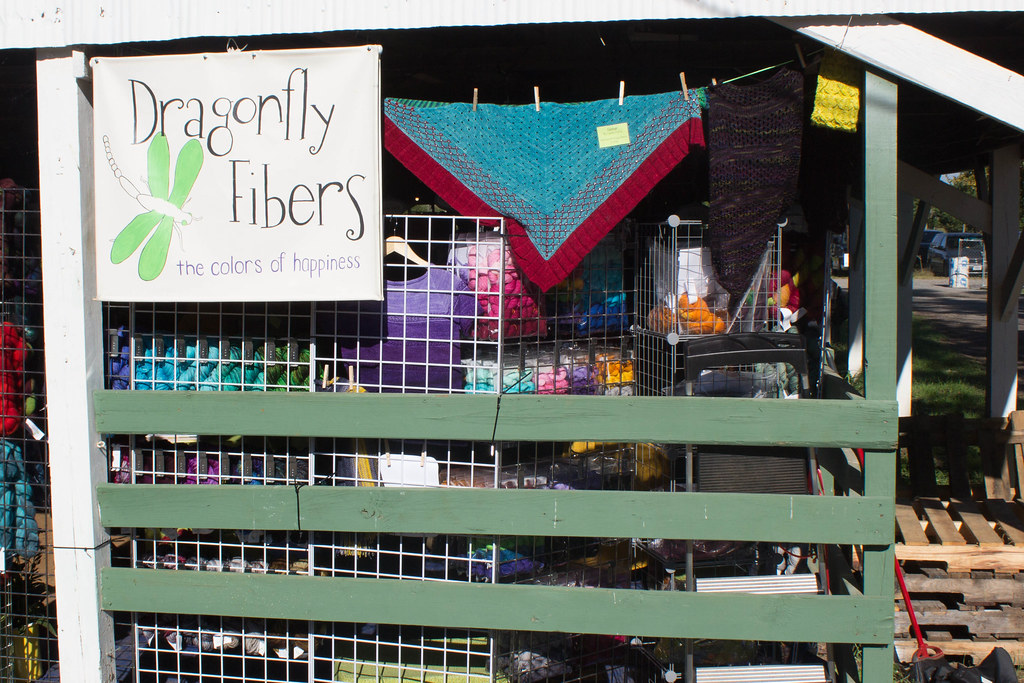
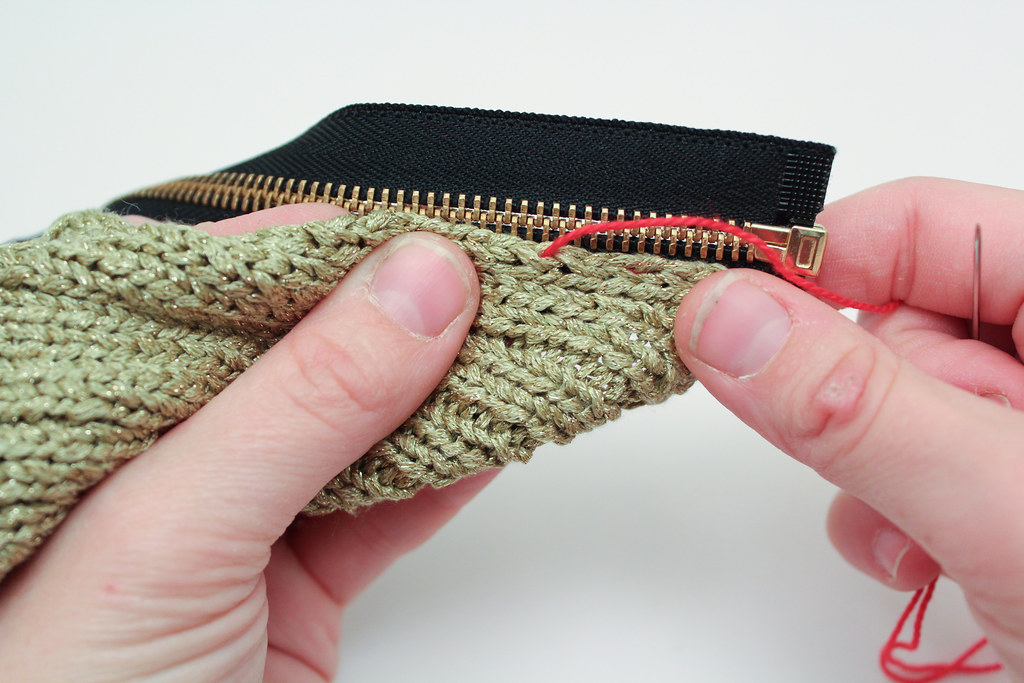
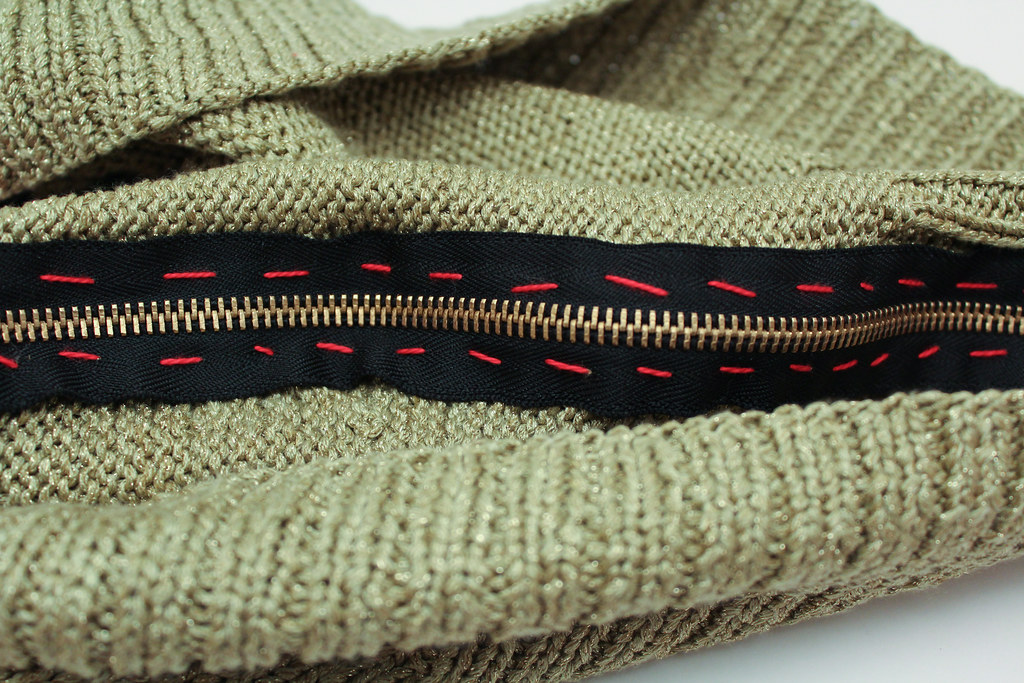
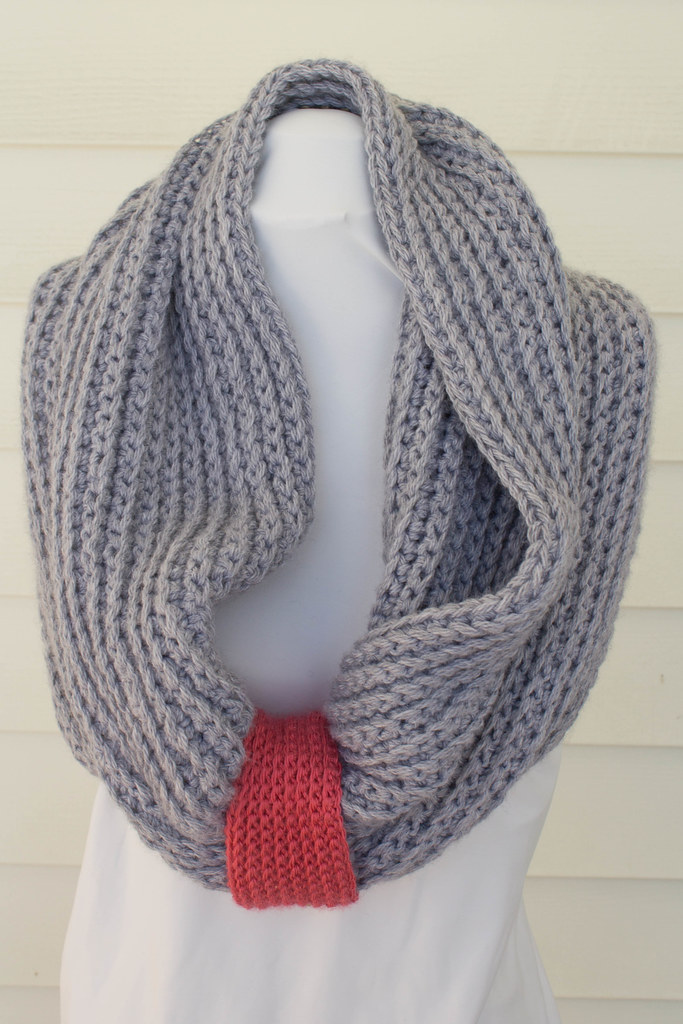
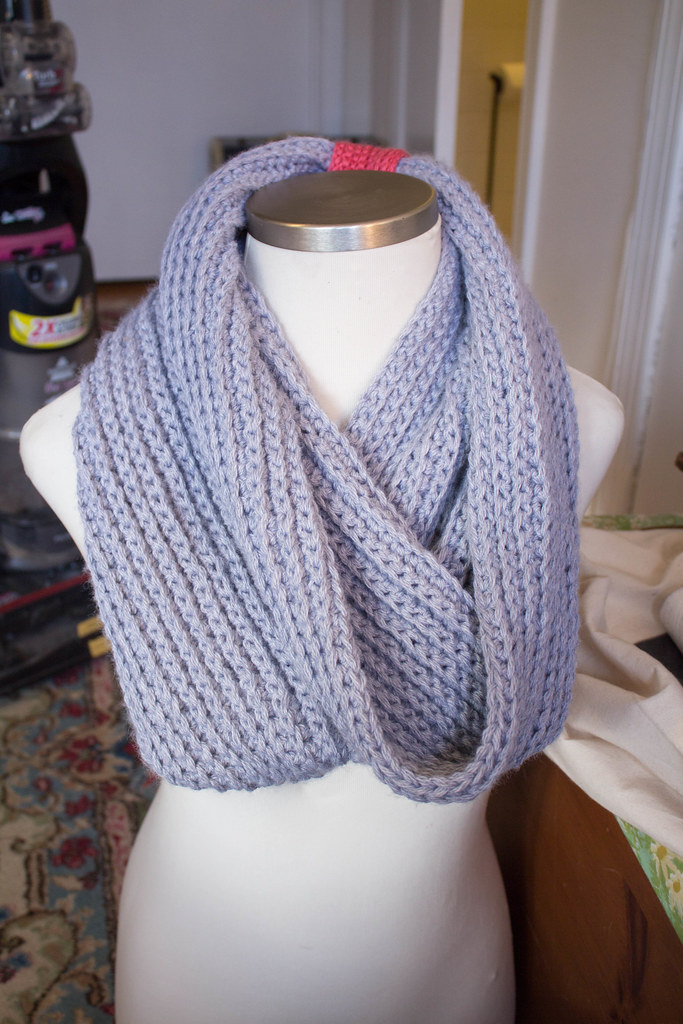
Talking with Marian brought home why I started this project.  We were able to chat about how our Alma Mater has both been a boon (in friendships) and a frustration (our work-ethic is perhaps permanently warped).  Marian gave me some great ideas about how to talk and present myself online, and I told her a bit about my business and the fiber arts industry.  At one moment Marian shared her love of adult coloring books, and I reached just out of the frame to hold up my mug of colored pencils.  Laughing, Marian reached out of the video frame on her end, to show me a bunch of colored pencils – also in a coffee mug.

It also brought home several things I shouldn’t forget: that I need to remember to keep doing the things I love, in between the things that keeps a business running.

When was the last time you reached out to an old acquaintance?  How did it go?

Shenandoah Valley Fiber Festival!

Tomorrow morning I’ll be heading off to the Shenandoah Valley Fiber Festival – one of my favorite to teach at!  Last year was my first year teaching at the fairgrounds, and I loved every moment of it.  The staff are great; the venue is lovely, and the drive to Berryville is a pleasure.

Last year I was so busy teaching both days that I barely had time to breathe.  This time I’ve got a little more flexibility –  I’m teaching one class on Saturday afternoon, and another Sunday morning.  Mr. Turtle and I talked about going apple picking on the way home.

If you’ve never been to SVFF, it’s a great fiber festival for kids, and a feast for the eyes for stitchers.  Last year Mr. Turtle was fascinated by the sheep dog demos.

I was glad to see some of my favorite vendors.  When you do the fiber festival circuit, various vendors become your friends, and it’s good to see them again and catchup for a few minutes between sales or setting up.  If you go to the festival, go and look up Turtle Made – a company that makes the most clever turkish spindles.  Also check out Dragonfly Fibers – they’ve been the lovely sponsor of a few of my designs!

Meanwhile, I’ll be in the instructor tents doing what I do best, teaching my heart out.  This weekend we’ve got a reprise of a constant favorite, Duct Tape Dress Forms, and also a class on repairing handknits.  If you have a spare moment, keep an eye out for me at lunch, as I grab a quick bite and say hello to as many people as I can!

From The Business Desk: Agile for Small Businesses

From the Business Desk is a semi-regular series that looks at some of the important factors in running a Small Fiber Arts Business.  This feature looks at how to leverage some new time and project management techniques from the Agile framework for small businesses.

As a small business owner, time is one of the most important assets that you have.  It is also one of the most limiting.  While other business areas like staffing or inventory can be expanded or invested in, there are only so many hours in a day (if you know how to change this, please let me know!).  Making effective use of your time for projects and operations is crucial for a well managed business to both succeed and grow.

Agile workout Session: Is this what agile means to you?

Is this what agile means to you?

Scrum.  Kanban.  Sprint.  Agile.  You may have heard these phrases before in industry trade shows or in the media as the newest focus for tech companies to manage their time, projects, and resources.  While originally created for Software Development, the Agile Framework at it’s core can be applied to any business process or project; especially in the Fiber Arts industry where there are natural market segments and discreet work items like classes, designs, and projects.

While we here have written previously about project management, thinking about the Agile methodology more surrounds the what rather than the how.  The core elements of agile that a Small Business owner should most be aware of are Team Ownership of Work, Minimum Viable Product/Shippable Units, and Timeboxing.

Before diving into these a bit further, I wanted to provide a 30 second overview about Agile from a non-technical perspective.  Unlike traditional mindsets where work is done in an orderly, sequence of events, Agile revolves around breaking up the necessary work to be done into discreet work units, and then over a set period of time (commonly called a “Sprint”) delivering a piece of the work to the customer.  For example, if you are running an LYS the work could be a 4 week class on garment construction; each week/session could be a unique and discreet unit of work.  Now, with this background, let’s look a bit further at some of the tenants that could be applied to your business:

Team Ownership of Work:  Agile frameworks work best when a team of individuals with a variety of skills are empowered to come together to tackle a project or issue as a whole.  The team, rather than one individual, collectively has a say in how the work is preformed and ultimately delivered to the customer.  This is especially applicable to a Fiber Arts business, due to the muti-facted nature of the industry.

If you are looking to put on a specific fiber event like a Fiber Festival, your team could consist of folks with a deep knowledge of yarns and marketing, separate instructors with significant technique knowledge, and then a handful of us less crafty types with some of the more technical business knowledge.  By bringing the team into the decision-making process early on to determine what is and is not feasible (“scoping the work”), you and your business can be sure to have a better understanding up front of what you can (and more importantly what you cannot) accomplish in a given period of time.

Minimum Viable Product/Shippable Units: In the software development space, research has shown that the average user base only heavily utilizes 20% of all of the features of a software application, following the classic Pareto 80/20 rule.  Think about your business.  Are there certain key elements that always seem to attract the most customer base?  Do you have certain patterns that always seem to hit on what the customer wants?  Agile is built around focusing on identifying what those elements are, bundling them together to create the leanest possible unit for work to ship, and then working towards that.

Applying that principal to your business can dramatically help you drive your Return on Investment, as once you are able to focus on these areas, you are able to cut to the core of drawing in your customer base.  Then, once you have a solid project or process up and running supporting that desire to be taught a specific skill in one of your classes, you can enhance that with additional features that may apply to a smaller set of customers.  Doing this is following the tenant of breaking down your projects or work into smaller features called Shippable Units that can be developed in a shorter period of time.

Timeboxing: As mentioned at the beginning, managing your time effectively is crucial for any business owner.  As an example, I have allocated myself 60 minutes to write this article.  Following the Agile principal of timeboxing, a discreet amount of time is set aside for any one task, meeting, or work item.  When that time is up for the day, no matter at what state the project is in, you should stop and move to your next item.  Many different studies from business to medical have demonstrated that mulitasking is actually a misnomer, and the human brain loses efficiency when rapidly switching between tasks.

As such, being able to focus on one item at a time, like updating your website with your latest shipment of yarn or re-arranging your models for an upcoming trunk show, work it for a specific period of time, and then close out that piece of work before moving on can dramatically increase the efficiency in how an individual or team gets work done.  So when you have those daily team meetings, or find yourself bogged down answering your inbox, break up your task into specific chunks, and timebox them.  It may take you longer to accomplish that one task, but by knowingly addressing items one at a time you are able to accomplish a lot more work as a whole.

Overall, the Agile methodology is gaining traction in many large and medium sized corporations and is still being developed and tweaked as additional lessons are learned.  While this overview has just scratched the surface, it’s an interesting mindset to begin thinking about when approaching your business planning for the coming year.  For another approach on how to use some of these tenants, check out this great post from Agile Advice.  And with that, I’m timeboxing this post for today!

~ Mr. Turtle


How to Set a Zipper in a Sweater

The rights have reverted back to me for a number of blog posts I did for Jordana Paige’s blog a few years ago, and I’ve begun re-posting them on occasion to have them on my own website, and so students can reference them.  This particular tutorial about setting a zipper into a sweater, I’ve updated and refreshed, but much of the technique remains the same.


Setting in a zipper is a process that takes time, patience, and a certain amount of willingness to fiddle.  Not everyone likes to do that, which is why so many of the finishing projects I do involve setting in zippers.  But if you’re willing to take the time, setting in a zipper can be very satisfying!

To set in a zipper you will need: a zipper, yarn to match the garment, yarn (or embroidery floss) in a contrasting color, a sewing needle (with a sharp point!), pins, and the 2 sides that you are attaching to the zipper.

a sweater, matching yarn, a zipper, needle and red embroidery floss are shown on a white background.

It’s helpful to have all your materials available!

Please note: When purchasing a zipper, make sure you get the correct type!  You don’t want a zipper for a bag, as it is attached together at both ends – you’d never be able to get your garment off!  Same thing with double ended zippers.  Take time to read the package and know what you are getting.  Also pay attention to length.  As I explain below, get the right size zipper, or a little longer.

The first thing I do is block the two fronts to the garment I’m attaching the zipper to.  Make sure the front is blocked to the correct measurements, and that your zipper will match those measurements, or be slightly longer.  If you need to, you can trim the top of the zipper to the length you want.  Make sure you use a file to eliminate any rough edges, and sew a new stopper so your zipper tab doesn’t come off.

Next, pin the zipper into place on the inside of the garment.  Make sure that you are not pulling or distorting the knit fabric – at all.  If you pull the fabric to stretch to the zipper, it can cause the zipper to pucker or wave.  After you’ve gotten things in place, I like to run a basting stitch along the zipper, as I don’t like to get poked with pins.  It also makes super-sure your zipper doesn’t shift around.

To do a basting stitch, take some waste yarn or thread, and use a running stitch, sewing the zipper to the fabric with big stitches.  When you’re done attaching the zipper, you can remove the basting stitch, so don’t worry if the basting stitch isn’t perfect.

Using a running stitch to baste the zipper to the fabric.


After I’ve finished basting (and this is another good reason to baste your work, because you can’t do this if the zipper is pinned), I check to make sure that the zipper can zip up and down without catching on any fabric.  Better to find this out now than after I’ve sewed everything together!  This is your opportunity to make any adjustments.

The basting stitch on the wrong side of your work.

Finally, you can sew the zipper to the piece.  Depending on the piece, sometimes I use the yarn the sweater was worked in.  Other times, if the yarn is delicate, loosely plied, or extremely fuzzy, I’ll use sewing thread in a color that is close to the color of the yarn.  Either way, I use the same technique.

Working from the back, I secure the yarn.  When I sew, I make sure that each time I’m going over only a single strand of yarn between two stitches.  Basically go into the purl bump if viewing from the back.  Mostly, I choose the space between the first and second stitches against the edge.

Working very slowly, I sew my way up one side, then up the other.  Be patient. Take your time. Check your work often.  Use small stitches.  Because the zipper is located at the front of the sweater, I’m super careful to make sure that my sewing doesn’t show.  Sometimes, if the fabric is wide, I’ll run a second set of stitches further out along the zipper band, so it doesn’t flop and lies nicely down.  You can see I did this from the picture below.

The zipper, sewn to the sweater with two rows of stitches.


When you’ve finished attaching the zipper to both sides of the fabric, I check my work.  Check again to make sure the zipper moves smoothly along the track.  Then, and only then, if I’m happy with what I’ve done do I remove the basting stitches.  Finally, weave in your ends.

Zipper in sweater


Crochetscene 2015: Riverbend Skirt

Riverbend is the final of the patterns I worked for Crochetscene 2015.  Like Bow Wrap and Crossed Arrow, I had a really good idea of this pattern long before I turned it into a proposal.  Unlike the other two, Riverbend’s genesis and maturing happened at a lot slower of rate.

Part of this was I was working on other projects, and part of it was wanting to let the genesis pattern have a bit of distance before I created something in the same vein.

Sketch for Riverbend

Riverbend became a design idea back when I was working on Victoria’s Riflebird.  Victoria’s Rifebird is a wrap that should be familiar – it has very similar shaping to Riverbend!  You could say they are siblings.  Once I had finished Victoria’s Riflebird, but before I wove in the ends, Sweetness, one of the girls I nannied at the time, wrapped the wrap around her waist and gave a swirl.  I realized then that a similar shape would work really well with a skirt – with some minor adjustments!

I love the idea of wrap skirts.  I like the versatility and the sizing flexibility.  When I was a kid one of my favorite skirts for about a year was a wrap skirt made of two layers of fabric.  Now, I have another wrap skirt that I wear at least once a week in the summer and the fall.  Riverbend is directly influenced by both those skirts.

Riverbend is also defined by the finishing details of this skirt: there’s a bold fun button in he same color of the wedges (a vintage one harvested from my great-grandmother’s collection), and another vintage button in the main color on the inside.

Riverbend, all finished and on one of my new models – this one being more full-hipped.

Riverbend is a wrap skirt, and sizing makes it super flexible.  The subtle a-line of the skirt makes it great in multiple colors for a summery cover-up for every-day skirt, or do it in solid colors for a more professional look.  The distinctive wedges are created using my special technique to work crochet short rows.  (Keep an eye out, there’s a class on that with Interweave coming soon!)  The ribbed fabric gives it a bit of a sexy silhouette – it hugs the hips just a bit before flaring out.  Unlike my original sketch, which had the skirt looking a lot more full, math and practicality made the finished project a little bit less flared.

Riverbend, on my model that’s a bit less full-hipped, you can see the difference in the way the skirt hangs.

Riverbend is currently available in the newest issue of Crochetscene 2015.  You can check out it, and my other three patterns, in the issue!  Also check out my Ravelry page, where you can read my personal notes and the stats about the time I spent on this project!

This Fall: Teaching at Shenandoah Valley Fiber Festival

Shenandoah Valley Fiber Festival

This will be my second year at this lovely and fun location, located in Central Virginia!  If you’ve never been to this fiber festival, it’s small and personable and has some great vendors, as well as classes.  I’ll be offering:Duct Tape Dress Form

Finishing Knitted Garments
Ooops! Repairing Your Knits
Make a Duct Tape Dress Form
Beginning Knit Repair
Crocheting with Beads

Click through to see more about the classes, as well as signup at the website.  Or just check out my new calendar – it’s a lot more spiffy, and it makes it easier to see classes!

Crochetscene 2015: Bow Wrap

Bow Wrap from Interweave Crochetscene 2015 by Jennifer Raymond

Photo Credit: Interweave/Harper Point Photography

My original sketch for the design proposal.

They say that copying is the highest form of flattery.  While I’m not quite sure that’s true, this piece is directly inspired by a cute little miniature wrap I saw on a small child last winter.  While I wouldn’t be surprised if the little girl’s version was more complicated, I immediately thought that I’d wear her wrap, in an adult size.  Bow Wrap was then put in my brain’s back pocket, until I submitted the idea to Crochetscene.

As I mentioned on Monday, when I was working on proposing these designs for Crochetscene, I was also coming off of working on a few projects in finer yarn, and I knew that I wanted something a little bit more sized up.  Bow Wrap is made holding two yarns together, but you could easily substitute for a bulkier yarn with similar results.  Holding the two yarns together creates a cushy, stretchy and warm ribbed fabric.  The ribbed fabric is created by working crochet through the back loop.

The “gather” is made in a contrast color, with a single yarn held together.  I toyed with the idea of creating another version of this, in a sparkly yarn or fastening some glittery pin over top of the gather, for some added class and interest.  Well, I may yet make a second version!

Bow Wrap from Crochetscene 2015

I love the look of the textured stitches, and the way the wrap drapes over the shoulders!

There’s two things I think that make Bow Wrap stand out as a project.  The first is simplicity: Bow Wrap is essentially made up of two squares – the magic happens in the seaming.


Bow Wrap by Jennifer Raymond

Wear over the neck and shoulders to keep out the chill!


The second thing I love about Bow Wrap is the styling options.  It can be worn like it’s featured in the magazine, but it can also be worn a few other ways!  I had fun taking pictures of a couple of different styling options.


Bow Wrap by Jennifer Raymond

Wear it like a traditional cowl, with the “gather” in the back

Bow Wrap can be found in the latest issue of Crochetscene 2015, or on Interweave’s website.  For more information and notes about my sample, you can read about it in my Bow Wrap pattern page.

Crochetscene 2015: Crossed Arrow Vest

Photo Credit: Interweave/Harper Point Photography

This week I’m focusing on my three patterns released in Crochetscene 2015!  I had the honor of getting all three of my design submissions accepted – and it was so exciting to work on these three designs.  Today I’m focusing on Crossed Arrow, a Hunger-Games inspired vest that’s accessible to beginning crocheters.  With minimal seams and simple shaping, the most challenging part is the edging – and broomstick is an easy skill to learn!

My Sketch for Crossed Arrow

I had the concept of how the vest was put together from the start; although my drawn picture here only gives you a little bit of an idea.  I had been immersed in the future/punk look of a few different shows, and I had just come off of a bunch of fine work in both knitting and crochet – I was ready for a bulky vest that worked up quickly and looked a lot more complicated than it was.  Crossed Arrow was the result.

I’d also been wanting to create a couple of pieces featuring things like broomstick – things that would introduce crocheters to the skill without making the whole project about the skill.

I love that Crossed Arrow is simple – the vast majority of the project is single crochets through the back loop.  Occasionally you crochet to create an armhole, and in the beginning and the end you work increases or decreases for the neckline.  But mostly?  It’s just using one of the foundation stitches of crochet to a really great effect.

Hairpin lace edging on Crossed Arrow

Hairpin lace edging on Crossed Arrow

For me, it’s the details of the piece that make it – specifically, the broomstick lace edging.  Look at the picots!  Look how the rest over the edges!

Crossed Arrow is currently available in print or online in Crochetscene 2015.  You can also read my more personal notes about the pattern on Ravelry.

On the Stands Now: My Interview with Inside Crochet

Inside Crochet Cover
Just a quick note from me this Friday afternoon, as I attempt to beat back my email inbox.

CaptureIf you live in the UK, or happen to get Inside Crochet Magazine, you should go take a gander at the issue.  I’ve got an interview with the Deputy Editor, Rhian Drinkwater, in a feature titled “Crochet Entrepreneurs!

We talk about a number of my upcoming patterns, a few of my role models, and how I got my start!

I also talk about something that really made me feel vulnerable, but I think talking about it is important: making mistakes.

You can pick up an online copy here, or buy it wherever the magazine is sold.  And if you’re in the UK, take a picture of it if you come across it and send it to me!  It’s my first international publication I’ve been in!

New Classes Posted to the Calendar!

As I’m getting my schedule firmed up for the fall, I’m starting to slot dates in for my new classes!  I thought I’d highlight my classes at Fibre Space, this Fall.

Fibre Space

I love teaching at Fibre Space (which is located in Old Town Alexandria, VA), and I’ve got a few really great classes I’ll be teaching this fall.  Highlights include: Stained Glass Rug

Darn Those Knits
Stranded Crochet Cowl
Finishing Essentials
Intarsia Wrap
Ooops! Fixing Mistakes
Padded Crochet Rug