Tomorrow morning I’ll be winging off our a week long vacation with my family in Alaska, and then I’ll return to quickly packing up for three weeks of summer camps in Rockville, MD. So I’ve been trying to wrap up a few long-term finishing projects.
Sometime soon I’m going to write a post on how to properly finish off a granny-square blanket so it doesn’t fall apart in 30 years. (Or really, any blanket for that matter.) Still, it seems like all I’ve been doing lately is repairing granny squares.
It’s meditative work at the best of times, and dead boring at the worst. I normally like to put on a book-tape or podcast and crank out the repairs. This time around I took a few photos to share, and decided to add my 3 rules of working on granny square blankets.
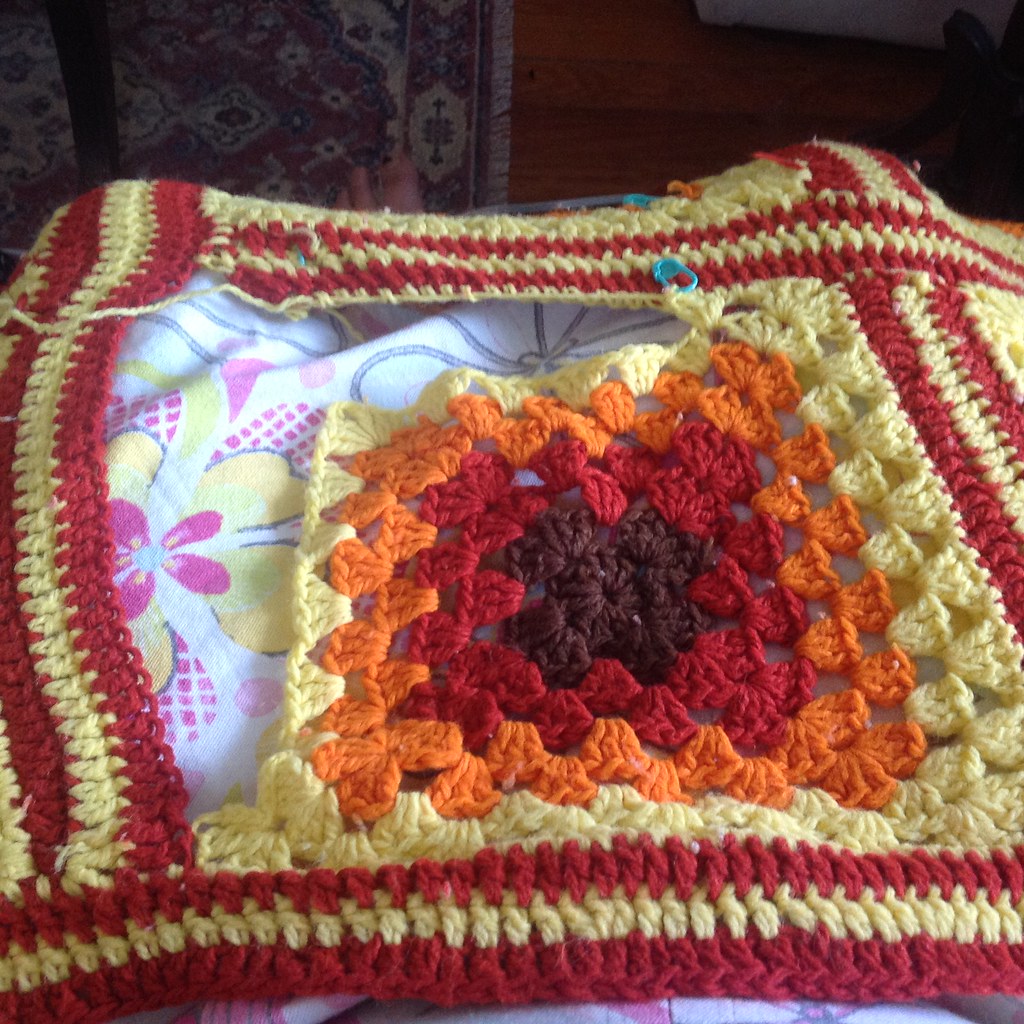
Granny Square blanket with split seams
The first blanket, featured above, had two major places it was broken: the last row of the square didn’t have its ends woven in, and I needed to rework the last row and reattach.
Rule #1: Properly weaving in ends is essential in a blanket that you want to last. Crocheting over them doesn’t cut it.
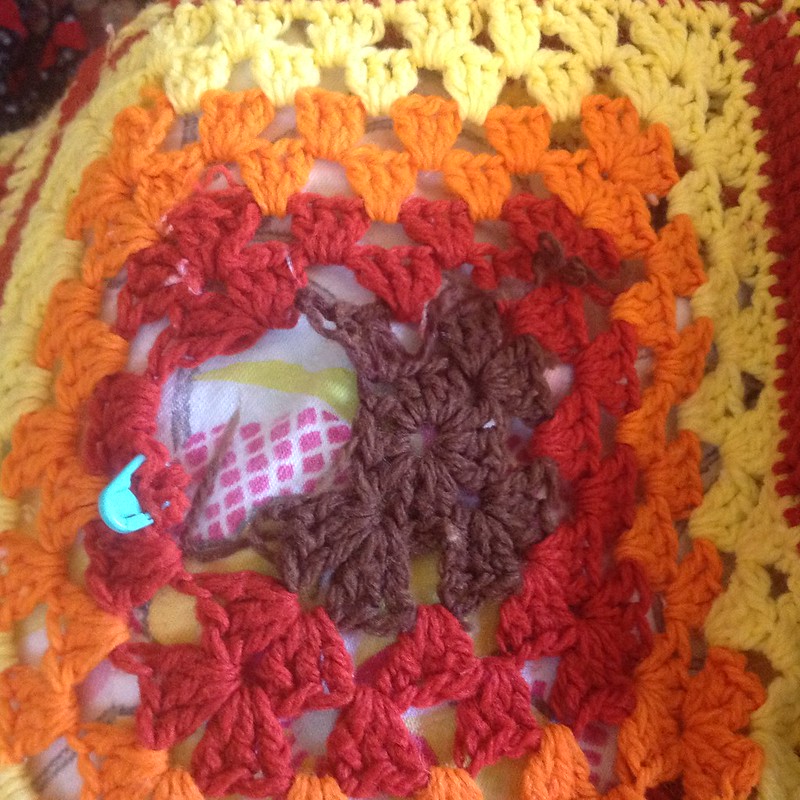
Repairing hole in Granny Square Blanket
As a corollary to Rule #1, the closer an end is to the center, the more stress it takes. REALLY weave in the ends at the center of a blanket.
Which brings me to my next rule.
Rule #2: include care instructions when you give a blanket to someone. Don’t expect them to know how to care for the blanket and the fibers!
Let me show you some examples:

Center of granny square lost of love
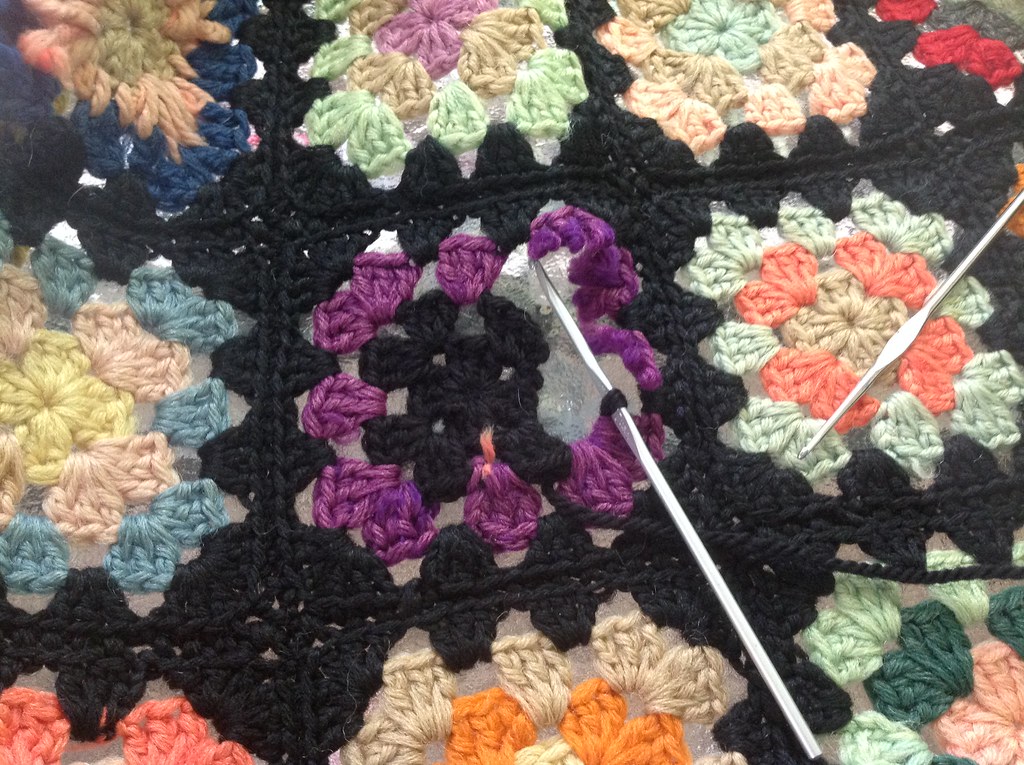
Slowly adding back the center of the Granny Square
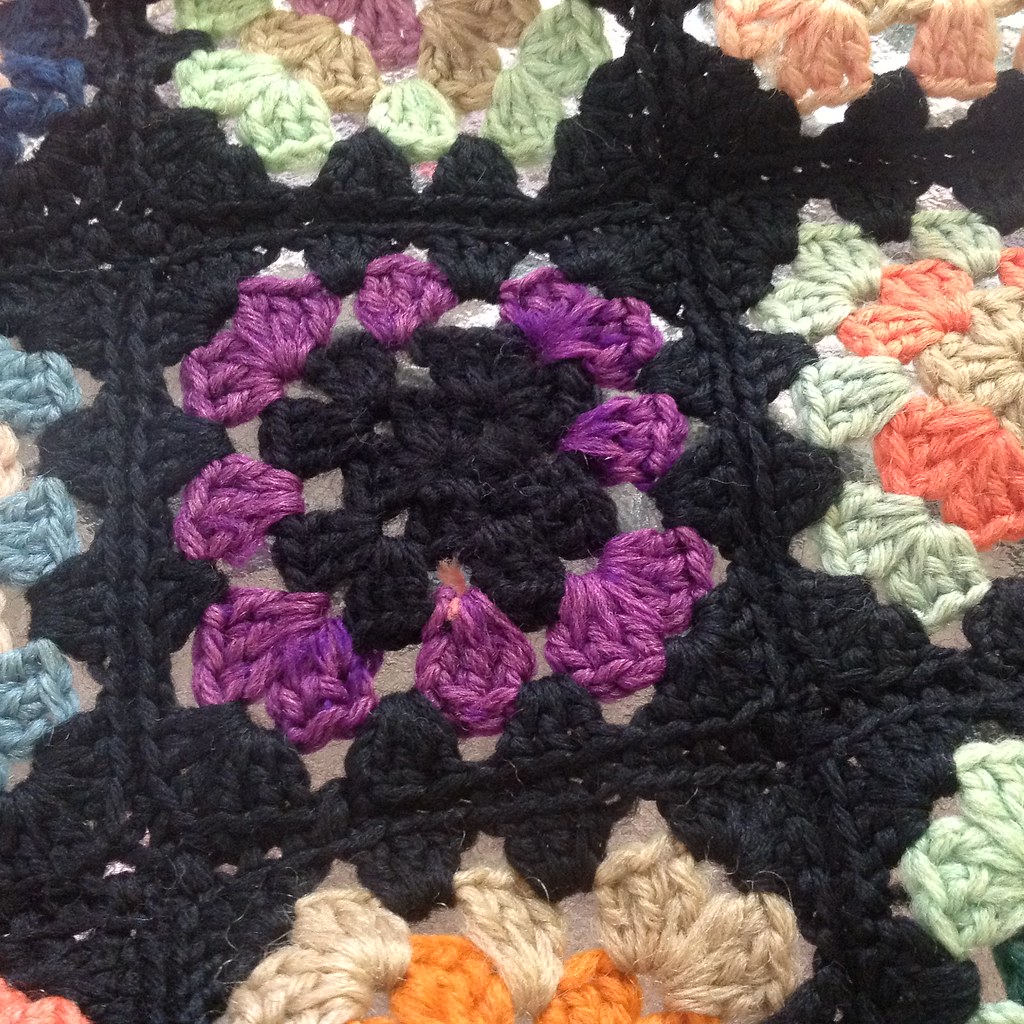
Granny square center replaced!

All the black that’s not a “frame” for the granny square is replaced & repaired.
The blanket above is one that’s been well loved, but also subjected to light and heat damage. The fibers are very very delicate, and I’m working to repair the largest holes so this can be gently loved again. Still, proper care of textiles can extend their life a hundredfold.
Finally, my last rule.
Rule #3: REALLY, REALLY weave in your ends. Seriously. Nearly 80% of the granny square repairs I do is in places where they ends have come unraveled, instead of the fibers degrading. Weave in the ends. Use a sharp needle. Skim them in.
Are there things you can think of to extend the life of your afghans? What are they?