MENU

Darn It! How to Repair your Knitting Online Workshop Available

I’ve been working on my new class from Interweave, Darn It! How to Repair your Knitting for several years.  Since I began offering repair courses, I’ve wanted to find a way to get this information to students who were not in my geographic area.  This started when I posted about getting a copy of Rena Crockett’s Flawless Knit Repair.  People from all parts of the globe would email asking how they could get a copy, or asking if I’d be willing to scan a PDF version of the book.  (I was never comfortable with that solution, as I make my living off of my copyright, and I’ve never been able to contact Crockett or her realitives to see if they would be OK with that action.)

But in the back of my brain I was trying to figure out how I could create my own, readily available version of Crockett’s book.  Becasue as much as Crockett’s book was instrumental in my own start into repairing things, I’d found some other methods of working that I wanted to share with people.  More than a year ago I teamed up with Interweave to try and create a course that would answer the need I’d seen.

I’m proud to announce that Darn It: How to Repair your Knitting is finally available!  This class covers a lot of ground: repairing knit fabrics, purl fabrics, cables, lace and (my favorite!) colorwork (which has some special challenges).  It breaks down, step-by-step, how to approach various reparis, and how to make them nearly invisible (if that’s your desire).

Let’s look at what the class includes:

In This Online Workshop You’ll Learn:

  • A variety of repair techniques including duplicate and Kitchener stitch
  • How to fix holes before they even happen
  • Step-by-step repairs for stockinette, Fair Isle, cables, and lace knitting
  • The secret to weaving in ends invisibly
  • Tips for sourcing repair yarn and mimicking original yarns in older or heirloom pieces

Lesson Outline:

  • Intro
  • Darning vs. Reweaving
  • A Stitch In Time: Finding Holes Before They Happen
  • The Duplicate Stitch
  • Repairing Stranded Colorwork
  • Kitchener Stitch
  • Repairing Cables
  • Mending a Hole in Stockinette
  • Weaving in Ends
  • Repairing Lace
  • Conclusion

Skill Level:

Any! Students should have basic knitting skills and some knowledge of knitting cables and simple lace.

Optional Materials for Practice Swatches:

Small amounts of worsted-weight yarn in several colors for practice swatches and repair; Size 7 or 8 knitting needles; locking stitch markers; crochet hook; tapestry needle and sharp-tipped needle; Size 7 or 8 double-pointed knitting needles

All About Yarn Online Workshop

I’m proud to announce the release of my class All About Yarn with Interweave.  This class has been a long time in coming!  It’s a version of one of my most popular topics to talk about: why yarns act the way they do.  I’ve been working to get this information to a wider audience, and I feel that this fits that niche.  Let me tell you a little bit more about the class:

 Ever find what you think is the perfect yarn for the perfect project, only to find that they are not perfect together at all? Ever fret over substituting one yarn for another? Join Jennifer Raymond and discover why a yarn that is luscious for lace can be a fail when it comes to cables. Look at your stash with fresh eyes, and visit your LYS knowing how to choose and use the right yarn for whatever you want to make. Prepare to learn All About Yarn.

In this Online Workshop you’ll:


  • Learn about the 3 building blocks of all yarns–ply, weight, and fiber content—and how they work together.
  • Determine the weight of any yarn, from handspun to those mystery yarns in your stash.
  • Explore a whole menagerie of fiber animals–from angora to yak–along with cotton, linen, silk and more.
  • Gain new confidence in choosing and using yarns, whether for a new pattern or for your own design
  • Get tips on how to care for your finished projects.


Lesson Outline:


  • Introduction
  • Meet Your Instructor
  • Understanding Ply:


  • Singles
  • 2 Ply Yarns
  • 3 & 4 Ply Yarns
  • A Weighty Matter: Yarn Weights Explained
  • Yarn Weight Standards
  • Wraps per Inch
  • A Small Detour: Worsted vs. Woolen Yarns
  • Fiber: Protein, Cellulose, and Other Types of Fiber
  • Quick Guide: Types of Wool
  • Quick Guide: Other Animal Fibers
  • Quick Guide: Cotton, Linen, & Silk
  • Quick Guide: Synthetic Fibers
  • Fiber Care


  • Wrapping Up


Skill Level: Beginner on up. Though aimed at knitters, this workshop is also appropriate for crocheters or any maker interested in yarn.

Materials required: None! Though you may find it helpful to rummage through your yarn stash while watching.


About the Instructor:
Jennifer Raymond is a knitter, crocheter, and spinner based in Ashland, Virginia, with more than 20 years of stitching experience. A teacher and designer, she also has a business repairing and restoring heirloom knit and crochet pieces.

Ravelry 101: Tomorrow!

Tomorrow afternoon at 1pm EST I’ll be teaching Ravelry 101 thru Interweave’s Craft U platform.  I’m very excited!  It’s been a while since I’ve had the opportunity to teach this class, and I love being able to use Interweave’s electronic teaching to reach students I normally don’t get to teach.

You might wonder how this class fits into my normal lineup, as most of my classes are knitting and crochet related.  Ravelry is a knitting and crochet-focused website with more than 6 million users.  While it isn’t a technique that will make your knitting shine, or challenge your crochet skills, it will teach you how to make the most out of this valuable website.  I use Ravelry daily – to find patterns, connect with other crafters, answer questions about my patterns, and learn more about yarn.  When I have a question about nearly anything, I can go to Ravelry to get my answers.

You might also wonder how this class is different than the one I taught a few years ago thru Interweave.  Well, to be frank, technology is changing all the time, and the class that I taught before isn’t completely up-to-date.  I found that I had new tips, new perspectives, and new techniques to share.  Ravelry had rolled out new functionality, and I thought it was valuable enough to update!

Want to sign up for the course?  I’d love to have you!  Enroll now: https://www.craftonlineuniversity.com/courses/ravelry-101.

Boston Ivy Sweater, in Interweave Crochet Winter 2016

black and white drawing of young man in sweater with hat on.

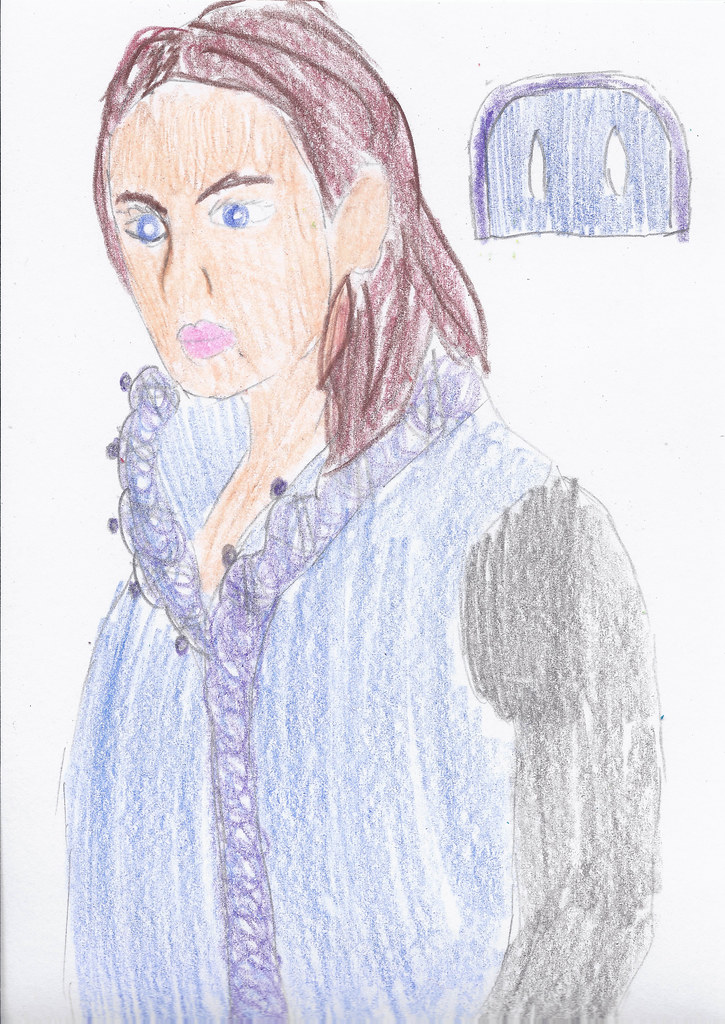
Original idea for Boston Ivy.

I’ve been checking Ravelry and Interweave’s Crochet website for the last two weeks, waiting for the most recent issue of Interweave Crochet to come out.  And now, I’m pleased to announce that Interweave Crochet Winter 2016 is on the shelves (or will be in the next few days), and available to purchase.  In this issue is my design, Boston Ivy.  Boston Ivy is a design that’s near and dear to my heart, as it started out as a request for a sweater from my brother, Matthew.

Boston Ivy was originally pitched as an idea based off of my brother, Matthew, and his descriptors for a perfect sweater for him.

He wanted it to be warm.  Not necessarily sweater warm, but more like rugged sweater/jacket to wear outside.  Decoration and cables should be kept to a minimum.  It had to had to have a collar that would go around his neck, and it had to be something he could move and be active in.

At the same time I’d been playing around with a crochet or knitting technique involving using long strips of fabric.  I’d braid the fabric, and then pick up stitches on either side of the braid, making it look like a particularly interesting cable. Boston_Ivy_Sweater_medium While I’d seen the technique done, a little, in crochet lacework, I’d never seen it done on larger pieces.  I also hadn’t seen it done all that much.

I thought this was a great pity that I needed to remedy.

I began pitching the idea to a variety of magazines, with little interest.  Until Interweave Crochet.

Boston Ivy is a sweater for men and women.  It’s sturdy and comfortable, with drop shoulders and a distinctive braided pattern down sleeves and front.

Worked in single crochet thru the back loop, it creates a ribbing that’s warm and stretchy.

And I love it.

23320268220_2e96918903_z

New Online Learning Videos with Interweave

You may remember that over the summer, I went to Interweave in Fort Collins, CO to film four classes. This was part of Interweave’s Online Learning video program.  The first one, based off of Stained Glass Rug, was released a couple of months ago.  The others, I’m happy to report, have just come out!  Let me tell you about them!


Short Rows in Crochet: Learn Shaping and Texture Techniques for a Great FitEP12640

This class is based on a method of working short rows that I uninvented.  I’ve been using this technique for a while now, as I love the texture and look it gives crochet fabric.  I also love how shaping can be achieved to create projects that imitate ribbing in knitting, or allow you to play with color.

This class has two free patterns that come with the download or video: Riverbend Skirt and Ski Slope Hat.

In addition to teaching you about short rows, this class also has a great tutorial about using the mattress stitch to seam together crochet stitches.  I think you’ll love it.

You can purchase the class here, for $19.99.


Quick Crochet VestQuick Crochet Vest: Learn Broomstick Lace, Short-Rows, Back Loop Stitches & More

I love my Pattern Crossed Arrow Vest, and I think it’s the perfect project for beginners looking to challenge themselves!  Going into the class, the only skills you need to know are how to chain and single crochet.  I take you through the rest.

What I love about this pattern is how, with very little shaping, you create a very flattering vest that works as a great layer piece.  And the best part is, with a bulkier weight yarn, this project just flies by.  With the video you get a free copy of Crossed Arrow, plus my instruction as I walk you through each of the steps to complete this project.

And if you’ve never tried broomstick, this is a great project to start on.  You’ll get the hang of it in no time.

You can purchase the class here, for $19.99.


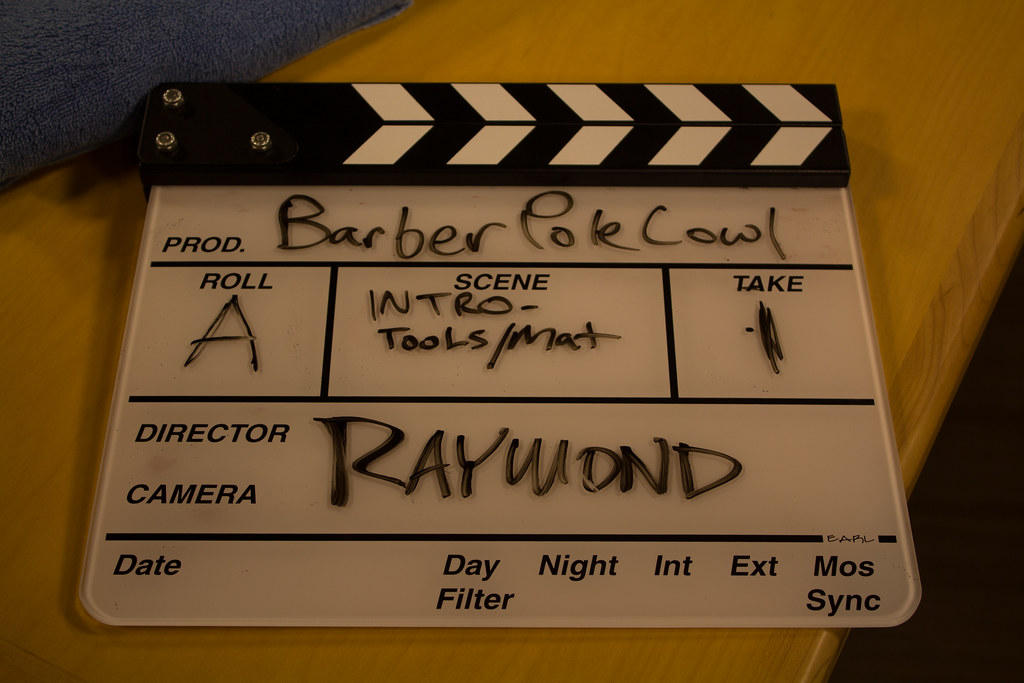
Crochet Barber Pole Cowl: Stranded Colorwork Techniques and MoreCrochet Barber Pole Cowl

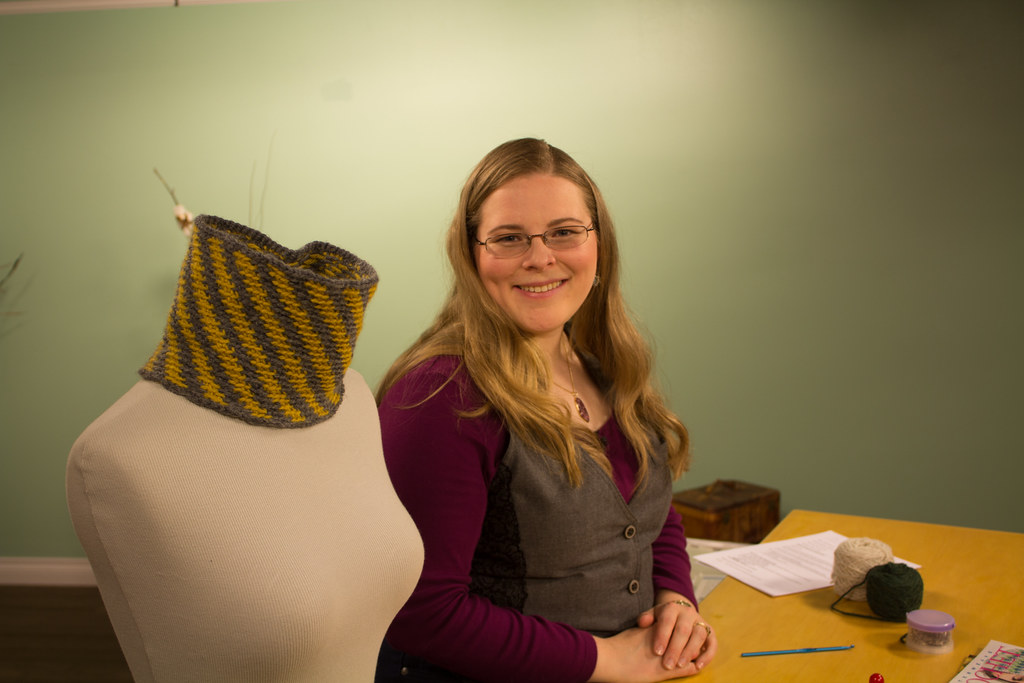
My Barber Pole Cowl has been featured in several of my classes, and I’m now glad to bring it to video with Interweave.  Like Crossed Arrow, this is a pattern that’s completely accessible to beginners: if you can single crochet and chain, I can teach you how to make this project!

With a lot of color options, this project is always popular around fall – a perfect pattern for working up in school or team colors, just as the air is getting nippy.

Here, I take you through learning how to crochet through the back loop (can you tell it’s one of my favorite techniques?) and also how to work stranded crochet – which is different than tapestry crochet!  Stranded crochet creates a fabric that is warmer (because of the two layers of yarn) and much stretchier than tapestry crochet.  It’s a fun and helpful skill to have in your arsenal.  In the process of learning this technique, you also learn how to change colors in crochet without making a jog.

If you like the pattern and love my classes, I think you’ll get a lot from this one.  You can purchase the class here, for $19.99.


Got questions about the videos?  I’d love to answer them!  And if you have bought the videos, how did you like them?


Crochetscene 2015: Bow Wrap

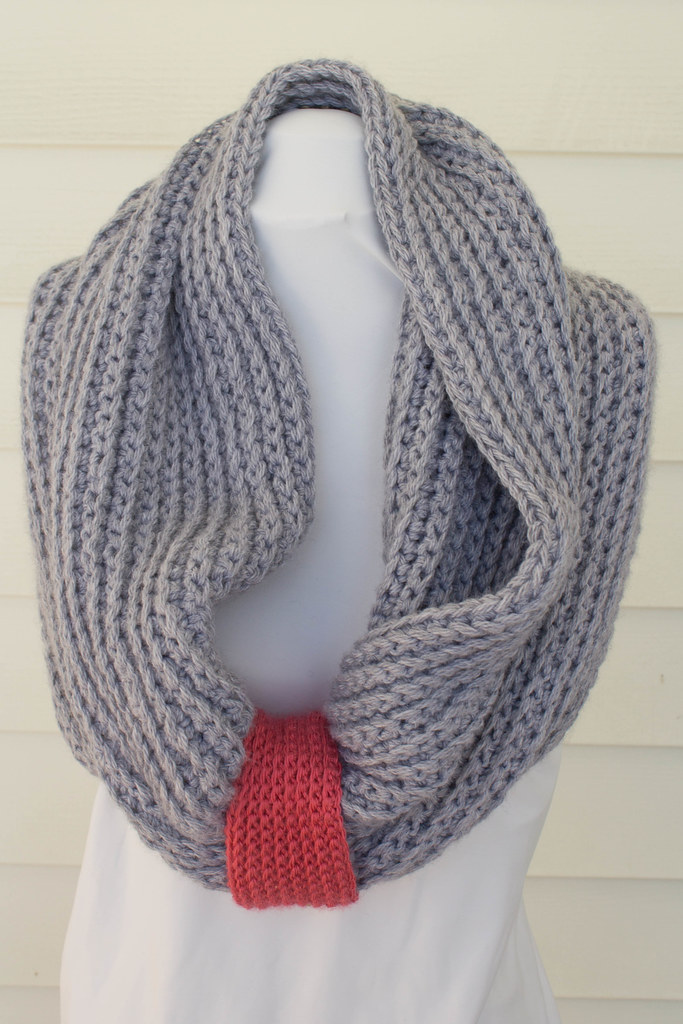
Bow Wrap from Interweave Crochetscene 2015 by Jennifer Raymond

Photo Credit: Interweave/Harper Point Photography

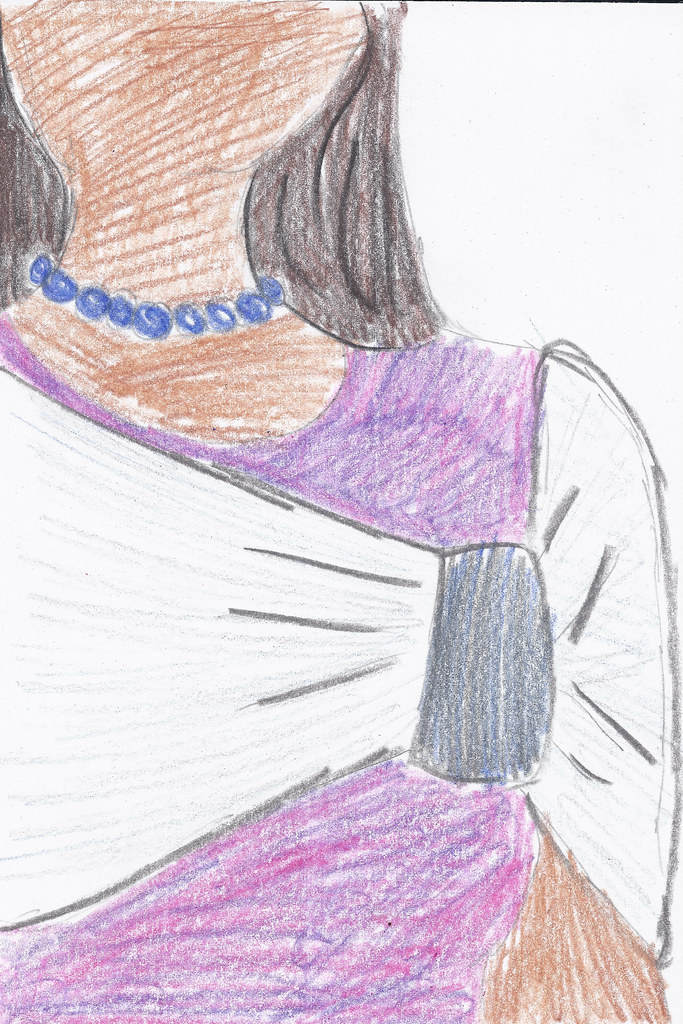
My original sketch for the design proposal.

They say that copying is the highest form of flattery.  While I’m not quite sure that’s true, this piece is directly inspired by a cute little miniature wrap I saw on a small child last winter.  While I wouldn’t be surprised if the little girl’s version was more complicated, I immediately thought that I’d wear her wrap, in an adult size.  Bow Wrap was then put in my brain’s back pocket, until I submitted the idea to Crochetscene.

As I mentioned on Monday, when I was working on proposing these designs for Crochetscene, I was also coming off of working on a few projects in finer yarn, and I knew that I wanted something a little bit more sized up.  Bow Wrap is made holding two yarns together, but you could easily substitute for a bulkier yarn with similar results.  Holding the two yarns together creates a cushy, stretchy and warm ribbed fabric.  The ribbed fabric is created by working crochet through the back loop.

The “gather” is made in a contrast color, with a single yarn held together.  I toyed with the idea of creating another version of this, in a sparkly yarn or fastening some glittery pin over top of the gather, for some added class and interest.  Well, I may yet make a second version!

Bow Wrap from Crochetscene 2015

I love the look of the textured stitches, and the way the wrap drapes over the shoulders!

There’s two things I think that make Bow Wrap stand out as a project.  The first is simplicity: Bow Wrap is essentially made up of two squares – the magic happens in the seaming.


Bow Wrap by Jennifer Raymond

Wear over the neck and shoulders to keep out the chill!


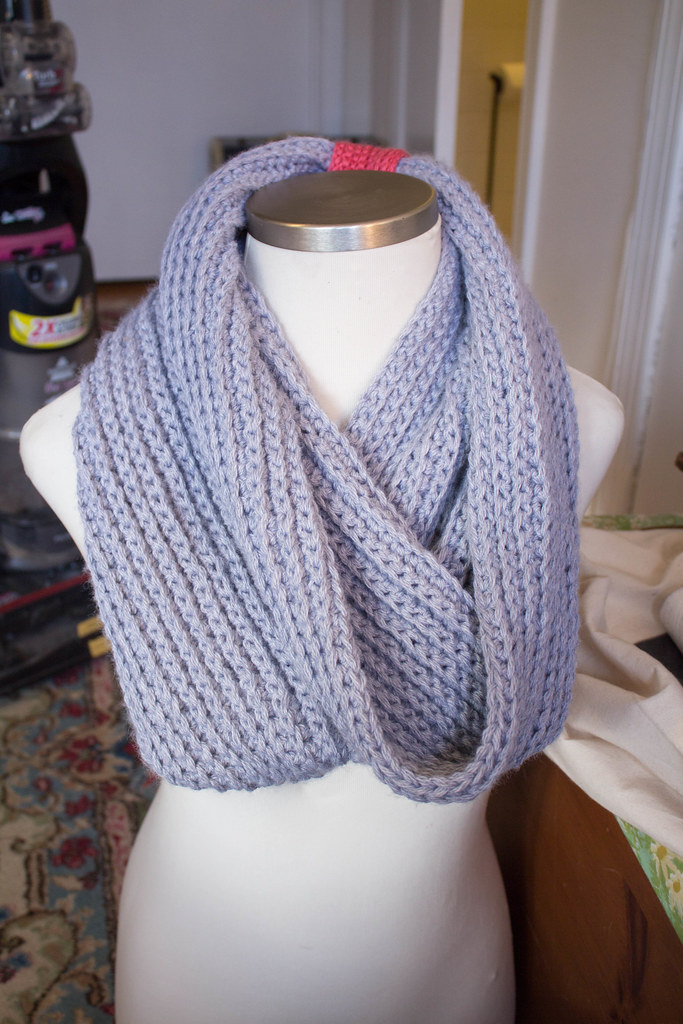
The second thing I love about Bow Wrap is the styling options.  It can be worn like it’s featured in the magazine, but it can also be worn a few other ways!  I had fun taking pictures of a couple of different styling options.


Bow Wrap by Jennifer Raymond

Wear it like a traditional cowl, with the “gather” in the back

Bow Wrap can be found in the latest issue of Crochetscene 2015, or on Interweave’s website.  For more information and notes about my sample, you can read about it in my Bow Wrap pattern page.

Crochetscene 2015: Crossed Arrow Vest

Photo Credit: Interweave/Harper Point Photography

This week I’m focusing on my three patterns released in Crochetscene 2015!  I had the honor of getting all three of my design submissions accepted – and it was so exciting to work on these three designs.  Today I’m focusing on Crossed Arrow, a Hunger-Games inspired vest that’s accessible to beginning crocheters.  With minimal seams and simple shaping, the most challenging part is the edging – and broomstick is an easy skill to learn!

My Sketch for Crossed Arrow

I had the concept of how the vest was put together from the start; although my drawn picture here only gives you a little bit of an idea.  I had been immersed in the future/punk look of a few different shows, and I had just come off of a bunch of fine work in both knitting and crochet – I was ready for a bulky vest that worked up quickly and looked a lot more complicated than it was.  Crossed Arrow was the result.

I’d also been wanting to create a couple of pieces featuring things like broomstick – things that would introduce crocheters to the skill without making the whole project about the skill.

I love that Crossed Arrow is simple – the vast majority of the project is single crochets through the back loop.  Occasionally you crochet to create an armhole, and in the beginning and the end you work increases or decreases for the neckline.  But mostly?  It’s just using one of the foundation stitches of crochet to a really great effect.

Hairpin lace edging on Crossed Arrow

Hairpin lace edging on Crossed Arrow

For me, it’s the details of the piece that make it – specifically, the broomstick lace edging.  Look at the picots!  Look how the rest over the edges!

Crossed Arrow is currently available in print or online in Crochetscene 2015.  You can also read my more personal notes about the pattern on Ravelry.

Now available: Make a Crochet Rug Using Piping Cord and Crochet Motifs!

Matryoshka Baskets from Crochet World

I’ve been really enjoying playing with padded crochet lately, if you haven’t noticed.  Last year with Crochet World I published the Matryoshka Baskets, and this past week my Rag-ety Rug came out.  Now, this week I have another wonderful piece of news to share with you!

Remember how a couple of months ago I talked about filming classes with Interweave?  Well, the first of them are out, and I couldn’t be more excited!

Let me tell you about the class.

Titled Make a Crochet Rug Using Piping Cord and Crochet Motifs with Jennifer Raymond, this class covers all you’d need to know in order to make Stained Glass Rug.  While the pattern by itself stands alone, you do need a basic understanding of padded crochet to make the project work.

With my online class, not only do I show you the basics of padded crochet, but I also show you all my tricks I developed and learned while making the rug.  You’ll learn the best ways of finishing off your cord, the easiest ways to join the motifs, and how to adapt the pattern for other purposes.

Make a Crochet Rug Using Piping Cord and Crochet Motifs

Make a Crochet Rug Using Piping Cord and Crochet Motifs

As I mentioned before, this class focuses around Stained Glass Rug, which was featured on KDTV’s episode 1409. I love this pattern.  It’s infinitely customizable, as you can make the rug as large or small as you want it.  The padded crochet makes the rug both cushy under the feet, durable, and the project works up really fast!  There’s plenty of room for color play, in the form of using up scraps, creating color blocks, or making magic balls to use.  And I love how, just worked in the yarn I used for the original project, each piece looks a little bit like the stained glass you see in churches.

Make a Crochet Rug Using Piping Cord and Crochet Motifs with Jennifer Raymond is available for pre-ordering as a DVD, or you can download it right now onto your computer.

You should checkout the preview:

Have you ever worked padded crochet? What do you think of the preview?

Follow-ups and a few other details, including a new LYS I’ll be teaching at!

Wow, I’ve gotten a lot of responses to my previous post  – I appreciate the support, emails, and congrats!

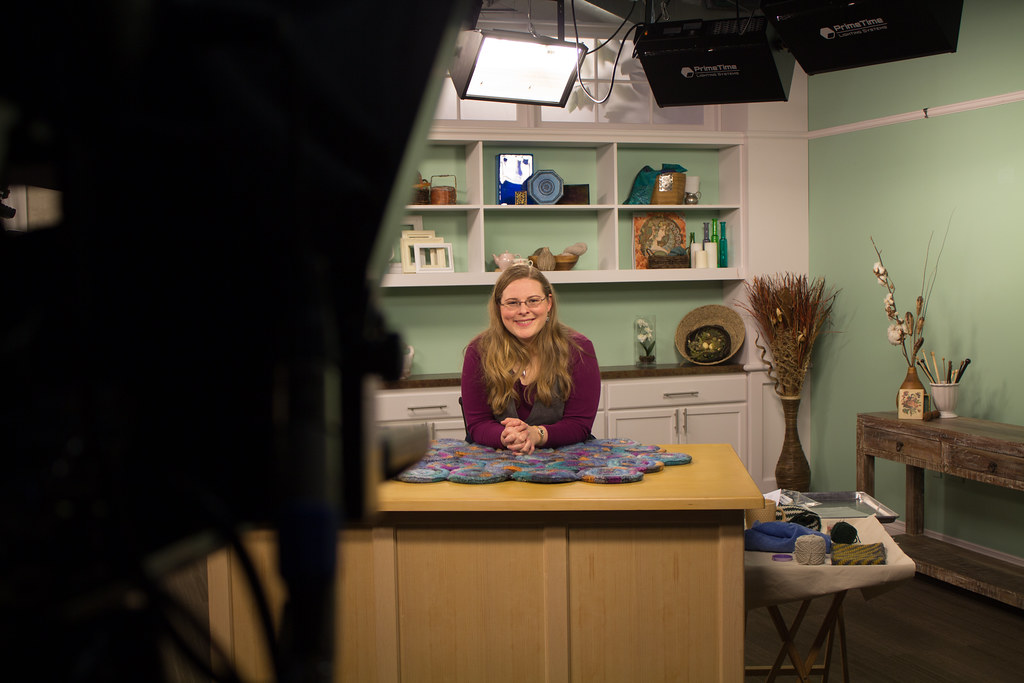
I wanted to talk a little bit more about the process of filming with Interweave, since I’ve gotten a fair amount of questions about it.

One of the biggest questions I got was: how did you manage to film four classes in two days?

First, Interweave’s got a great team that make the filming process smooth and intuitive.  They were a huge help in making sure everything went smoothly.  Having worked backstage more than once, I have a little bit of an idea of what goes on to prepare for a shoot.  The second biggest thing that makes a difference when filming the classes is the preparation I did before we even began filming.

When I began packing for CO, all of my clothes went into my checked luggage.  The luggage I carried with me, and refused to surrender?  Was filled with something called “step-outs.”

What are step-outs, you might ask?  Think of nearly any cooking show you’ve ever seen.  That moment, when the host puts an uncooked cake in the oven, and the next moment pulls out the finished product?  I bet you wouldn’t be surprised to find out that the entire filming crew isn’t waiting around for the cake to bake.  The host, team, or someone has baked a cake beforehand, to enable the host to go onto the next step.

When preparing for the filming, I did something similar.

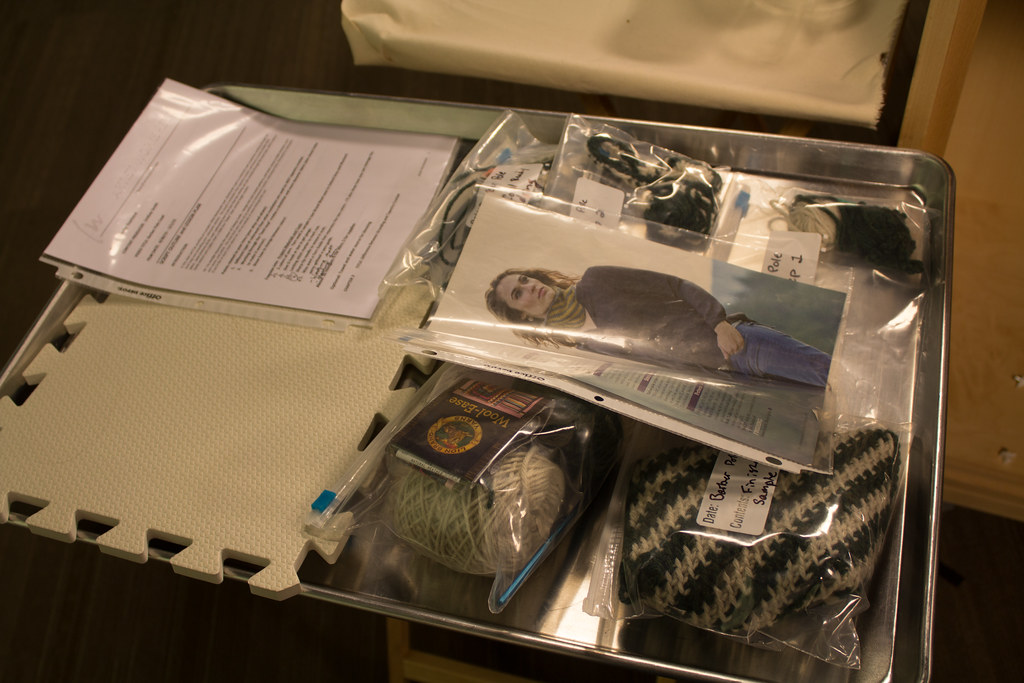
The last two weeks have been a flurry of working the same project over and over, each time working one “step” further.  When we’re filming, I simply grab the project that’s on the next step, allowing me to skip ahead.  Each of these unfinished projects is called a step-out, and they’re an important part of making a film class run smoothly.

Different people manage their step outs different ways.  Each of mine went into a separate plastic bag, labeled with it’s order, and with a few different “hints” to remind me why I created the step out, and what it was supposed to be used for.  They then all went on a tray, where I could grab them in between takes.

These were the ones for the barber pole cowl, along with my notes.
Using step-outs for class isn’t anything new: I often create similar things for my workshops.  Still, having to have all the step outs for for classes has consumed most of my time for the last two weeks.  And I have to admit it wasn’t even very absorbing work: basically, I did the same project over and over, each time going onto the next step.
Even if I love a design, the process became boring.
Still, it meant on filming day, I could grab and go, use the step-out, and move onto the next step.  It also means that now that I’m back, I’m having to sort through everything that I tossed into my luggage at the end of the day.
Which kind of is a metaphor for how I’ve been conducting my life for the last two months.
I’m taking some time now to step back.  In a month I leave for TNNA, and there’s some larger-picture goals I have for the show this year.  Meanwhile, I have two guest bedrooms, and office, and other spaces around the house that have become a disaster.  I’ve went two steps beyond “I can’t find anything,” and have launched myself into “I must leap over the piles to get to anything.”
As Mr. Turtle has reminded me, the floor should not be used for a shelf.
So the next two weeks are going to be devoted unpacking, organizing and getting back into the normal Tinking Turtle grove.  If you haven’t heard from me, chances are your email is lurking in the bottom of my inbox – please be patient.

In other news, I’m adding a LYS to my teaching roster: Untangled Purls, in Fredericksburg, VA.  I’ve added the class offerings to my calendar – take a look.

Finally, I’ve been working the last few months with the Cultivar Design team to create a new Tinking Turtle website.  It was time, and I’ve been saving up for this endeavor for a while.  In the next couple of weeks you’ll be hearing and seeing some changes – and hopefully the result being a website where you can find out what you need a little bit faster.

One of the things I’m looking forward to is an updated calendar, which I’m absolutely excited and thrilled to have… since the google calendar I use now does the job, but not elegantly, and it’s really hard to add pictures.  You should, with the new calendar, be able to be able to see where classes are located a little bit better.

Adventures in Colorado: Filming with Interweave

Today I’m in Fort Collins, CO, and the looming sight of the Rockies dominates the skyline every-time I go outside.  The air is dryer than I’m used to, and I’m sucking back more water than I expected, and I actually used moisturizer on my face and hands – something I nearly never do.

Some of you may be wondering why I’m hanging at the base of the Rockies instead of tucked away in my home in Ashland, and you’d be right in wondering why I’m here – it has been a while since I wrote.  These two days, today and tomorrow, are the culmination of a crazy two three four months of work – 15 patterns designed and a full roster of teaching in the Spring Fiber Festival circuit.  That’s all capped off this week, where I’m filming four different classes for Interweave’s Online store.

Some of the classes I’m teaching are based around patterns you may be familiar with –  Stained Glass Rug, or Barberpole Cowl.  Some of the classes are based around projects that are due to come out this Fall.  They’re all about crochet.  All of them are on techniques I’m super passionate about: padded crochet, stranded crochet, crochet through the back loop, crochet short rows, and broomstick crochet.  Interweave’s crew has been awesome, and working with them has been such fun.  I’ve always loved the people who are drawn to “backstage” work, and the group at Interweave are great at putting people at ease and making the whole process fun.

Which isn’t to say I got back to my room and promptly zoned out for an hour.  Teaching in front of a camera is hard.  When you teach to a classroom at a fiber festival or shop, there’s an energy and flow that feeds back upon you.  When you get a great class, it’s energizing to teach them.

There’s none of that in film, but you still have to put out the same amount of energy.

Tomorrow we have two more classes to film, and I can’t be more excited!  I promise I’ll update you with more, but drop me a note – it’s been awhile since I’ve heard from people, and I’d love to hear your questions or have you tell me what’s going on!