MENU

The Largest Textile I’ve Blocked to Date: A Knit Lace Chuppah

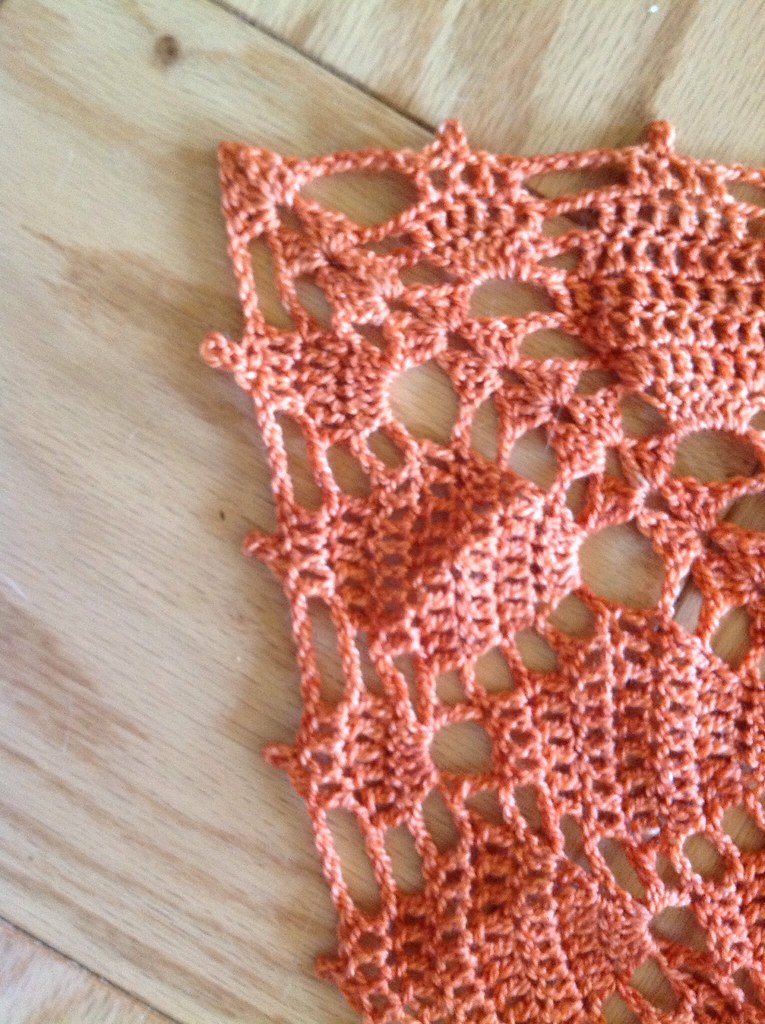
detail of lace star in middle of chuppahA while back I was contacted by a young woman getting ready for her wedding.  She had a rather unusal request: she needed a lace knit chuppah for her wedding blocked.  Part of a traditional Jewish wedding is the chuppah: a canopy under which the couple stands during the wedding cerenony.  The chuppah has a lot of symbolism.  Some chuppahs can be very plain, but many of them are passed through the family, and are elaborate family herilooms made of lace and embroidery are not uncommon.

When I first spoke to the young lady, she admitted that she had gotten in touch with a few other finishers, and none of them could take on an item so large.  She estimated that the finished piece would be about 10 by 10 feet.  I have to admit, I went through the house with a measuring tape, measuring each room in my house to see if I could fit something so large.  Luckily, our kitchen with all the furniture out would work.  It was 14×14 feet – which would give me just enough room to be able to walk around it when the piece was laid out.

[Read more…]

Blocking: Quick and Dirty No-Fail Method

Blocking is one of the things which simply transforms knits.  When people tell me they don’t like the finished result of their work, my first response is always, “Did you block it?”  Simply said, blocking can really, really make your projects shine.

So I’ve got a tutorial for you! Here’s how I block.

You will need:

  • The piece you wish to block
  • some towels
  • some water (cool, but not cold)
  • a place where the piece can dry, undisturbed
  • optional: pins
  • optional: something like Soak or Eculean if you wish for it to smell nice.  Or essential oils work too.
  • optional: things like blocking wires, pins, or in my case, a rubber band.  You’ll see.
  • optional: cats to watch what you’re doing (joking)
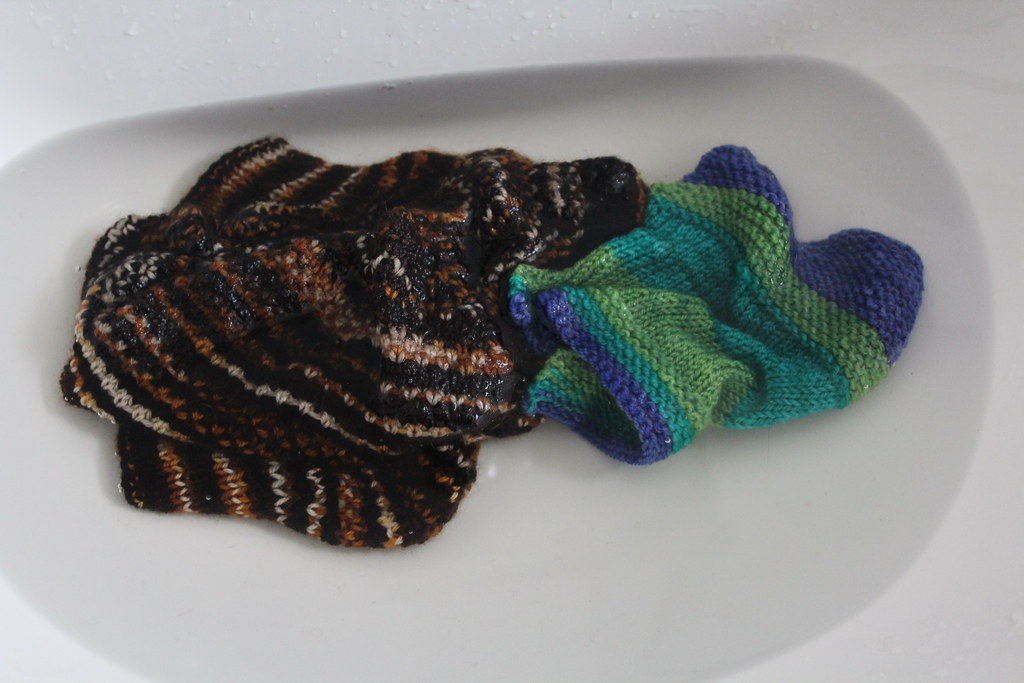
First, submerge your pieces in the water until they are completely wet.  Plant-based fibers will suck up the water right away.  Wool based fibers you might have to help a little.  I’m impatient – I squeeze the piece gently to get all the air out, because wool likes to trap air in its fibers.  Keep squeezing until no bubbles come out of your piece.  Or, you can just walk away and come back in an hour.  Both work.

Now, gently squeeze the water out of your piece.  Don’t wring, just squeeze.
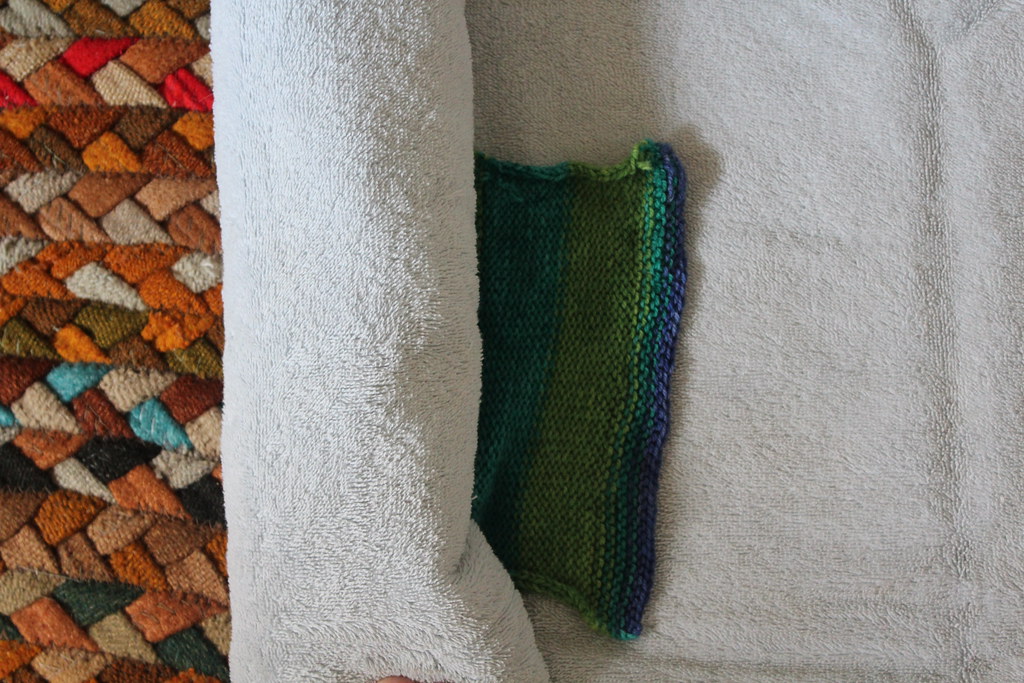
The next part’s my favorite part.  Lay the pieces out on a towel.
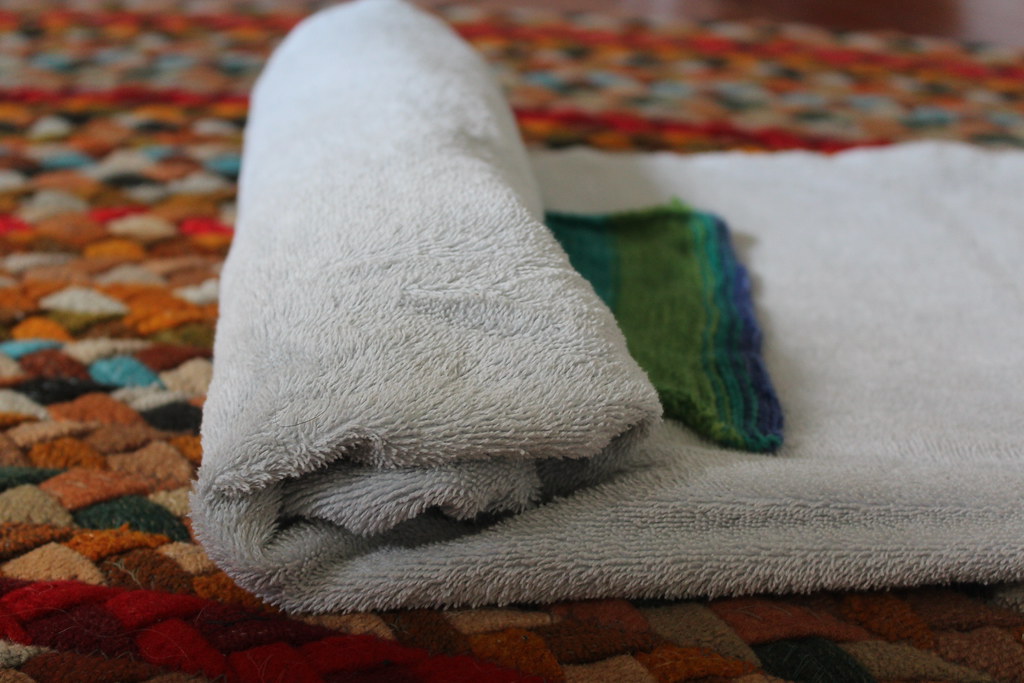
Then, start jelly-rolling them in the towel.
Keep rolling.
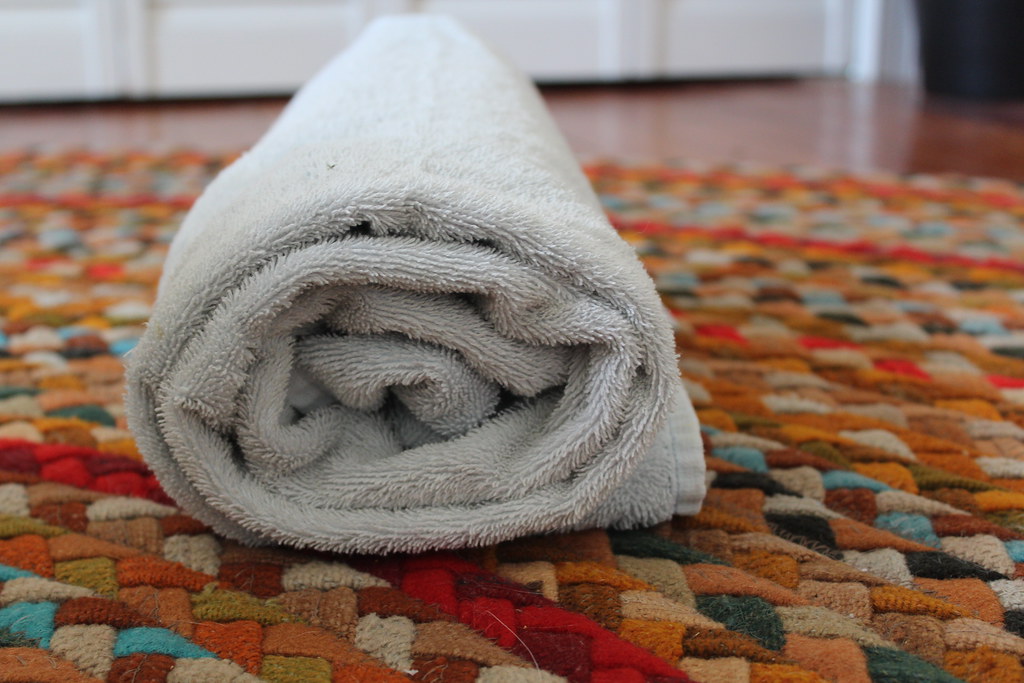
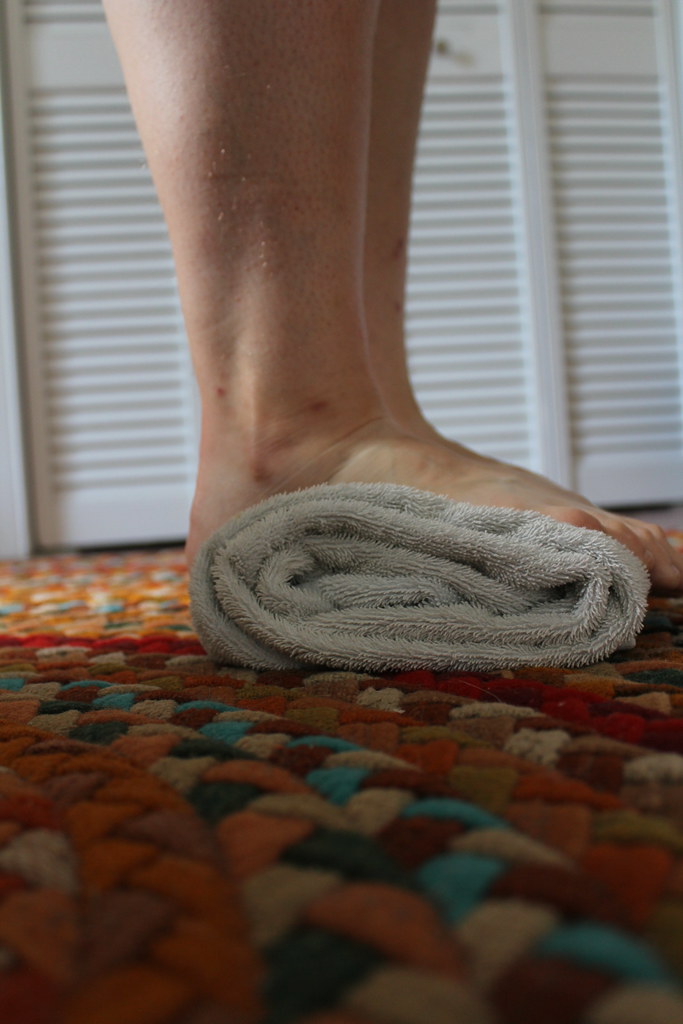
Until it looks like this.
Now, this is the highly technical part.  I tell my students in class this, and they all laugh at me.
In your bare feet (don’t do it in socks – your socks may get wet!), step on the towel.  Stand on it.  Then shift around and do it again.  You want to press ALL THE WATER OUT.
Sometimes, when I’m doing something really big, I need two or three iterations of this step – because the first towel gets SOAKED.  This case, because I was blocking a swatch and a hat, I only needed one.
When you take your pieces out, they should be damp, but not wet.
Now what happens?  Well, you have some choices.
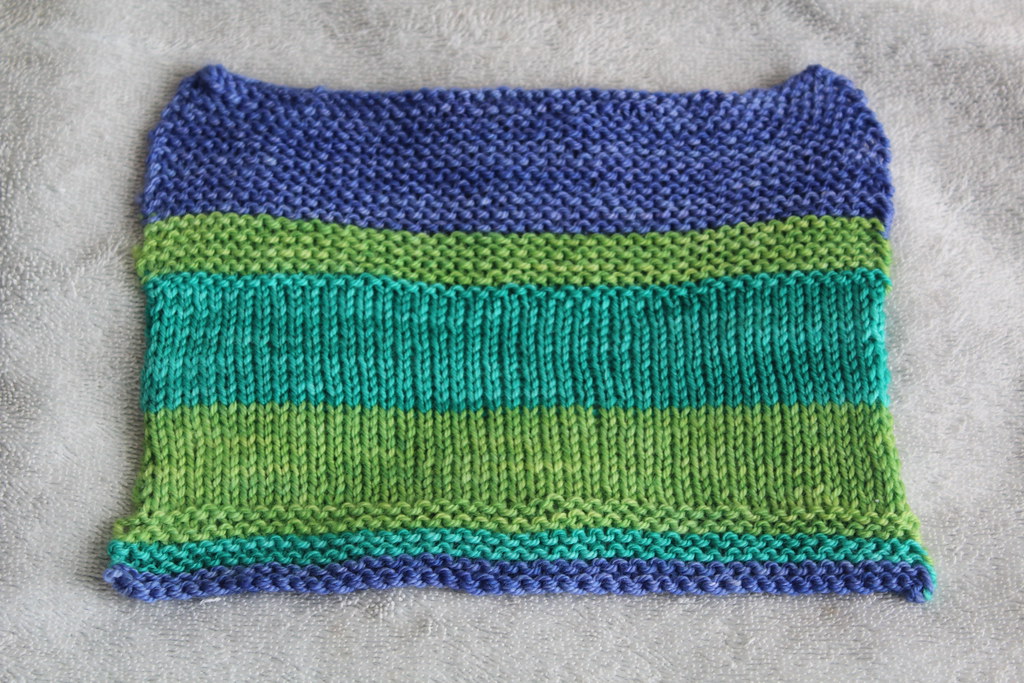
If the piece is something flat like my swatch, all you need to do is lay it out and pat it into shape.  No need to stretch or contort the piece!
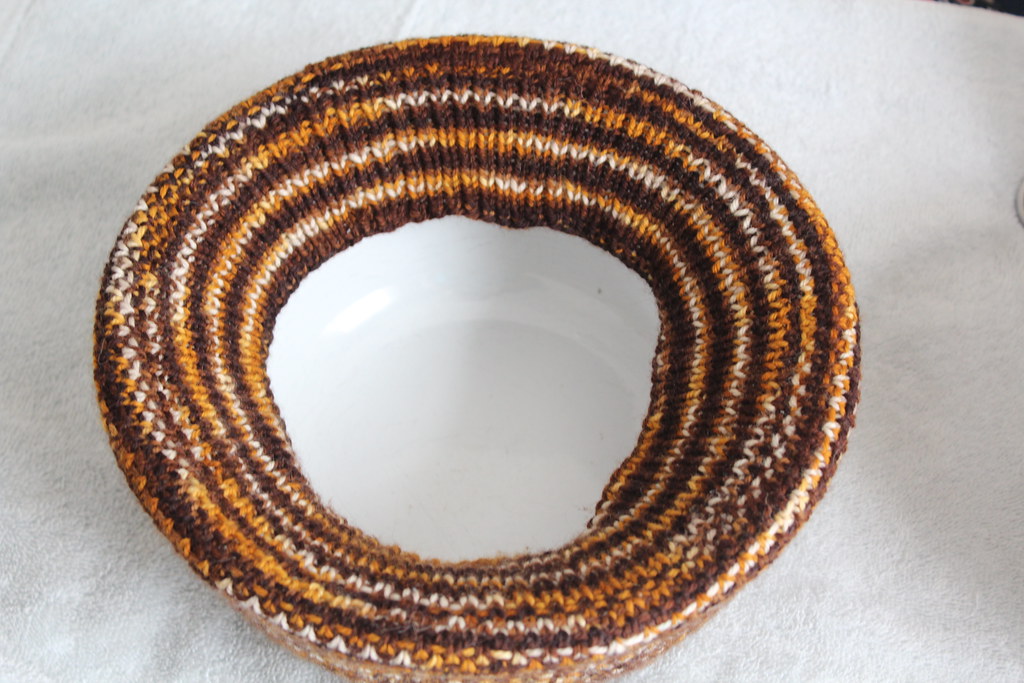
For my hat, I needed some assistance.  I needed something larger than a head, because I wanted to block this piece open and stretch things out.  I wanted the final hat to have drape and slouch.  FYI: I did the same thing with my Triple H!
So I found a bowl that stretched the hat out, but left the ribbing at rest (because I didn’t want to block the ribbing out, I still wanted the ribbon stretchy).
Here’s the hat stretched out over the bowl.
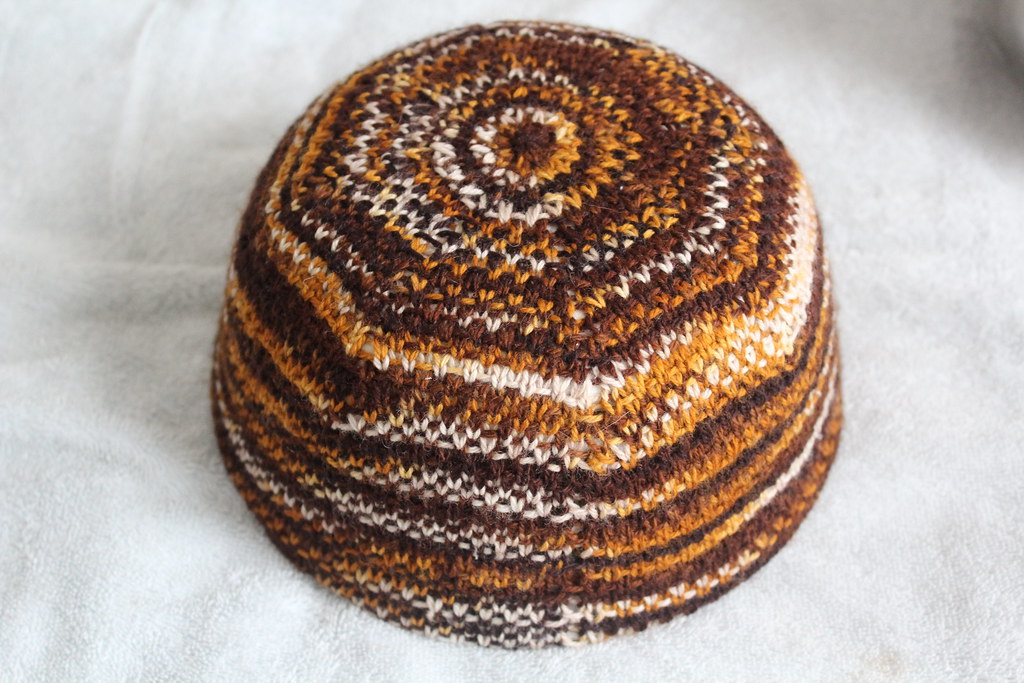
Still, the hat kept shifting out of place, so I figured I needed to take one step further.  I pulled the ribbing in, and held it in place with a rubber band.  Perfect!
Then I left it to dry.
For something like the Sylva Shawl, I needed to take a bit more extreme measure.  This shawl needed the lace to open up quite a bit, and I wanted to give the shawl a particular drape and swish.
So I used pins and blocking wires.
Blocking wires are great because you can bend them a little for a curved shawl like this.  See how I threaded the blocking wire through the shawl?  The pins are just holding the blocking wire in place.
This thing was big enough I didn’t have anything big enough to block it on.  So I pinned directly into the mattress.  Shhhh!  Don’t tell Mr. Turtle!
Sylva Shawl, all blocked out.

Breaking Down Blocking Knit and Crochet Items

The other day I got a question in my inbox, and I got permission to post it in its entirety, because I thought it was such a good question!

I got some blocking mats, pins, and wires and have been
experimenting with blocking some smaller things that I made, like
scarves.  I recently finished a crochet project that I’ve been working on
for a while (Daisy Wrap) and I don’t know where to start with blocking
it….well, after I soak it in water for a while anyway.  The blocking
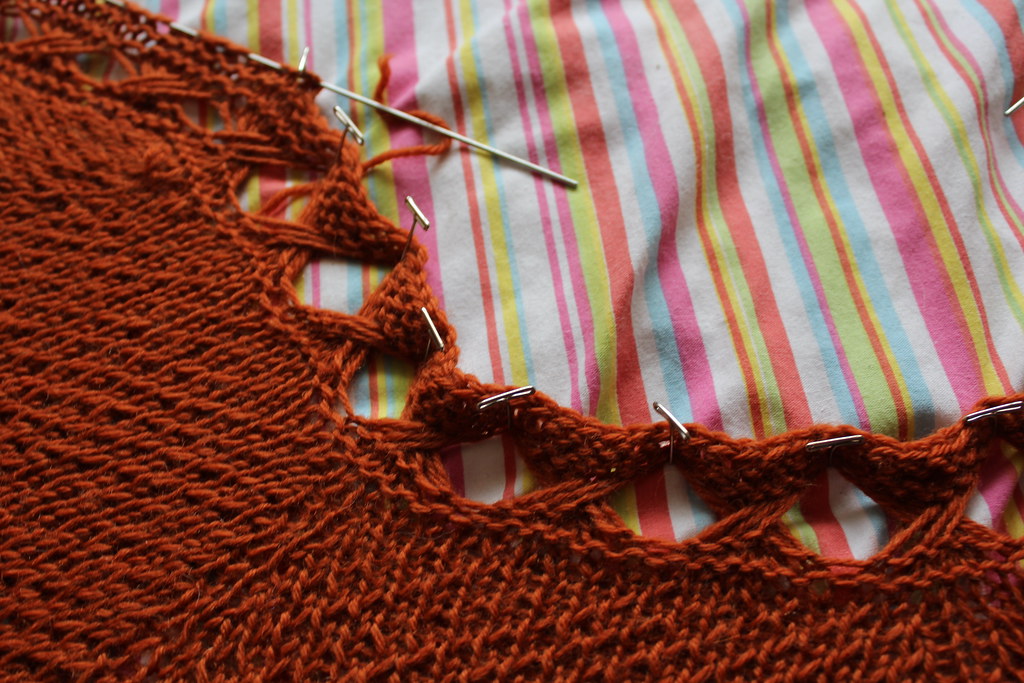
instructions say to pin each picot and there are a lot of them.  What would
you recommend for blocking?  Fold it in half?  I have enough blocking
mats to block it full length.  I don’t know where to start with this!
 Thanks,An Overwhelmed Student

Blocking shawls with lots of points can be a particularly daunting task – and I’ve been known to futz around with a project to get them all exactly right for the better part of an hour.  This is what I wrote back to Sue:

I’d would fold
it in half, just because it’d reduce the amount of pinning I’d have to do by
half.  There’s no two ways around it… if you want to have all those picots
standing out the way they look in the pattern, you need to pin them out. I’d probably
take a blocking wire and run it through the two or three picots that are at the
point of each of the arches, and pull those out on each side, just so I didn’t have to pin all of the picots.  I’d pull those out, and then just pin out
the picots that didn’t get picked up by the wire.

My own Freshly Blocked Firefly Shawl
That was my answer to Student, but I wanted to expand upon it here.  Blocking lace (especially shawls) can be one of the most important steps of finishing a project!  It can truly transform the results.  The Designer, Kristen TenDyke, was blocking Daisy Wrap had a particularly striking picture of the shawl half-blocked, and I love how you can see the difference between the two sides.  Another Ravelry user has a great picture of the effect blocking out each of the picots has on the final product.
Since blocking is so important in this case, it’s a question of how to block the shawl, not if.
If you have the space and the blocking matts, blocking it out as the designer did is not a bad idea.  I love the blocking mats that have a grid on them – they make it much easier to evenly space pins.  If you are squeezed for space, you could fold the shawl in half and block the same way – with just two layers of fabric instead of one.  My caution would be to make sure you are always pinning out both layers of fabric – so all the picots stand out evenly!
One of the things I love most about blocking is how reversible it is – if you block the piece out and you don’t like how it turned out; wet it and try again!  It’s a lot easier than picking back stitches.

I shrunk my socks in the wash – now what?

I’ve been winding down from a mad sprint that began shortly after Thanksgiving and wrapped up this past week.  It’s been several months of multiple deadlines every week, and staying on top of all the personal and professional obligations has been difficult, to say in the least.

For the first time in what feels like forever Mr. Turtle and I got chores done on Saturday instead of Sunday. It’s our habit to do grocery shopping and laundry on the weekend, and over the last few months laundry has been done on Monday or Tuesday night (or even there’s been weeks skipped), and grocery shopping late on Sunday when we get home.  While it seems like a small thing, being able to get our chores done not at the last minute has been wonderful – once the chores are done I can relax into the weekend.

Since laundry had been skipped last week, there was a plethora of hand-knit socks that needed to get washed.  I like knitting my socks in superwash wool – they go into the washer with the rest of the clothes (cold or warm cycle) and then get pulled out to hang dry.  The rest of the clothes go in the dryer.

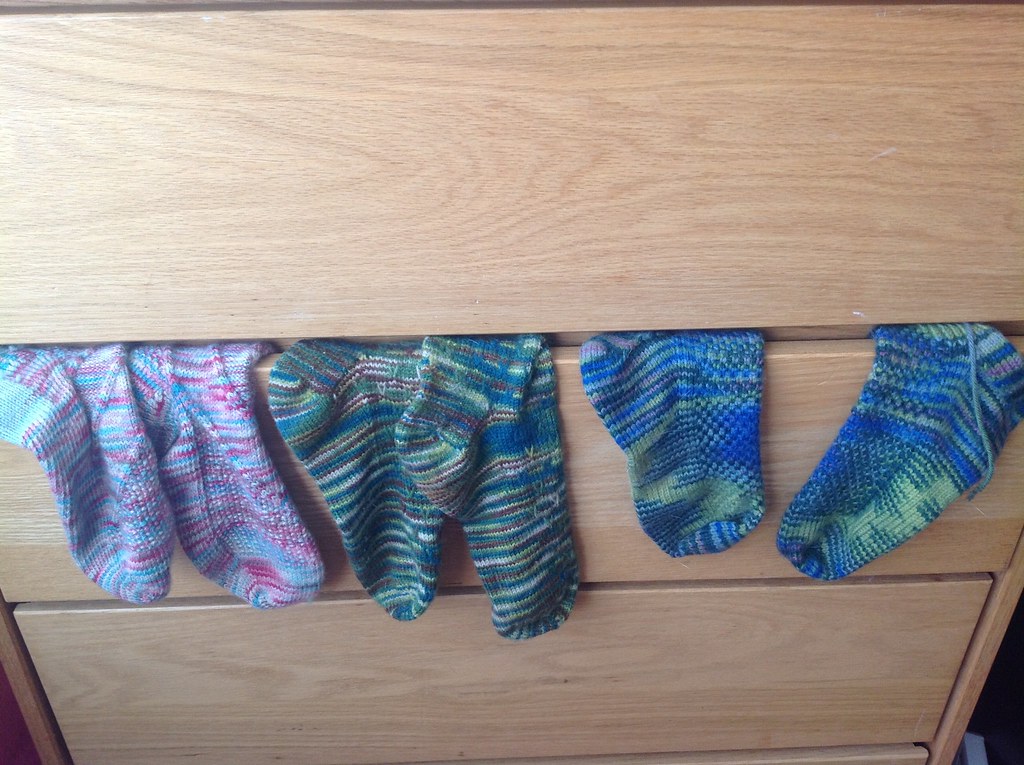
My highly technical way of drying socks – over the edge of the sock drawer.

Well, we missed a sock… which made it into the dryer.

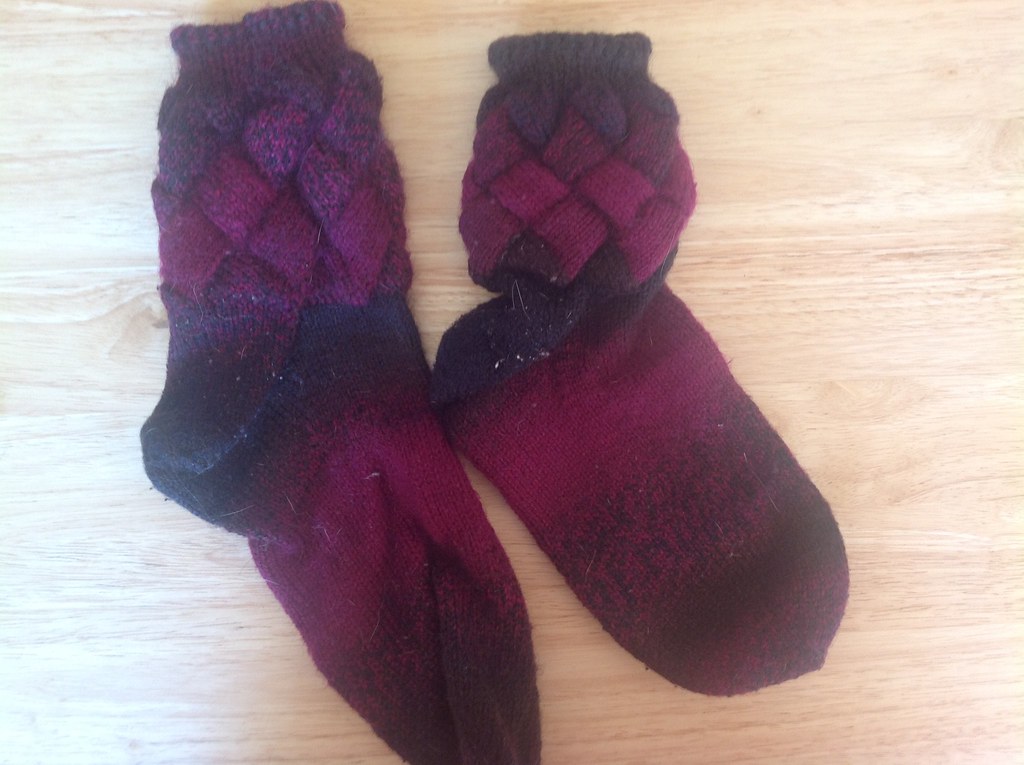
Now, this is no great tragedy – I’ve had socks go into the dryer before, but I don’t particularly like it because in the dryer my row gauge shrinks. (I’m not sure why – perhaps because when they are hang drying the weight of the socks keeps the row gauge stretched out?)  Still, it was an interesting comparison between the line dry sock and the hand-dry sock.

Line dry sock left, dryer sock right.

This is a quick snapshot from the ipad – not particularly well exposed, but you can see the difference between the line dried sock (on the left) and the dryer sock (on the right).  The dryer sock is a good inch and a half shorter, and while the ribbing is pleasantly snug, the heel is nearly too small and if I put the sock on… my toes would be quite squished.

Luckily there’s an easy way of fixing the situation.  Now, let me make it clear – the sock on the right did not felt.  It just shrunk a bit – and got blocked in a particularly enthusiastic way.

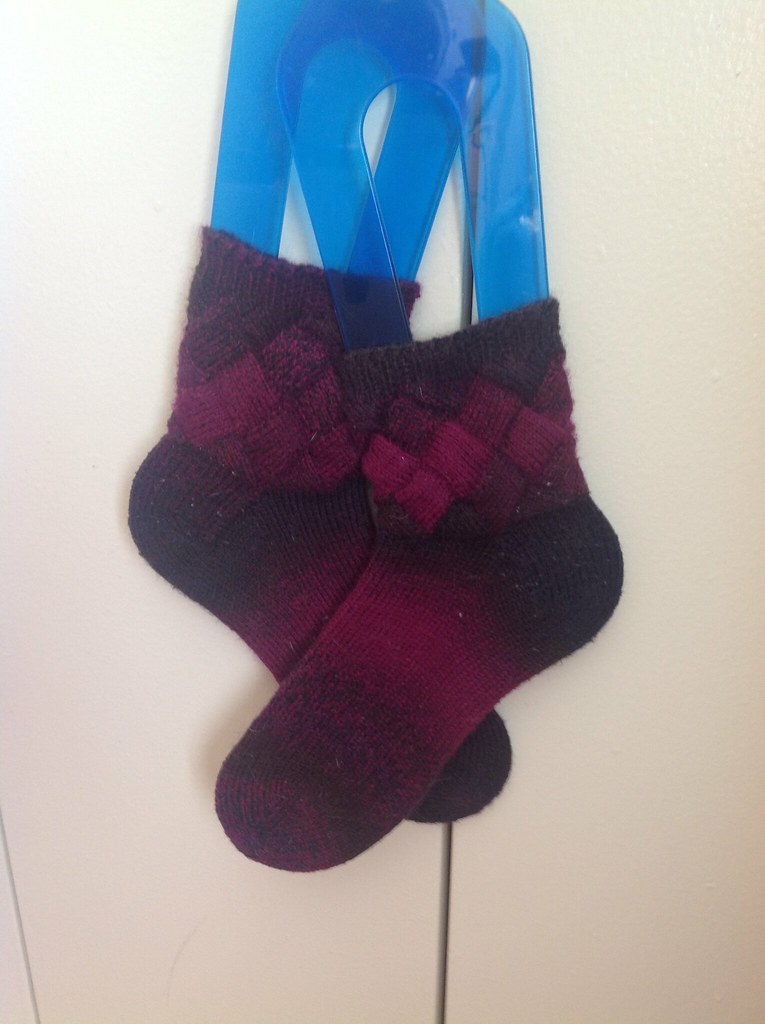
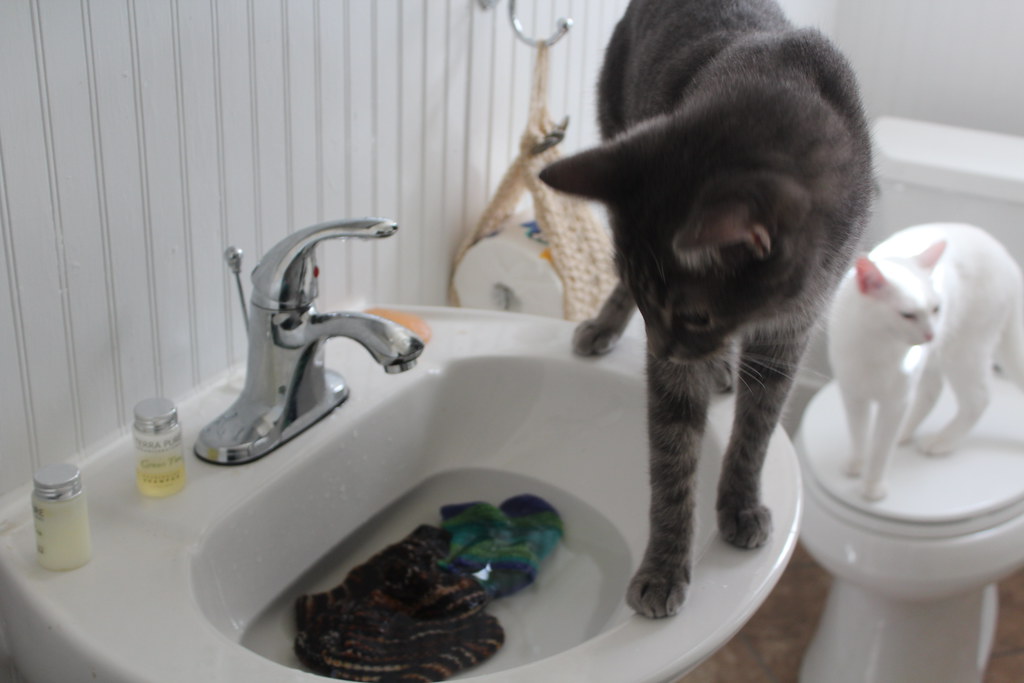
So I dunked both of the socks in the sink filled with water, blotted them dry with a towel, and then hung them damp on my sock blockers – by tomorrow afternoon latest, they’ll be as good at new.

My socks, looking particularly nice on my sock blockers.

Tools of the Trade

This morning – before I packed myself off to Weight Watchers, before I even started printing out worksheets for the classes I’m teaching at The Yarn Spot today, I was taking pictures while the light was good for design submissions.

I was using the trusty tools of my trade – knitting needles (no, not for knitting – for blocking!), playing cards (for getting a stitch pattern knit in the round to lie flat and pretty), and a variety of pins and stitch markers.

Since the camera was out, I took a picture, because every once and a while it’s good to notice the small things you use to get to the big things.

Have you went to vote yet?

You should.