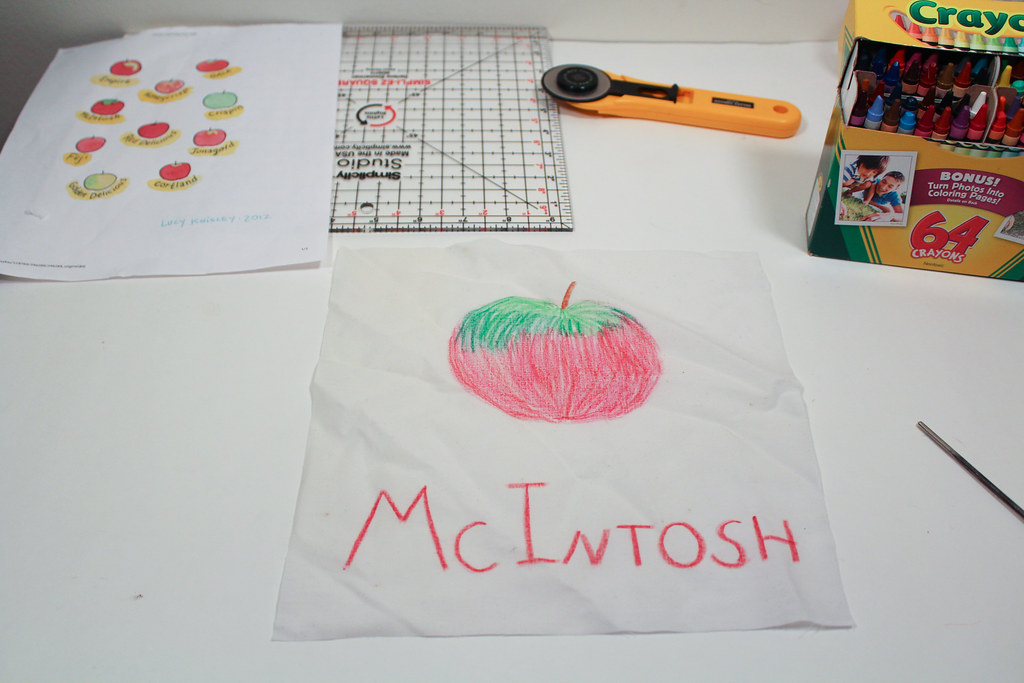
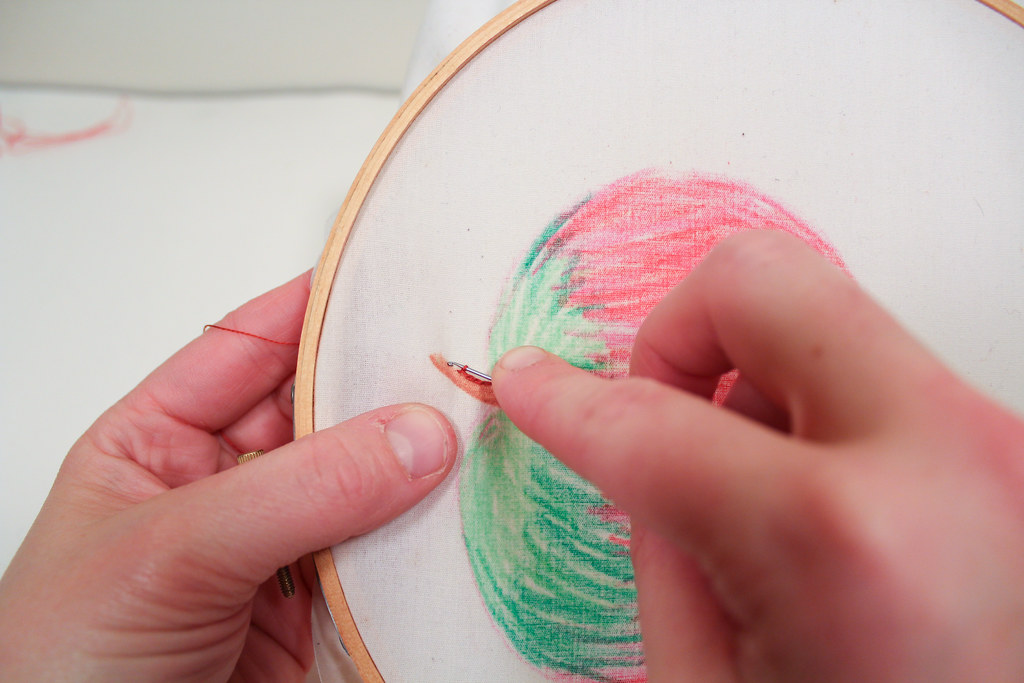
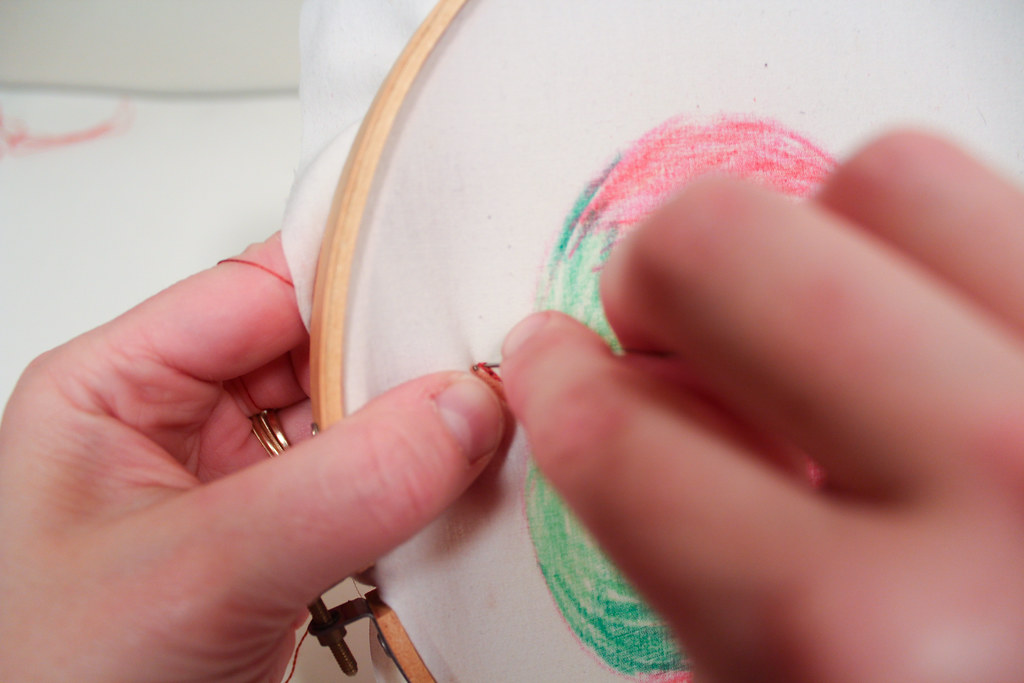
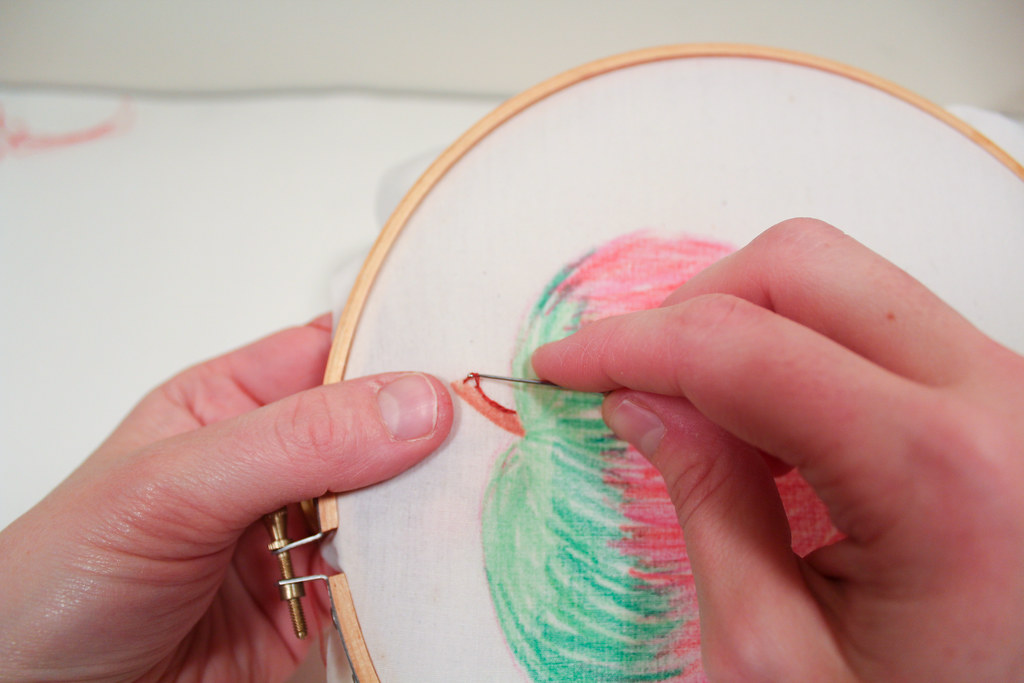
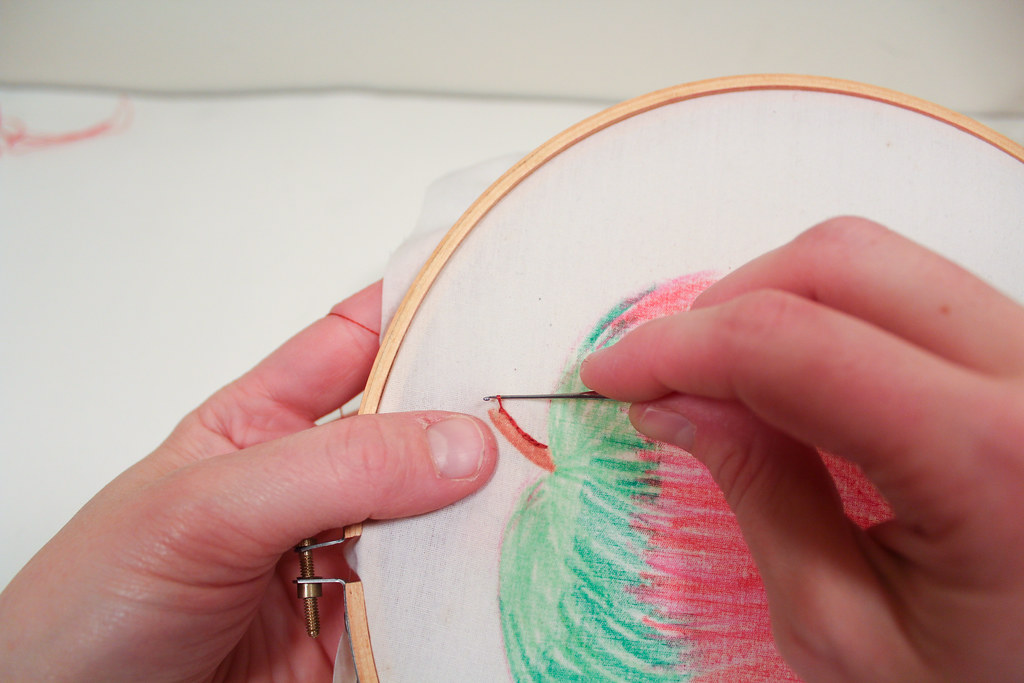
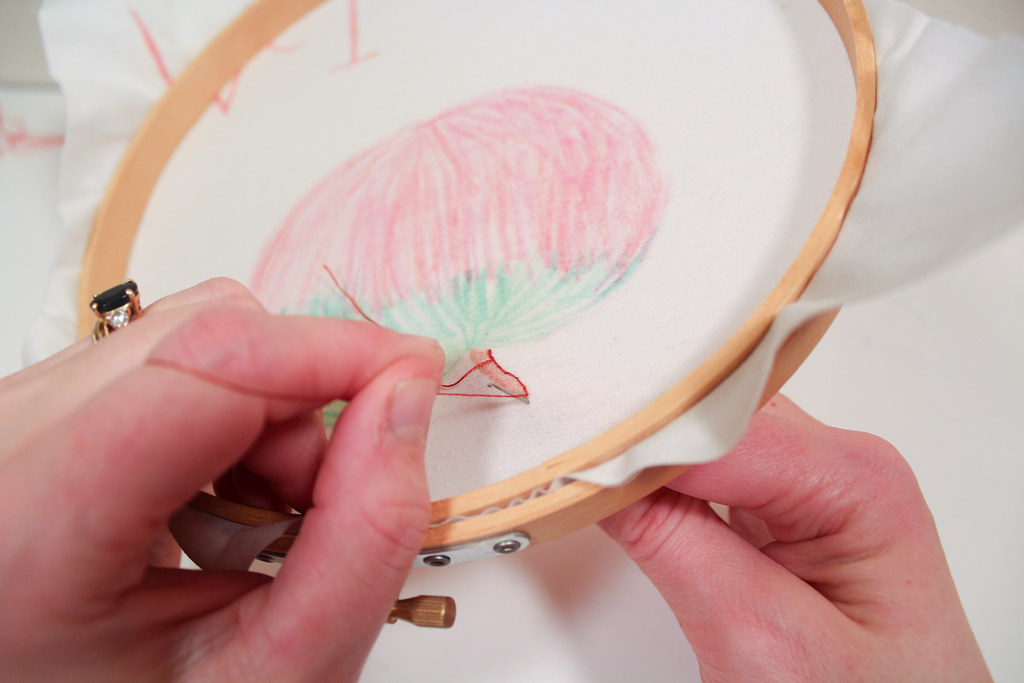
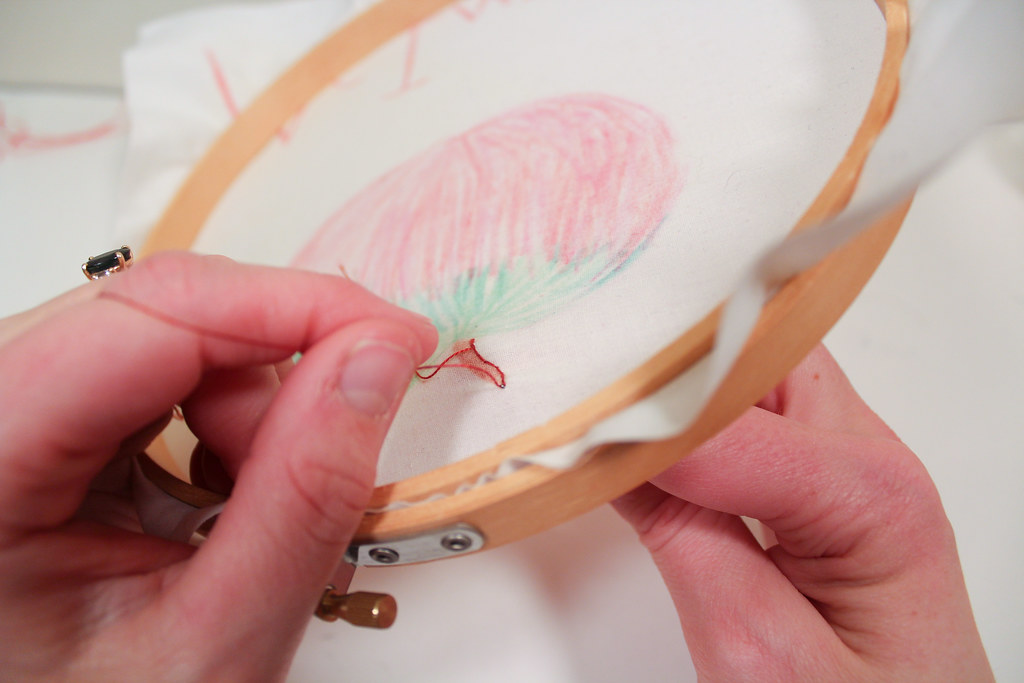
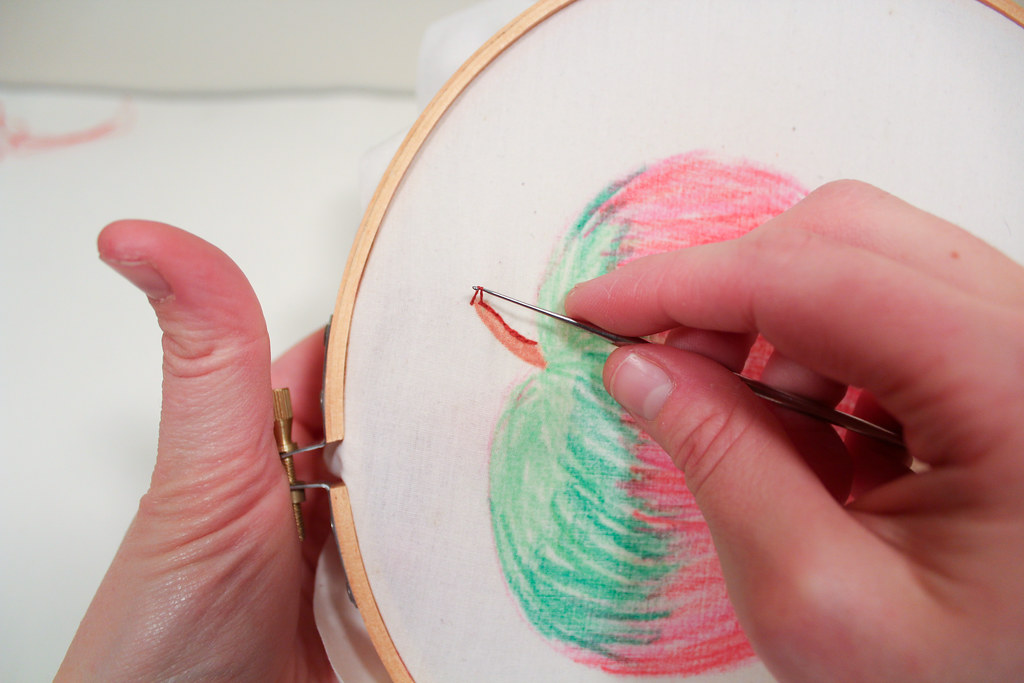
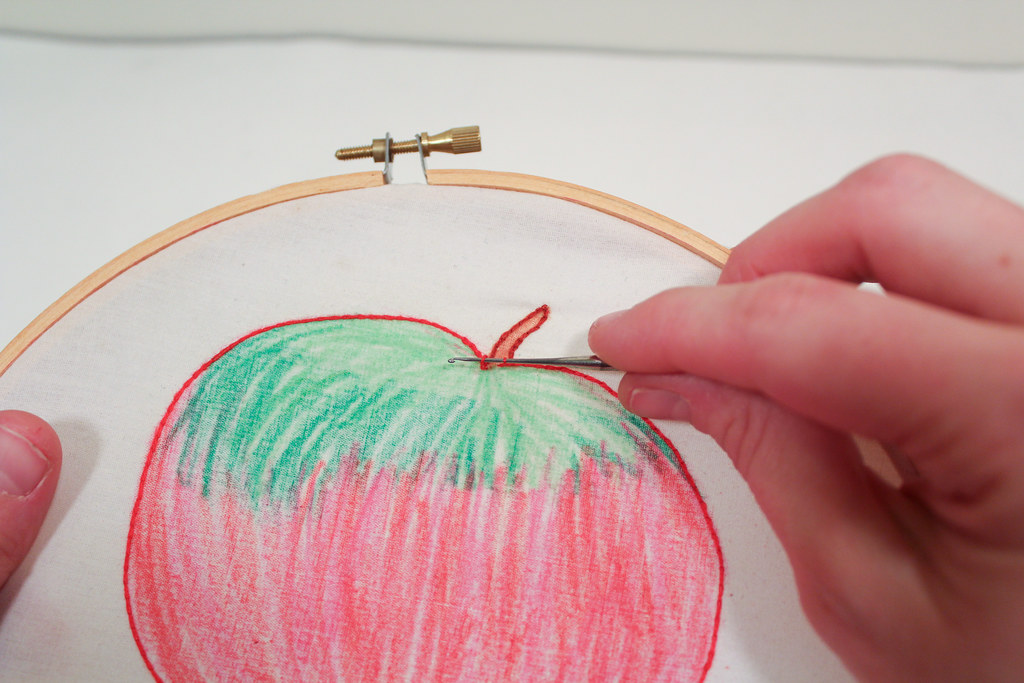
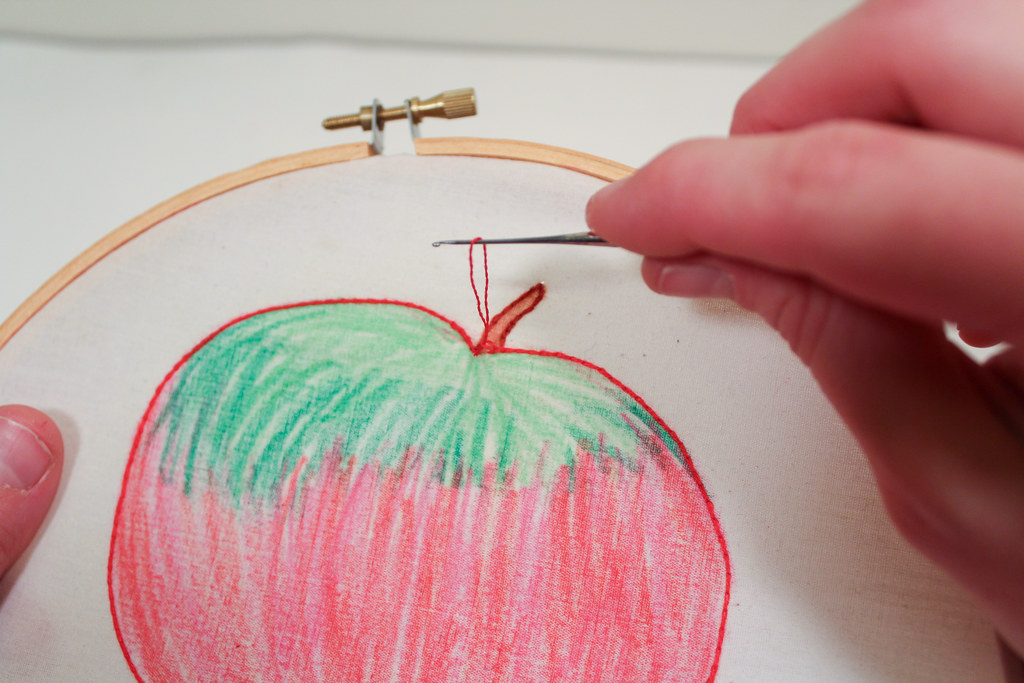
First, you’ll sketch out your design in the crayons. I prefer crayola crayons, because they seem to have the best color. Press well and make sure that your color is the depth of color you want. Coloring in the background means if you don’t embroider everything, the color will show through, which is a neat effect, I think.
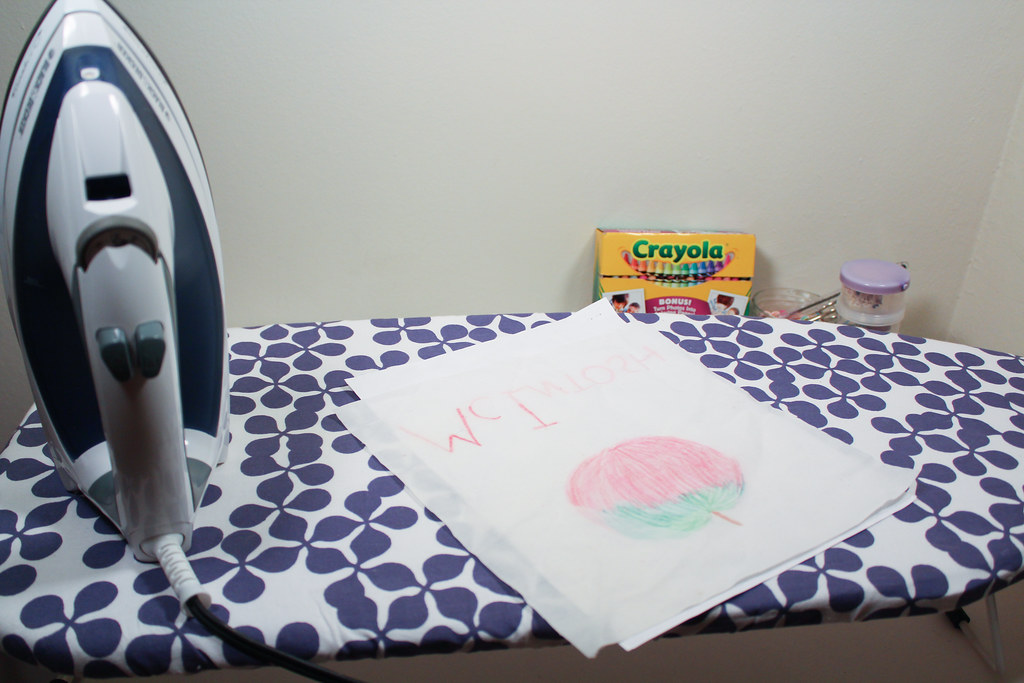
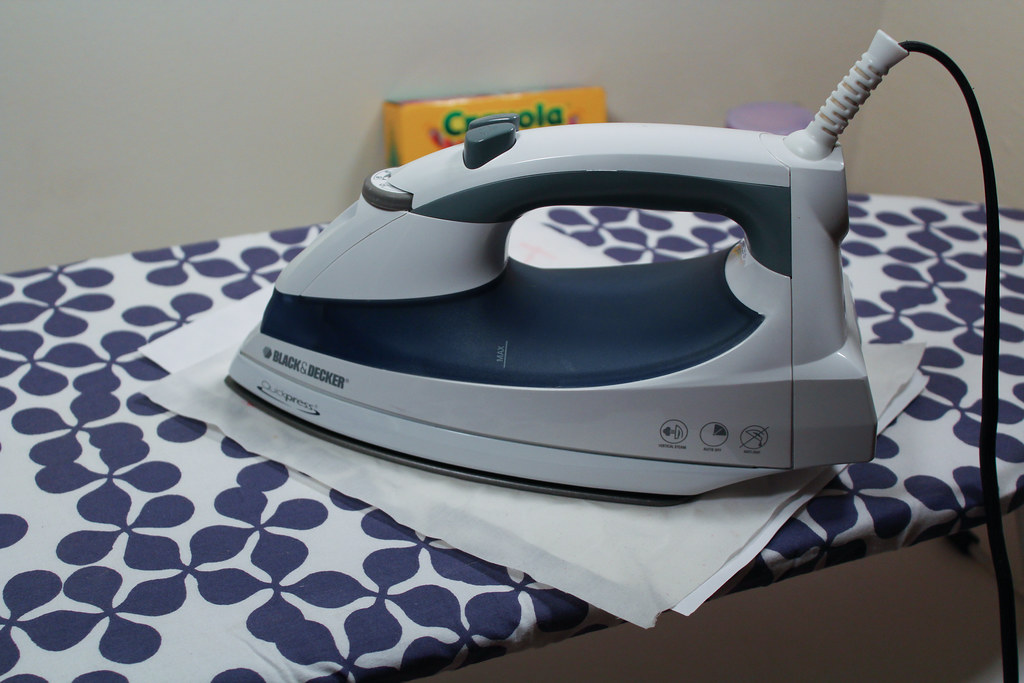
Next, iron the design into the fabric. I use the highest heat setting. Put the side with the colored design face down with a piece of paper underneath (as some of the wax from the crayons will melt off).
Then, proceed to iron.
See the faint impression of the crayon? This is why the ironing is important.
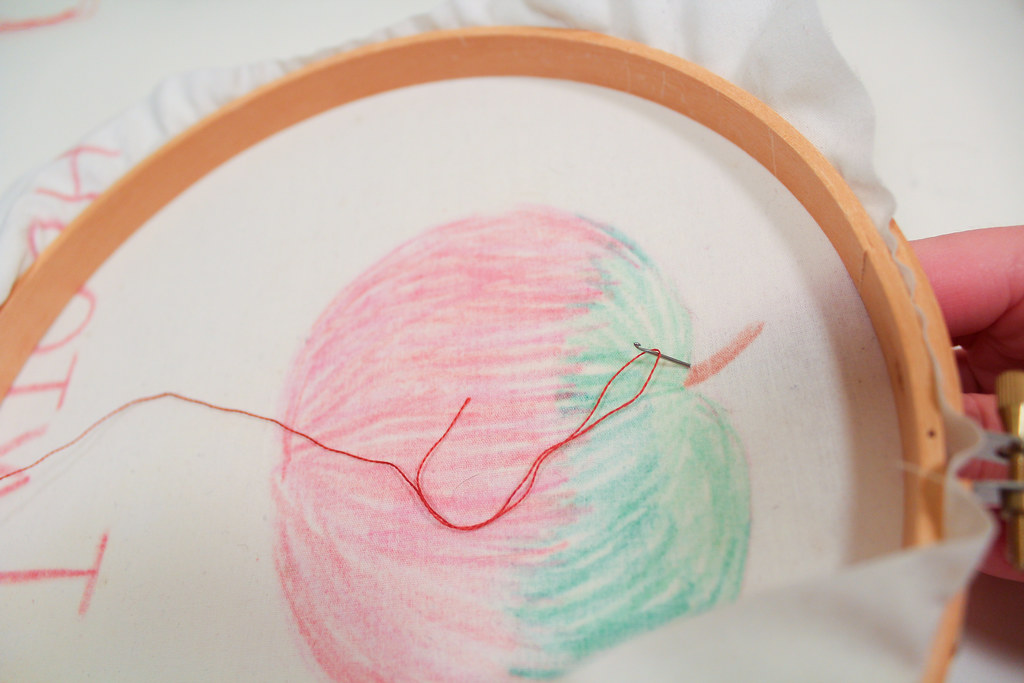
Take the embroidery floss and the tiny crochet hook. Insert the crochet hook from the front to the back, and pull a loop of the floss through the fabric.
It might take a bit of wiggling, but it’ll work.
Pull the loop up to the front side. You now have your working loop.
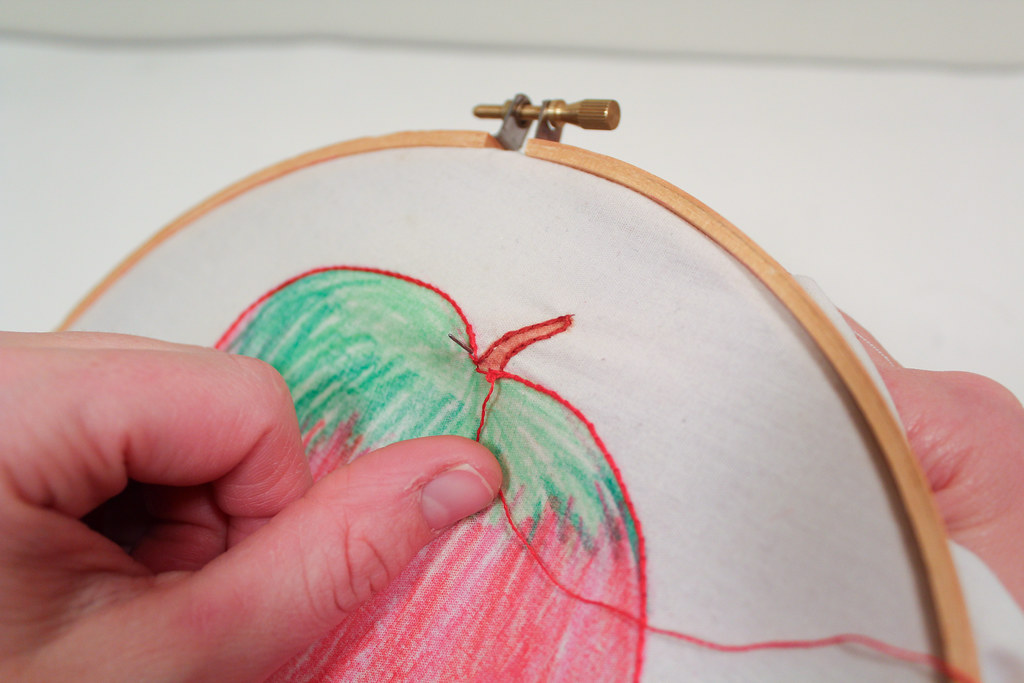
Now, punch through, grab another loop from the yarn in the back, and pull that through the fabric. Pull the first loop through the second loop.
Continue, punching the hook through the fabric,
Grabbing a loop and pulling it through the fabric,
… and pulling the new loop through the old loop.
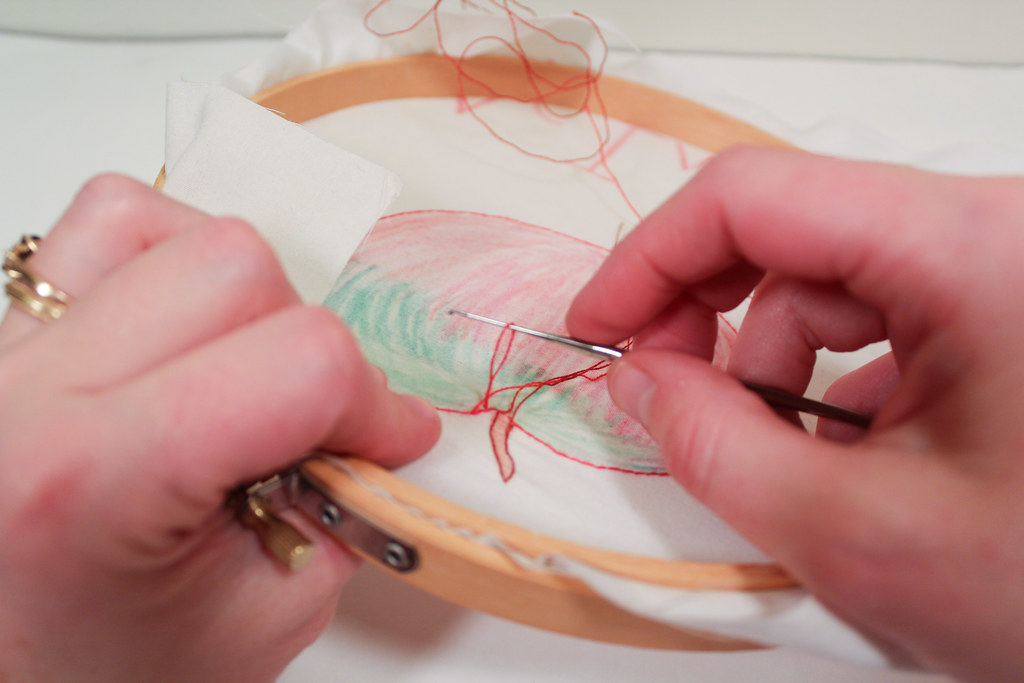
At this point you should be tracing the outside of the design. The back should look like a straight line, while the front should look like the chains stitch. Here’s a look at the view from the back, the hook coming through the fabric,
and pulling it through to the front-side.
Now, you pull the first loop through the second loop.
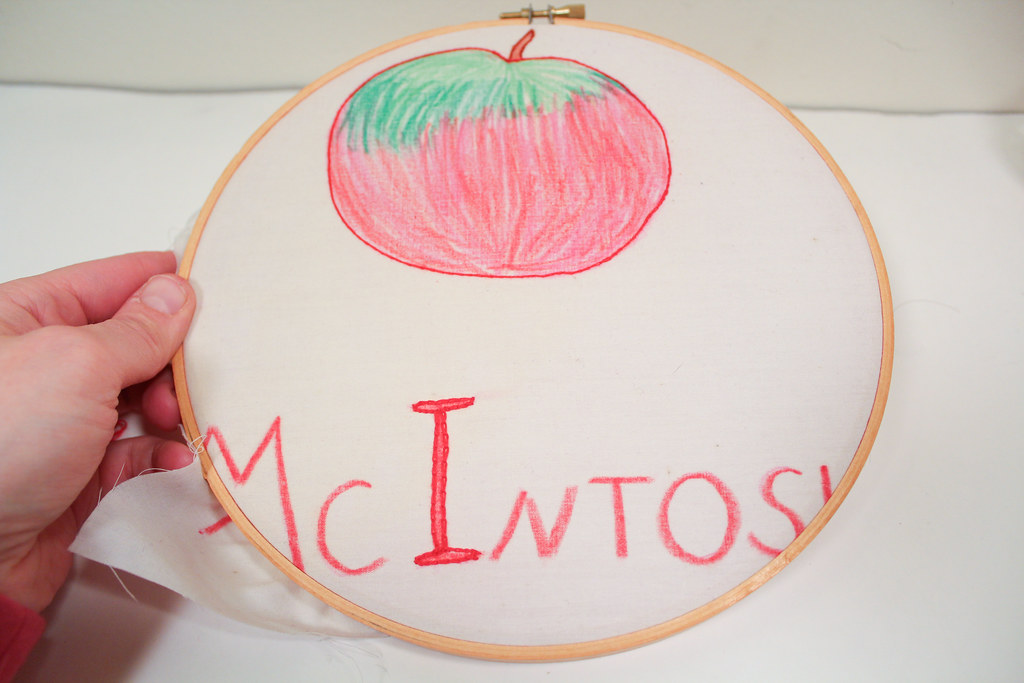
Here, I’ve traced the outside of the apple, and I’ve finished with this series of stitches. How do I finish the chain stitches off? First, I begin pulling the live loop through the fabric.
More…
And more….
Until the floss in the loop is all on the front side. But now my leftover floss is on the wrong side of the work. What next?
Now I grab the thread from the other side (the wrong side) and pull it through the fabric once more.
All the way to the back! Here, I can knot it and weave in the ends!
Tah-Dah! What do you think?


