MENU

Book Review: Socks A La Carte Colorwork

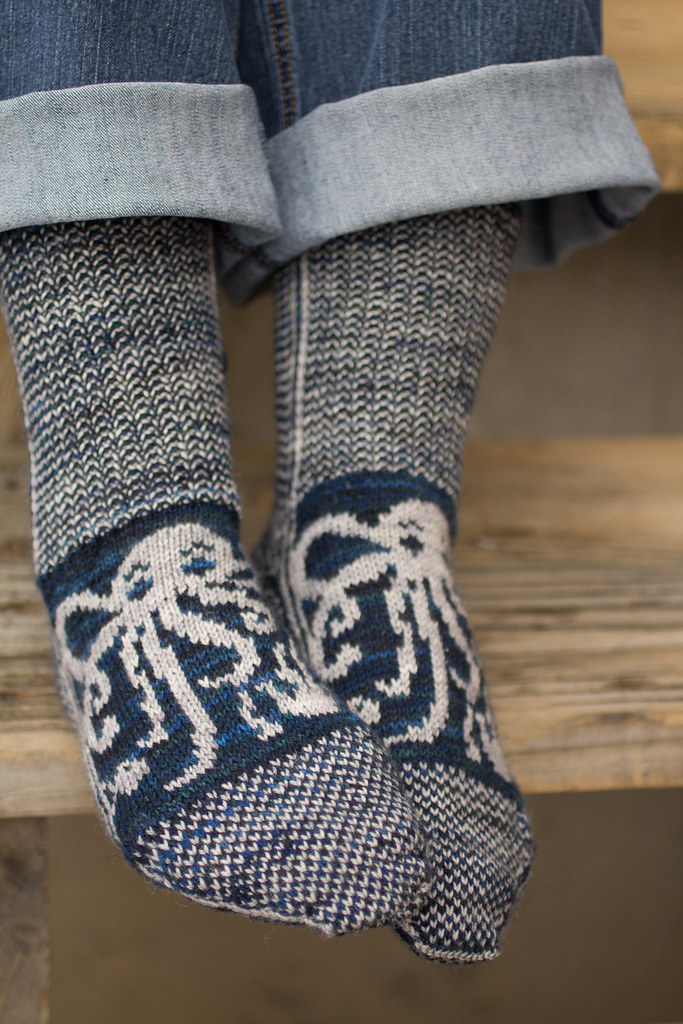
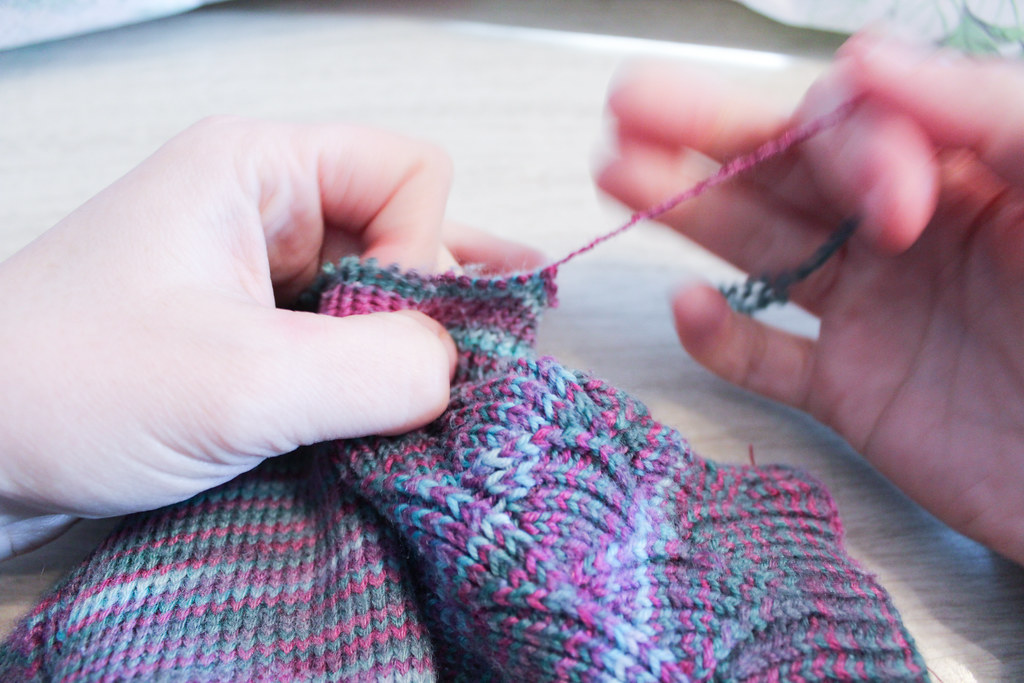
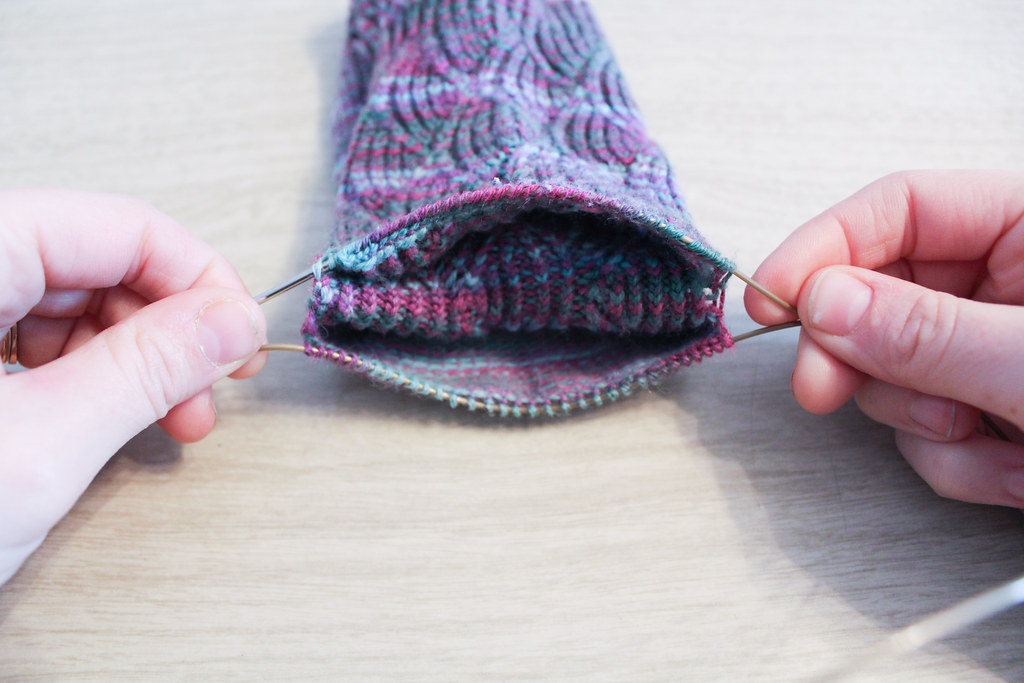
Today has been the day of socks.  I had to get the knitted sample of a design I’m working on for Sockupied off by 3 – so I was knitting the afterthought heel into the sock the entire morning.  (It was in Anzula.  It wasn’t exactly a hardship.)

Then, as I was working on the heel, my girlfriend Lois called with some knitting questions.  Specifically, I’d worked with her and another friend so they could each make their first pair of socks, and now Lois was getting ready to tackle her second pair.  Since working with the two ladies had been a rather informal affair, they’d gotten a sock pattern tailored specifically to them, and Lois had some questions about why I’d chosen the particular toe and heel that I’d taught them.  It led to a wonderful conversation about sock knitting philosophy, and in the course of the conversation I made a book recommendation that I’d thought I’d pass along to the rest of you!
Most of the resources I use for sock knitting that I reference nearly all the time are Knitty Articles.  Kate Atherley (who also tech edits for Knitty) has written a comprehensive primer of sock articles.  My favorites are Socks 101 and a blog post talking about foot sizing relationships.
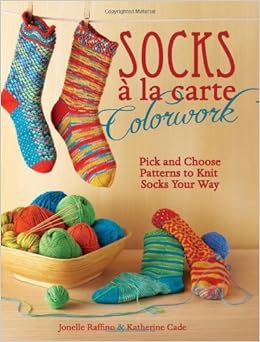
Still, I started thinking about one of the books I used a lot when I first started knitting socks.  I ended up telling Lois about the Socks A La Carte series by Jonelle Raffino & Catherine Cade.  I own the Colorwork one, and have borrowed from the Library a few different times the other two.
What I love about these books is simple.  Remember those toys when you were a child where you could pick a head, pick a body, then pick a pair of legs?  And you could mix and match them to your heart’s content?  That’s this book series.  You can choose what you like from all the different patterns, mix and match, and come to the pair of socks that you like the most: with your favorite toe, heel, cuff and leg.  It’s particularly delightful.

In other news, I’ve got some serious pattern writing to do tomorrow.  So if my blog post on Friday is light, you’ll know why.  My brain will be wrung out.

Lastly, I’ve been having a great conversation in the Designer Forums on Ravelry about work schedules, Flow, and staying on task.  It’s particularly enlightening.

Post Mortem Part 1: Octopodes Socks

Back about a year and a half ago I had an idea for a pair of mittens – a cute little pair with an octopus on them.  So I printed out some knitting graph paper and sketched out a design.  I thought I wanted to either self-publish these or submit them to Knitty (because what other publication would want octopus mittens? – they seemed pretty niche), and then I wrote a proposal for yarn support and sent it to Dragonfly.  It went like this:

I could have fallen over when Kate, from Dragonfly, said yes.  Since Dragonfly is not even a 10 minute drive away, I went to them to pick the yarn up.  When talking to one of Kate’s employees (who were helping me with the color choices), she advised me toward the Silver Fox and Poseidon.  I’d been looking at Kelpie and an Orange that I liked – and she mentioned that it might not be such a good idea, as there was already a pair of blue and orange octopus mittens on Ravelry… which were also done in similar yarn.
I quickly settled on the Silver Fox and Poseidon after that.  And then I went home to Ravelry to look up the mittens – titled Octopus Mittens.  They were lovely.  Amazing.  And I couldn’t believe that Emily Peters had gotten to the idea first.
I was devastated.  I’d really loved my idea of Octopus Mittens, and I didn’t want to give it up… but I was so rattled by the similarities I didn’t know what to do.
That evening I told Michael (now Mr.Turtle) about my dilemma.  His response?  “Put them on a pair of socks.  Socks are the same as mittens, right?  I mean, one has thumbs, the other has heels.  Both only have one hole.”
That bit of common sense broke my panic.  Emily’s octopus was completely different from mine.  Mine was a little cutesy, and hers was definitely more tentacle-ly.  Hers had bubbles and the design moving onto the palm, mine did not.  And now we were even working in different colors.
And I had chosen sock yarn for the mitten pattern – so no problems there.  Socks they would be then!  So I began knitting on the socks – not realizing there’d be a lot more to this design.  Stay tuned tomorrow for Post Mortem – Part II!
Did you know that Dragonfly and I are running a KAL, starting on the 24th?  Pick out your yarn and get your needles ready (or even get a head start!) for an epic KAL.

It’s Official: Octopodes, my pattern in Knitty, is out!

I can finally share the exciting news!  Octopodes is my latest pattern, published in Knitty.  I am so excited to share the news – I’ve been holding onto it for what feels like forever!
As a thrilling addition, there will be an Octopodes KAL starting on March 24th, hosted in Dragonfly Fiber’s Ravelry Group (they’re the ones who provided the delicious yarn!).  There are going to be prizes!  I’ll be doing a series of blog posts and tutorials to go along with the KAL (and there may be some other exciting things in regards to the KAL coming up)!  Stay tuned for more information, or sign up for the newsletter and get the information delivered straight to your inbox.
If you love the design, please share it on Facebook, Ravelry or Twitter – spread the word!
The Details:
Octopodes
by Jennifer Raymond
Craft: Knitting
Category: Feet / Legs → Socks → Mid-calf
Published: March 2014
Yarn weight: Fingering / 4 ply (14 wpi) Information on yarn weights
Gauge: 36 stitches and 36.5 rows = 4 inches in In Stranded Colorwork
Needle size: US 1 – 2.25 mm
Yardage: 226 – 442 yards (207 – 404 m)
Sizes available: XS[S, M, L, XL]
 This pattern is available for free.

What You Need to Know to Repair Handknit Socks: Adding a New Afterthought Heel

One of the reasons I love my mother is because she gives me back the hand-knit socks I made her to repair.  Today I’m going to show you why I love afterthought heels, and how easy it is to replace the heel in an afterthought heel sock.

These socks are Pomatomus, an older pattern on Knitty.  You might notice here that my stitches on the sole are twisted… I had a theory a few years back that socks with twisted stitches might wear better.  While I don’t think that’s the case anymore, please just ignore the twisted stitches if you notice such things.

holes in my hand knitted sock
Holes in the Sock

As you can see above, a hole has developed between the heel and the body of the sock.  This is due to a few different things – first, I didn’t really know how to weave in my ends as well as I do now, so things are not staying together as well.  Second, my mother has a rather wide heel-to-ankle ratio (like me) and I’ve learned since I made this pair that it’s better to add a bit of extra room at the heel.  Finally, these socks are over five years old, and one of my mother’s favorite pairs I’ve made her – so they are just wearing out.

holes in my hand knitted sock thin yarn
Thin Stitches

You can see how thin the stitches are wearing.

So I’m going to make my mother a new pair of heels, and in the process save the yarn to do some other repairs to the sock (mostly reinforcing).  The first step is to remove the old heel.

cutting away knitting heel
Make small cuts!

I used scissors to just cut the first few rows because the yarn was so felted together there, and I’d done a better job weaving in the end at the heel, so I could find the end to unravel.

Snip!

holes in my hand knitted sock
All Gone!

Heel tip is gone.

I then began pulling the little bits of cut stitches away from the yarn that didn’t get snipped, until the fuzzies were all out.

unraveling afterthought heel
Removing little fuzzies

It took a while, and I ended up with a lot of lint to throw away.

Then I found an end to start pulling.  It worked for about half a row, and then ended, because I had snipped it in the process of snipping out the other end.

pulling out old afterthought heel
pulling yarn

The second end I started pulling was good. I kept pulling that until I was on the last row of the afterthought heel.  I then started picking up stitches as I pulled out each stitch.  I was slow and careful – I didn’t want to drop any stitches!

picking up stitches
Picking up stitches

The thing that worked to my advantage was that this sock has been washed and dried many times – the yarn wanted to stay in the place where it had been – in the stitch.  So I’d have to actively tug at stitches in order to make then drop, because the yarn is so matted together with wear.

kinky yarn

As you can see, the yarn wanted to stay crinkly even after I’d pulled it all out.  It reminded me of a spring.

kinky old yarn
boing!

This yarn I gathered up and made into a mini-skein.  I wet it down, hung it from a hook in the Farm’s basement, and hung a wrench from it until it was dry, to straighten the yarn out again so I could use it for other repairs.

But back to the sock heel.

When you’ve picked up all the stitches on both sides, it should look like the sock has sprouted a mouth.

stitches picked up for heel
open heel

Om-nom-nom-nom.

You’ll notice how, at each side of the live stitches on the cable to the needle, there’s a little gap, where there’s no stitches.  In a bit, when we’re working with the new yarn, we’ll pick up stitches along those gaps so there aren’t any holes.

knitting new heel

I like to slip to the middle of the sock to join my new yarn.  This makes the join less obvious, and also because I think it’s easier to weave in ends in plain stockinette rather than where the gaps are. (Another trick I learned since making these socks!)

knitting new heel

I joined the yarn by just beginning to knit with the new yarn, along the old stitches.  I left the tail hanging, as I’d weave that in later.

picking up heel stitches to close hole

When I got to the gaps I was talking about earlier, I picked up 2 stitches, along the edge, trying to keep the yarn nice and tight here, so the stitches didn’t become sloppy.

Then I kept knitting all around, doing the same for the 2nd gap as I did for the 1st gap.  After I knitted all around, then I began my preferred method of decreases, whichever you prefer for an after-thought heel.

knitting new afterthought heel

I worked, continuing to decrease, until I only had a few stitches left.  Rather than doing the Kitchener, I just mattress stitched the live stitches together, pulling tight as I went.  I think it creates a nicer ending, rather than trying to get my Kitchener stitches to match my gauge.

You’ll note, below, that I happened to work the heel in a slightly tighter gauge than the rest of the sock.  This happened for three reasons.  First, my gauge has changed in the last five years. Second, the yarn I used for the heel is slightly lighter weight than the yarn for the sock.  This is because I wanted to match for color rather than for the exact right yarn.  Third, I used a smaller needle size to accommodate the smaller yarn.  I think, after wearing them  a few times, the difference in gauge will even out, or at least become less noticeable.

new afterthought heel in sock
fixed sock – the stitch marker is to mark a place I need to fix

Got questions?  Shout them out!  I’d love to help troubleshoot your own sock repairs!