MENU

Free Pattern: Water Babies!

You’re in for a real treat today: a free pattern!  As a policy, I rarely make free patterns, but Jordana Paige sweet-talked me into creating one last year.  Since it’s the heat of summer, I thought this would be the perfect repost, a sweet little something for kids and adults alike to enjoy.  Quick to make up, you can use these as intended and inflate a water balloon (either with water or air) to use as stuffing, or you can stuff and have as a forever-stuffed animal.
When I was younger and my mother needed something to keep my
siblings and I occupied, she’d make water babies.  Filling balloons with water, she’d hand us
markers and we’d go to town, decorating our water babies, taking boxes lined
with tissue to make beds, and making various outfits for them.  Inevitably, though we’d drop the balloon on
the grass, or it would brush up against the edge of paper or something else
sharp, and our beloved water babies would be gone – popped in a rush of water.
Being an enterprising young child, I decided that my water
babies needed an outfit, a protective cover to protect it from the world.  Being handy with a hook, I made small bags
that my balloon would rest in, to be protected. 
Over time these developed into quite elaborate creatures in their own
right.
And then, I grew up and forgot about them.
Recently, however, these water baby costumes were brought
back to mind.  I have two young girls in
my life, and they were playing with water babies the other week.  Inevitably, one got dropped on the hot
asphalt, and burst… leading to some quite natural tears.  I decided it was time for me to break out my
hook and an old idea, and give it a new twist.
And so, I present to you, a modern twist on my 20 year old
water baby pattern.
Free Pattern Water Baby
MATERIALS
Gauge: 7 sts and 6 rows equal 1”
Hook: F/5 3.75 mm
Yarn: Worsted weight yarn, 4 colors plus black and white.
C1: Dark Blue
C2: Green
C3: Red
C4: Light Blue
INSTRUCTIONS
Using C1, Create sloppy slip knot, sc 2.
Round 1: 6 sc in circle. (6 sts)
Round 2: *sc twice in next st. Repeat from * 6 times total.
(12 sts) Join to next st with sl st. BO.
Round 3: Switch to C2. *sc twice in same st, sc in next st,
repeat from * 6 times total.(18 sts)
Round 4: Switch to C3. *sc twice in same st, sc in next 2
sts, repeat from * 6 times total. (24 sts)
Round 5: *sc twice in next st, sc in next 3 sts, repeat from
* 6 times total. (30 sts)
Round 6: *sc twice in next st, sc in next 4 sts, repeat from
* 6 times total. (36 sts)
Round 7: Switch to C4. *sc twice in next st, sc in next 5
sts, repeat from * 6 times total. (42 sts)
Round 8: Switch to C1. *sc twice in next st, sc in next 6
sts, repeat from * 6 times total. (48 sts)
Round 9: *sc twice in next st, sc in next 7 sts, repeat from
* 6 times total. (54 sts)
Round 10: *sc twice in next st, sc in next 8 sts, repeat
from * 6 times total. (60 sts)
Round 11-12: *sc twice in next st, sc in next 14 sts, repeat
from * 4 times total. (60 sts)
Round 13-16: Switch to C2. Sc all around.
Round 17: *sc2tog, sc in next 8 sts, repeat from * 6 times
total. (54 sts)
Round 18: *sc2tog, sc in next 7 sts, repeat from * 6 times
total. (48 sts)
Round 19: *sc2tog, sc in next 6 sts, repeat from * 6 times
total. (42 sts)
Round 20: Switch to C3. *sc2tog, sc in next 5 sts, repeat
from * 6 times total. (36 sts)
Round 21: *sc2tog, sc in next 4 sts, repeat from * 6 times
total. (30 sts)
Round 22: Switch to C1. *sc2tog, sc in next 3 sts, repeat
from * 6 times total. (24 sts) At this point you should stuff your orange ball.
Round 23: *sc2tog, sc in next 2 sts, repeat from * 6 times
total. (18 sts)
Round 29: *sc2tog, sc in next st, repeat from * 6 times
total. BO. (12 sts)
Ears:
Using Green, foundation double crochet 12 sts. Bind off. Tie
a knot in one end, use the tail to attach the other end to the water baby.
Eyes:
Using White: Create sloppy slip knot, sc 2.
Round 1: 6 sc in circle. (6 sts)
Round 2: *sc twice in next st. Repeat from * 6 times total.
(12 sts) Join to next st with sl st. BO.
Round 3: Join C2, ch 1. *sc twice in same st, sc in next st,
repeat from * 6 times total. Join to Ch 1 with sl st. BO.(18 sts)
Using Black: Create a sloppy slip knit, sc 2.
Round 1: 6 sc in circle. BO. (6 sts)
Nose:
Using C2: Create sloppy slip knot, sc 2.
Round 1: 6 sc in circle. (6 sts)
Round 2-3: Sc all around.

Assembly: Sew eyes, nose and ears to water baby. Insert a
balloon into the back, fill with water or air. Tie balloon end in knot and
play!

Historic Stitching: Vintage Crochet Made New

This is a post that, in its original form, appeared for Jordana Paige’s blog.  The rights reverted back to me, and in light of the publication of Time Traveler

Photocredit: Sockupied
My Historically inspired socks

, I thought it was a timely blog post.  I’ve made updates and edits to this post, as time has reflected.

One of my favorite things to do when I get a little bit of time
(between teaching crochet and knit, designing, and writing) is to peruse
historical patterns.  It’s a fortunate
function of our digital age that the casual crocheters or knitter can, with a
click of their mouse, find a wealth of historical magazines online.
Now, I will not claim that reading historical patterns is
for everyone.  For one, half of my
digital collection is in French and German, and it can sometimes be a little
challenging to translate patterns.  And
even in English, patterns can trip the casual reader up, using the same name
for different stitches, or using terms that are no longer commonly used.
There exists a wealth of resources where you can find
historical patterns online.  To get you
started, I have listed some of my favorite resources:
http://archive.org/
(search knitting or crochet)
If you’re willing to do some digging in other languages, there’s a few other resources I can recommend:
http://gallica.bnf.fr/
(French, search tricoter and crochet)
http://www.collectionscanada.gc.ca
(Canadian, search knitting, crochet, or tricoter)
When you go to any of them, just search “crochet” or
“knitting” or “needlework.”  You’ll find
tons of patterns, though unlike modern resources, knitting, crochet and needlework
were not so sharply divided.  In the same
magazine you might find a pattern that calls for use of crochet, knitting and
sewing.  I think that’s half of the fun.
If you are willing to squint at some old etchings and
problem solve when things don’t quite go right, it can be a fun way to get a
glimpse of the past.  And maybe you’ll find some new patterns to love!
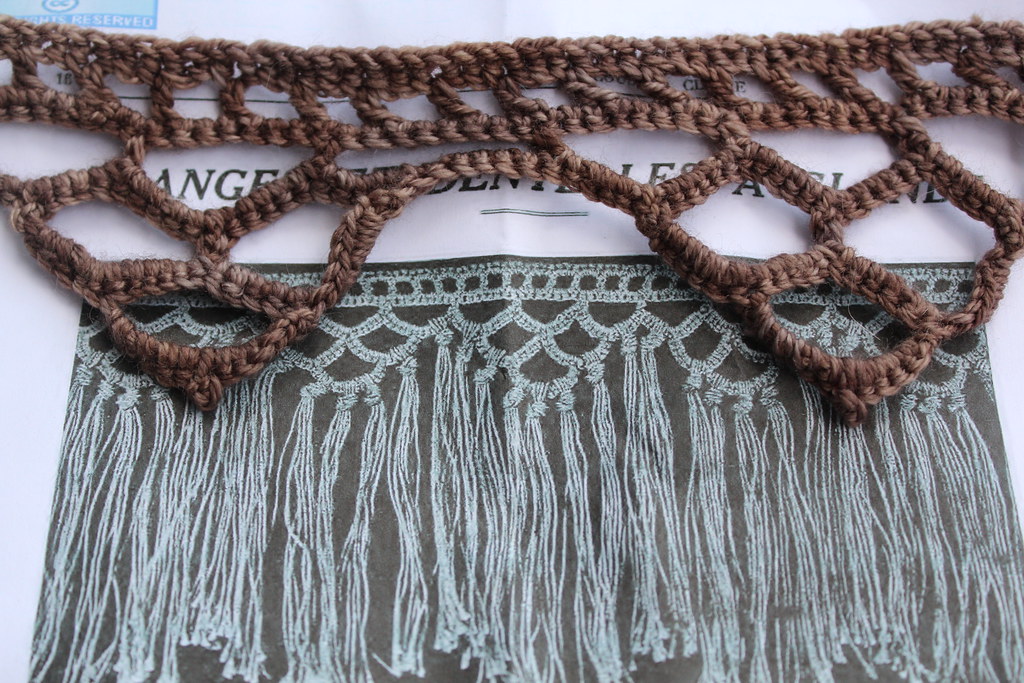
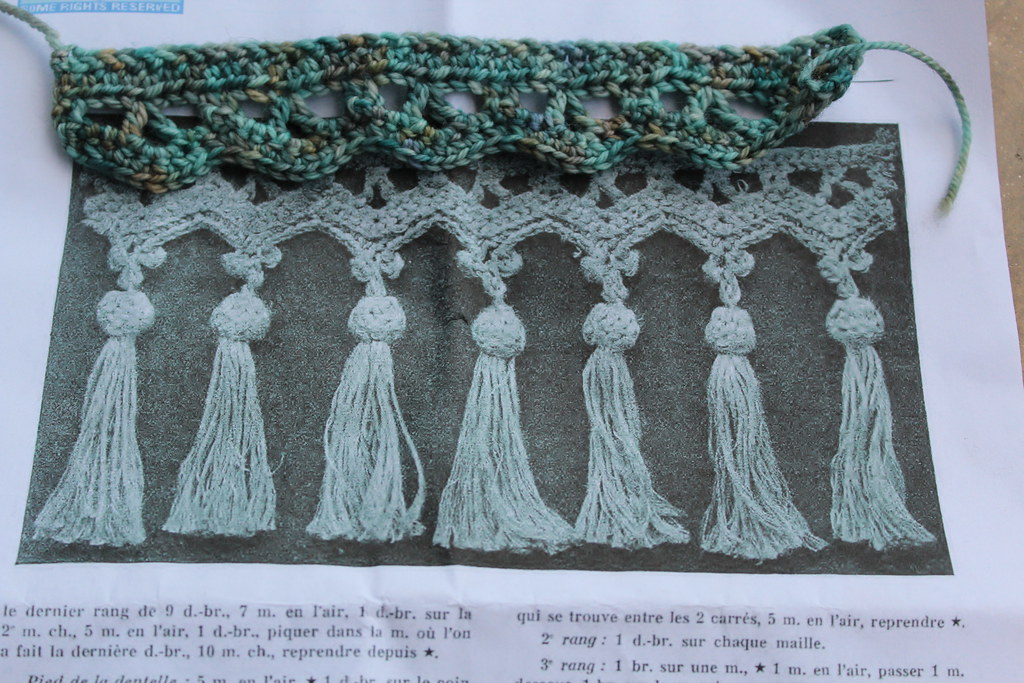
Below, I’ve written out two edgings that I adapted from “Le
Crochet, Album de Travaux de Cousine Claire.” 
These come from page 16-18 of the book, in the section titled “Franges
Et Dentelles a Glands.”  While the
original patterns served as an influence, I couldn’t help but add my own twist!
 

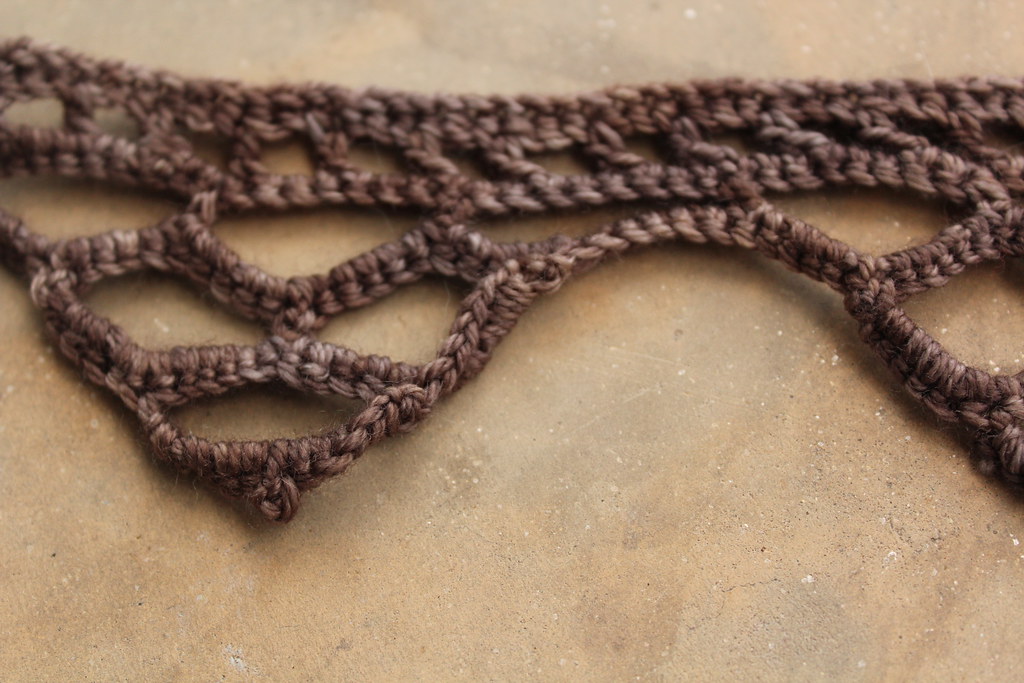
Tiers and Hills
Tiers and Hills
Ch 24 +1
Sample with original pattern.
Ch 2, sk 1st st, hdc all sts afterward. Turn
Ch 3 (counts as dc), *ch 2, sk 2, dc into next st. Repeat
from * until end. Turn
Ch1, sc into every st. Turn
Ch1, sc into 1st st. ch 8, sk next 7 sts, sc into next st.
Repeat until end. Turn
Ch 1, sc 11 times into ch 8 space. Repeat until all ch 8
spaces are worked. Break yarn and turn.
Sk 1st 5 sts, join yarn to 6th sc. *Ch 8, sk next 10 sts, sc
in 11th st, repeat from * once more. Turn, * sc 11 sts in ch 8 space, repeat
from * once more. Break yarn and turn.
Sk 1st 5 sts, join yarn to 6th sc. Ch 8, sk next 10 sts, sc
in 11th st. Turn, sc 11 sts in ch 8 space. Break yarn and turn.
Repeat steps 7 & 8 over next 3 ch bumps. Continue until
entire edging is worked.
 

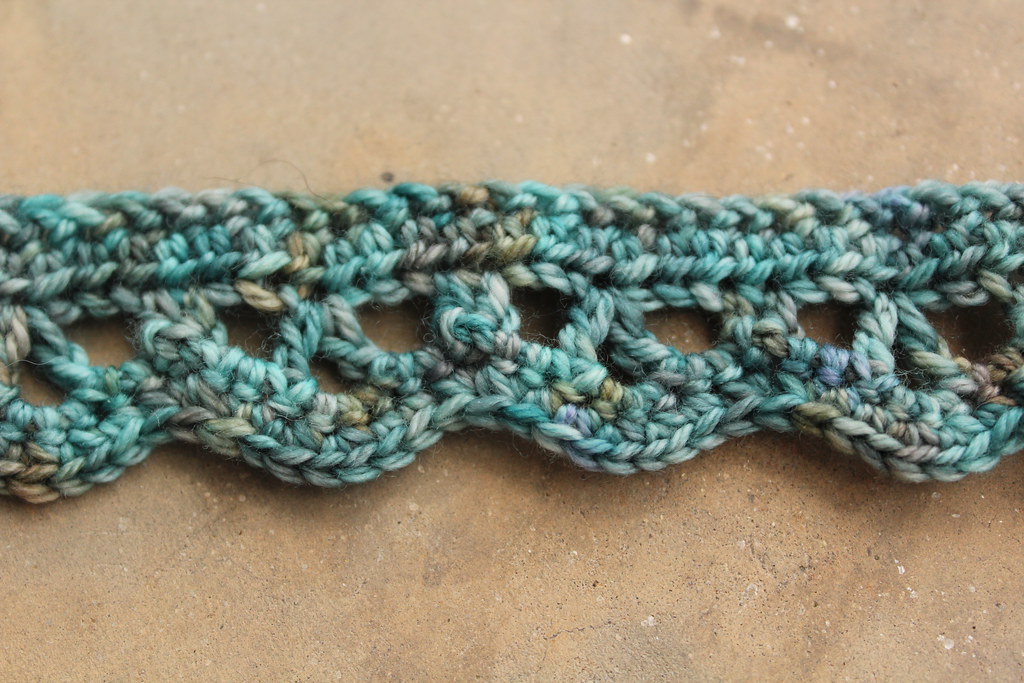
Lacy Chevron
Lacy Chevron
Ch multiple of 7

Sample with original pattern.
Hdc in each st. Turn.
Ch 2 (counts as hdc) *hdc in 1st st, ch 2, sk next 2 sts, dc
in next st, ch 2, dc in same st, ch 2, sk next 2 sts, hdc in next st. Repeat
from * until end of row. Turn.
Ch 1, *sc in 1st hdc, sc twice in ch 2 sp, sc 4 in next ch 2
sp, sc 2 in next ch 2 sp, sc in hdc. Repeat from * until end of row. Turn.

Ch 1, *sc2tog in next 2 sts. Sc in next 2 sts. 2 sc in next
st, 2 sc in next st, sc in next 2 sts, sc2tog. Repeat from * until all sts are
worked.

Blogging for Jordana Paige

Exciting news!

Cezanne, my favorite all all Jordana’s Purses!

There’s been a bunch of great changes that are happening in the background right now.  Some of them I can’t talk about yet, but one of them I can.

I’ve joined the Jordana Paige blogging team!  If you don’t know about Jordana Paige, she makes beautiful purses and bags.  The best part about them is that they’re made specifically for crafters.  Each of them has special touches that make them super helpful – places to store your WIP, or little pockets for notions.

As part of joining Jordana’s blogging team I’ll be writing a crochet-focused article twice a month.  They’ll be a range of topics: tutorials, reviews, and other crochet related things.

The first blog post went live on Friday.  You should go check it out!