MENU

Breaking it Down: Embroidering with Crochet

Today I’ve got a fun and different tutorial for you.  It’s crochet based, but it’s also based on embroidery.  This is actually a technique that is called tambour, and it’s usually worked with a specialty tool, much like a crochet hook.  But for beginners, or for those who are just interested in the craft, this is a good way to start.
For this tutorial you’ll need some fabric, a very fine crochet hook (I used a size 10 steel hook), embroidery floss, some crayons, a piece of paper, and an iron.  You’ll also need an embroidery frame.

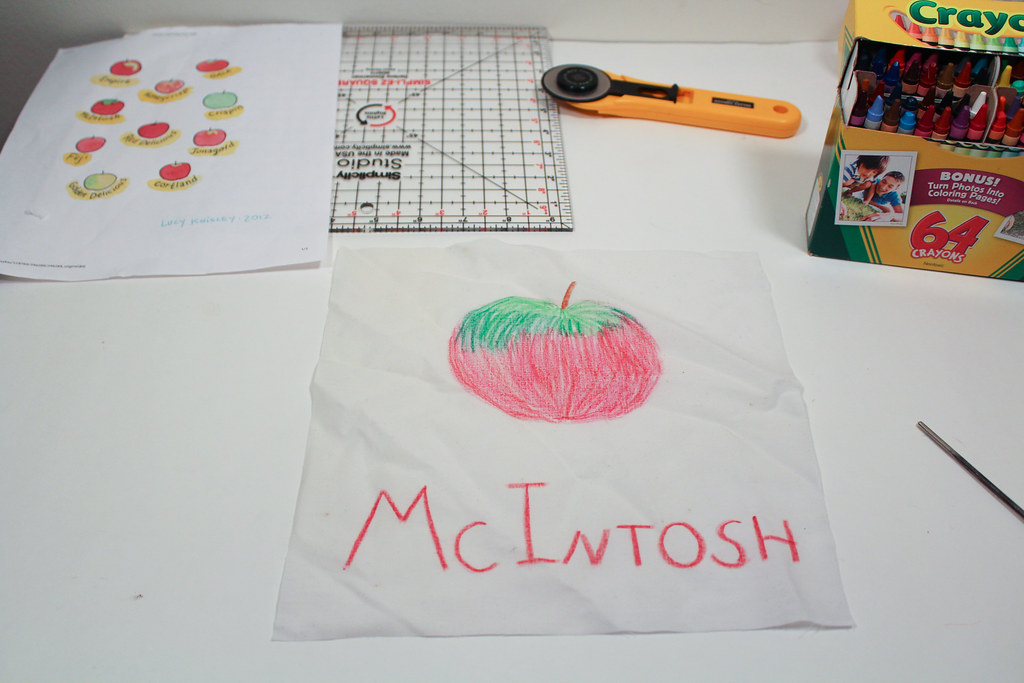
First, you’ll sketch out your design in the crayons.  I prefer crayola crayons, because they seem to have the best color.  Press well and make sure that your color is the depth of color you want.  Coloring in the background means if you don’t embroider everything, the color will show through, which is a neat effect, I think.

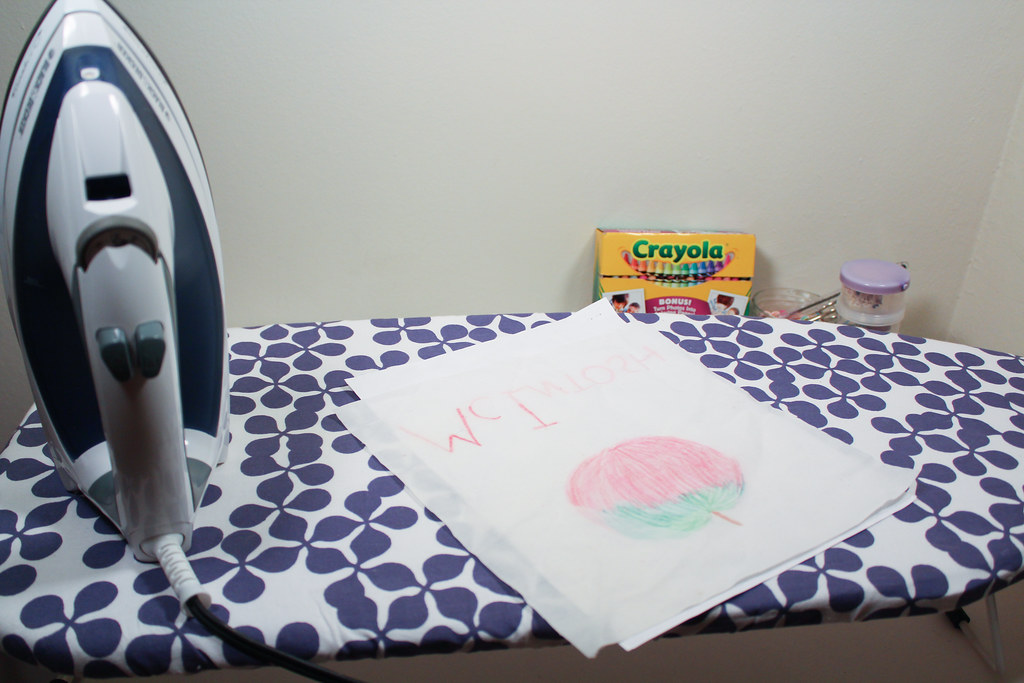
Next, iron the design into the fabric.  I use the highest heat setting.  Put the side with the colored design face down with a piece of paper underneath (as some of the wax from the crayons will melt off).

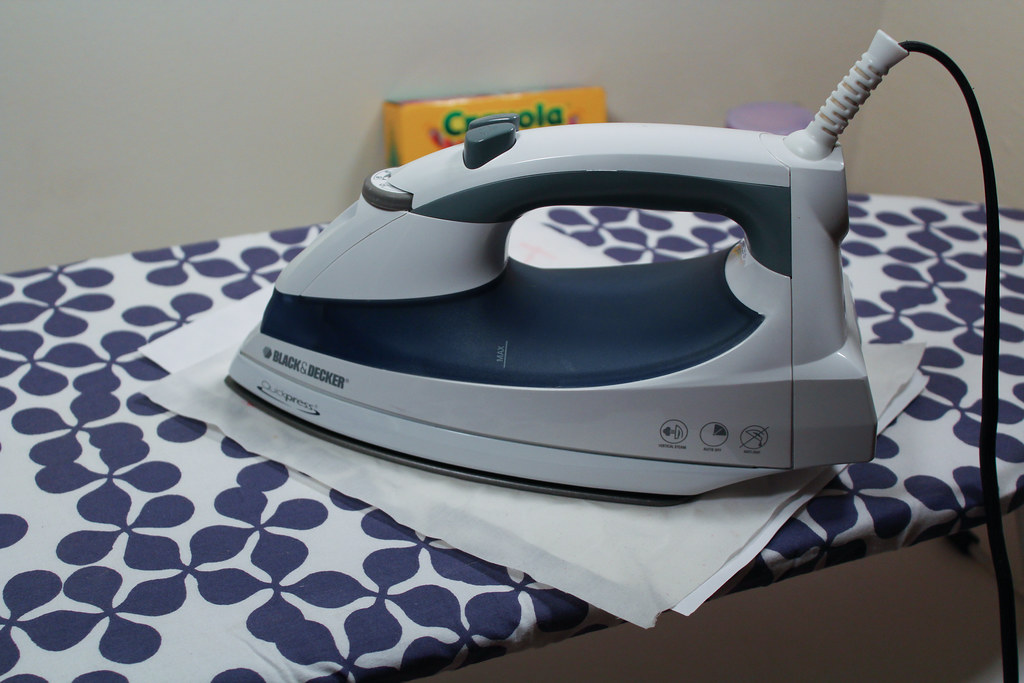
Then, proceed to iron.

See the faint impression of the crayon?  This is why the ironing is important.

Secure your design in an embroidery frame, making sure the fabric is tight.

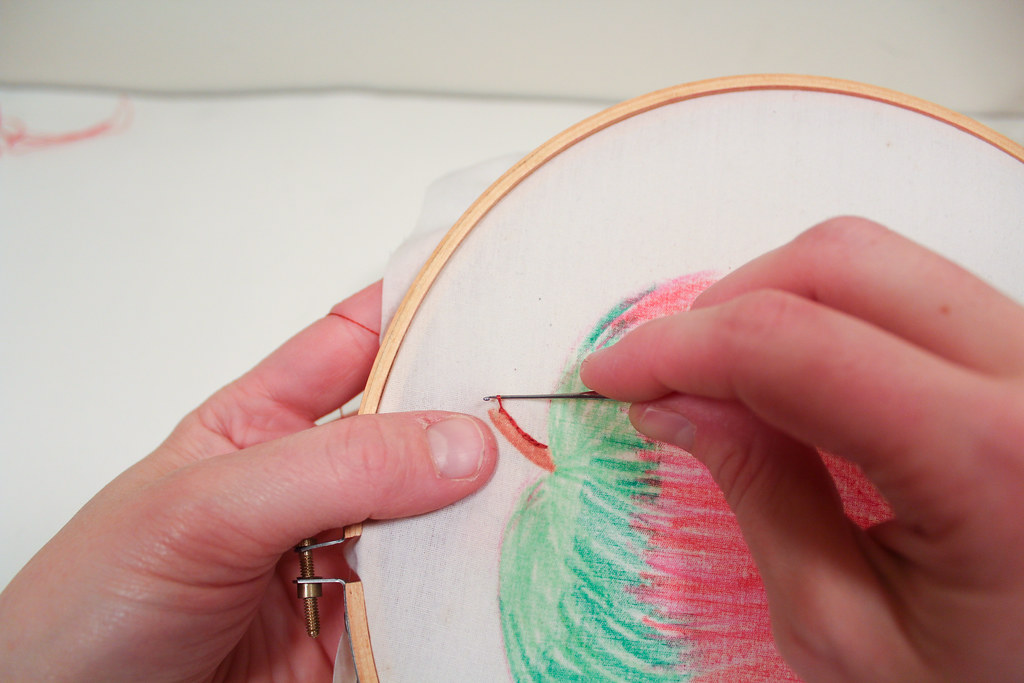
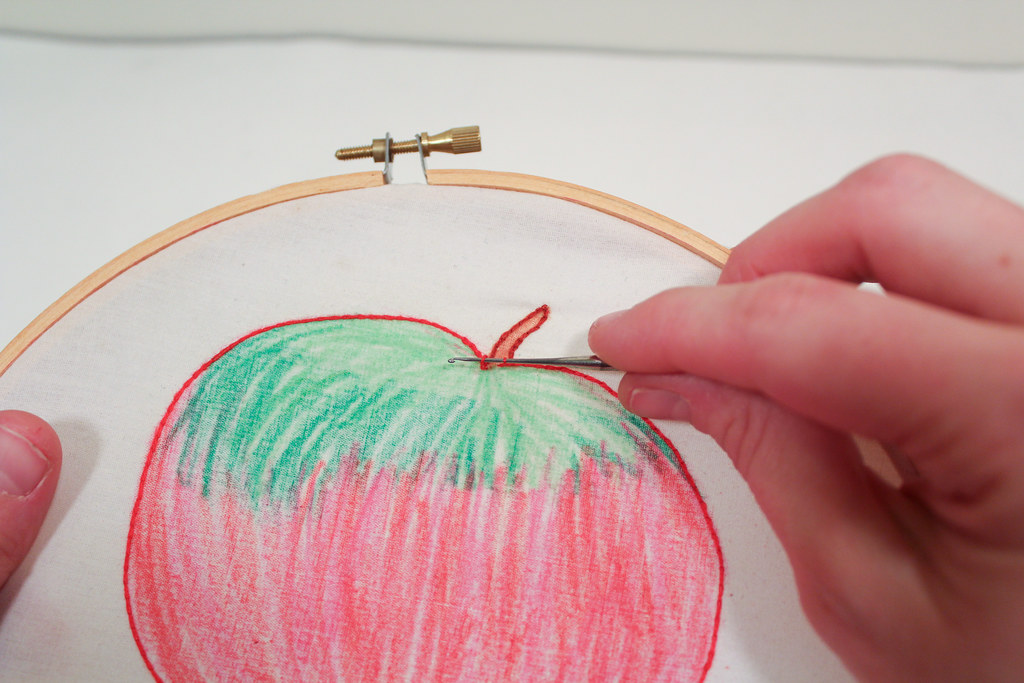
Take the embroidery floss and the tiny crochet hook.  Insert the crochet hook from the front to the back, and pull a loop of the floss through the fabric.

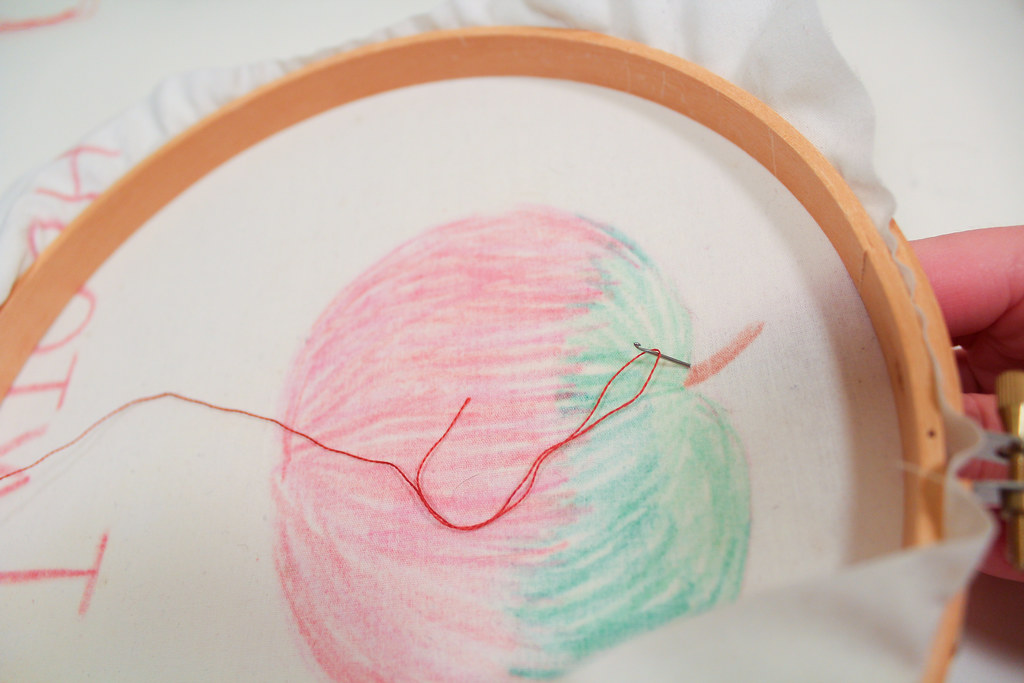
It might take a bit of wiggling, but it’ll work.

Pull the loop up to the front side.  You now have your working loop.

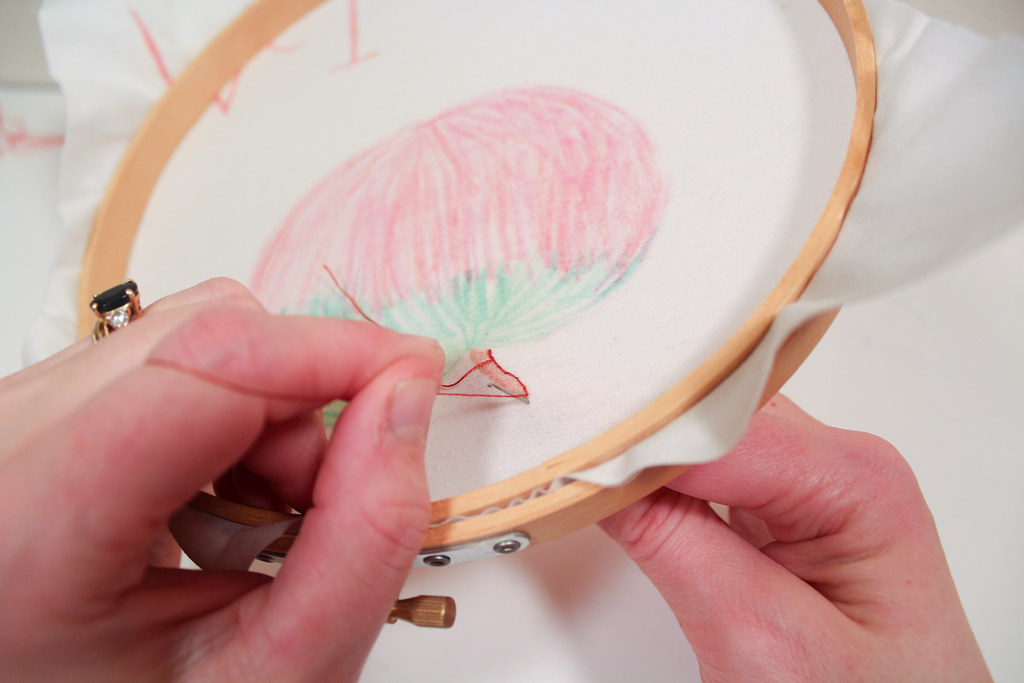
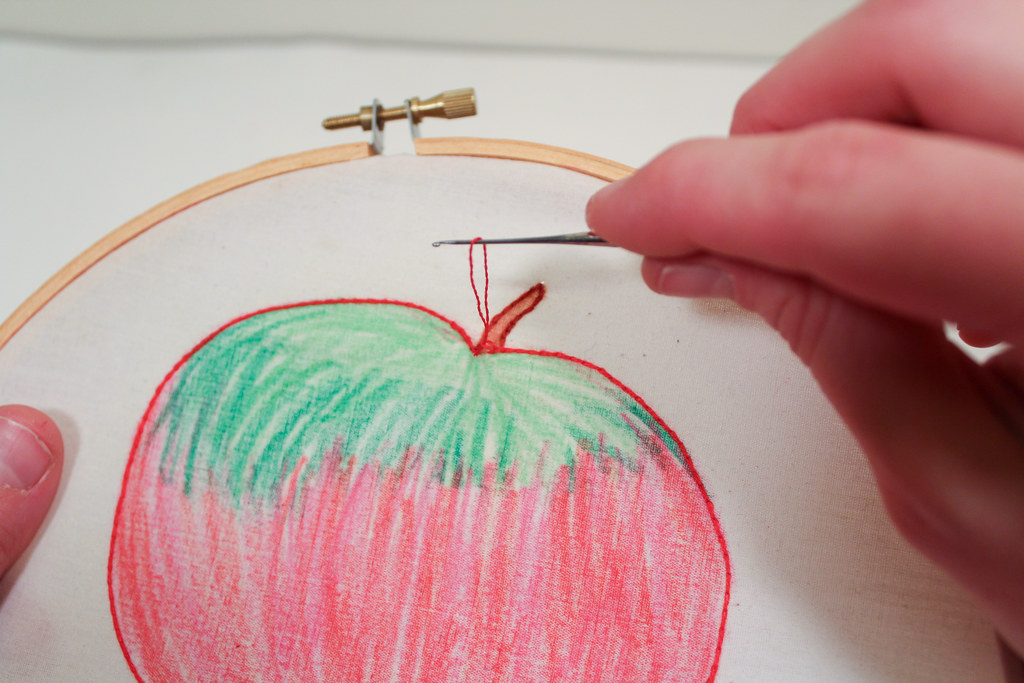
Now, punch through, grab another loop from the yarn in the back, and pull that through the fabric.  Pull the first loop through the second loop.

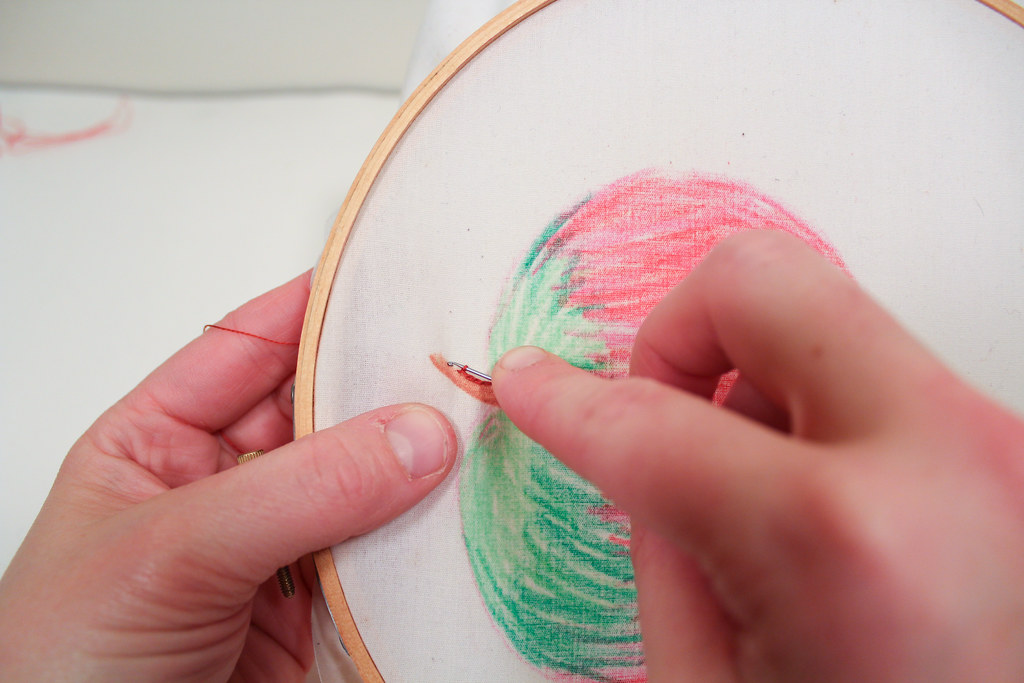
Continue, punching the hook through the fabric,

Grabbing a loop and pulling it through the fabric,

… and pulling the new loop through the old loop.

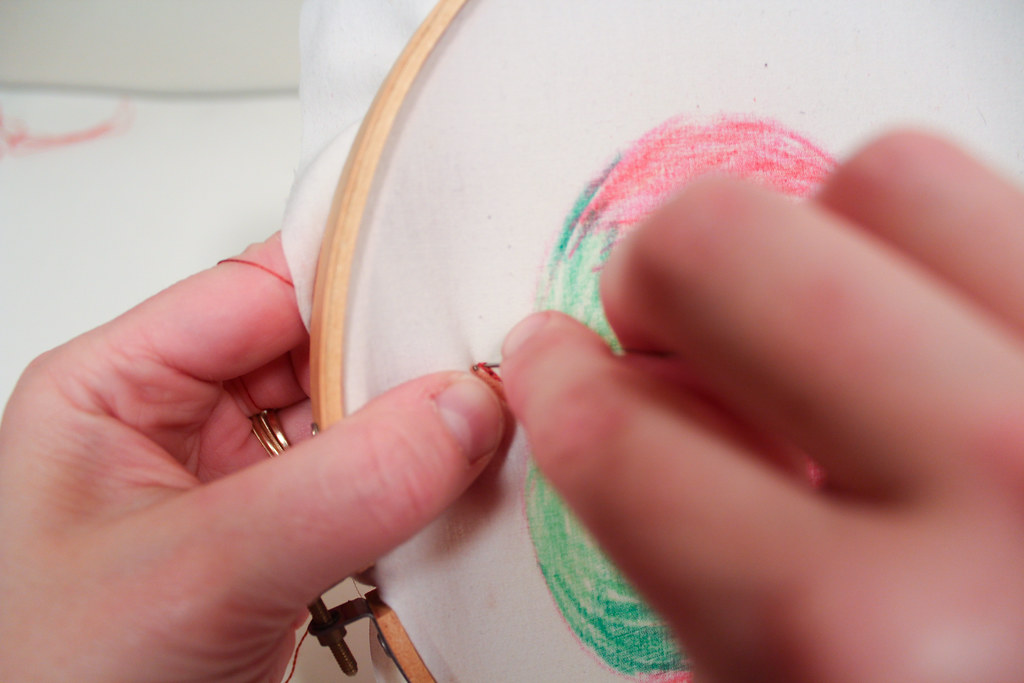
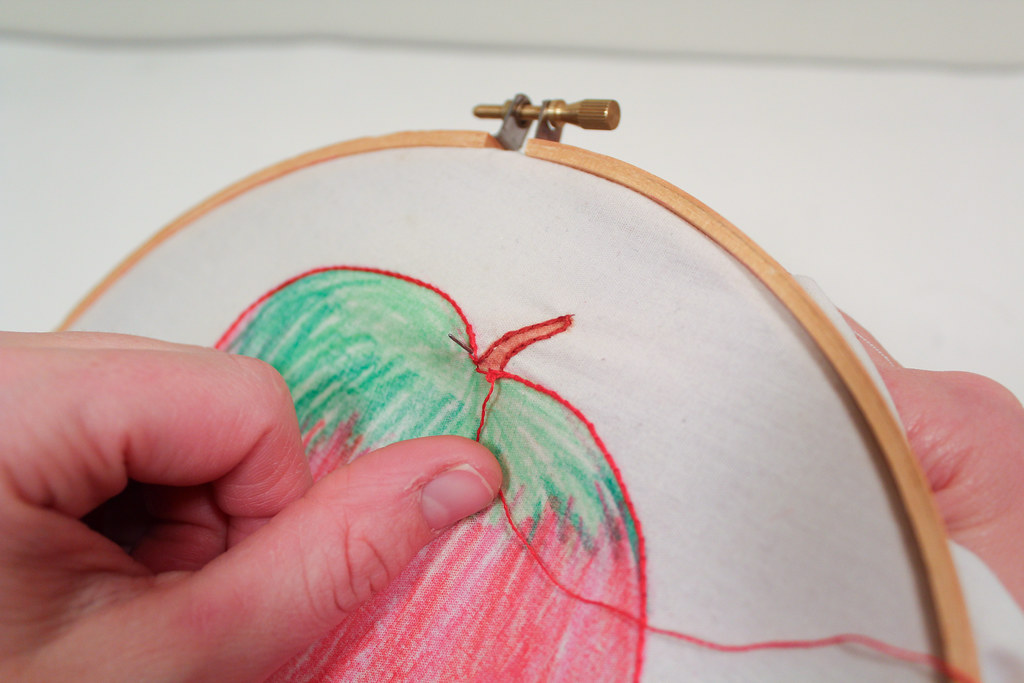
At this point you should be tracing the outside of the design.  The back should look like a straight line, while the front should look like the chains stitch.  Here’s a look at the view from the back, the hook coming through the fabric,

And pulling grabbing the loop,

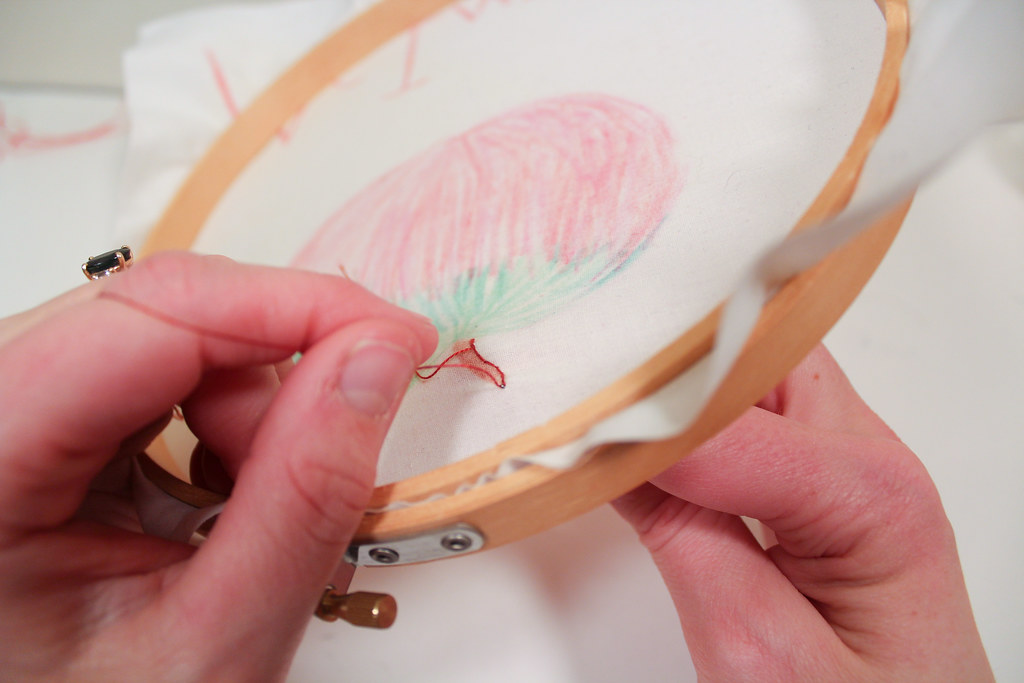
and pulling it through to the front-side.

Now, you pull the first loop through the second loop.

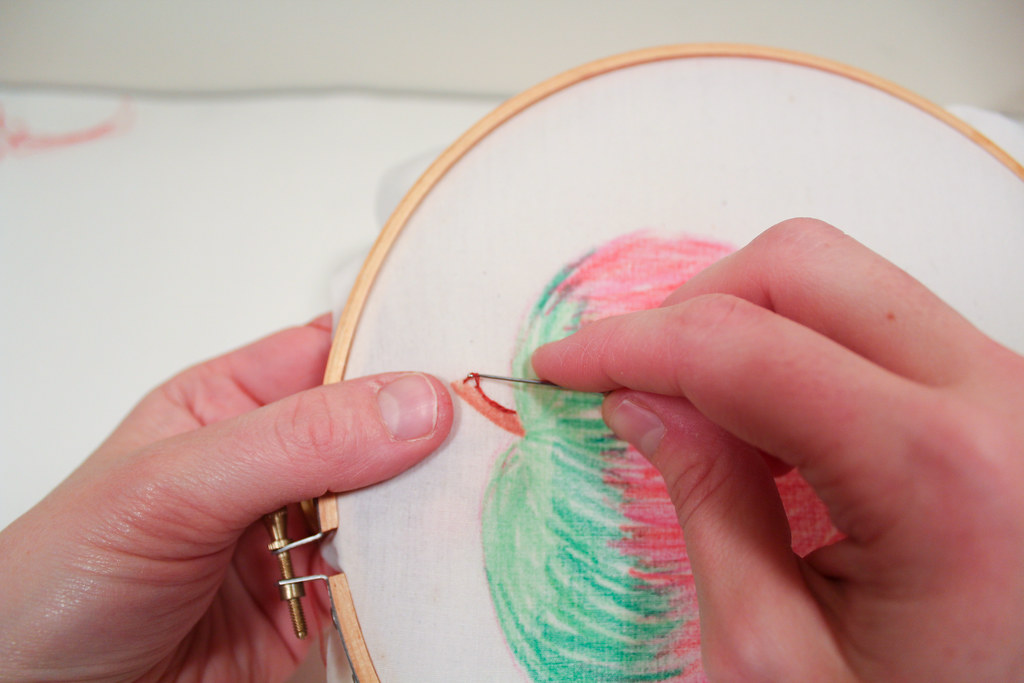
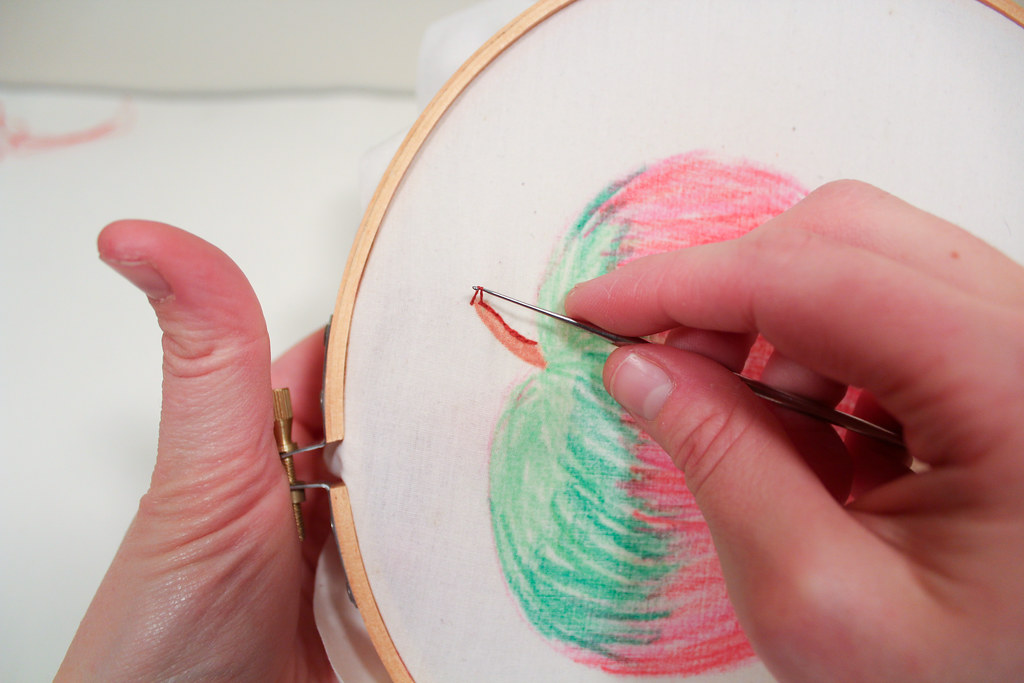
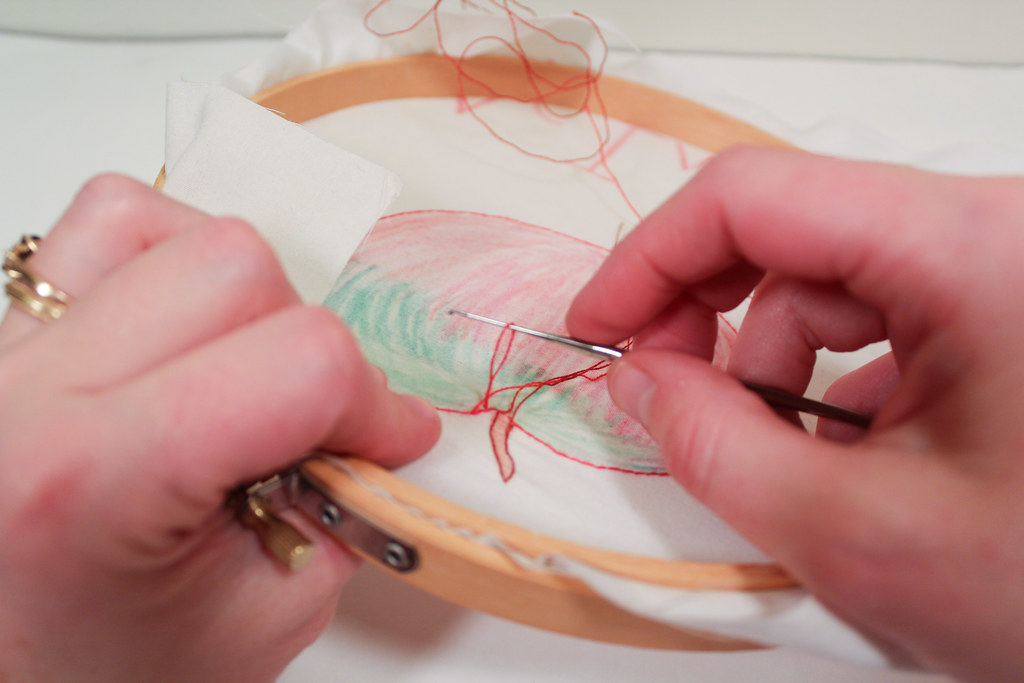
Here, I’ve traced the outside of the apple, and I’ve finished with this series of stitches.  How do I finish the chain stitches off?  First, I begin pulling the live loop through the fabric.

More…

And more….

Until the floss in the loop is all on the front side.  But now my leftover floss is on the wrong side of the work.  What next?

Now I grab the thread from the other side (the wrong side) and pull it through the fabric once more.

All the way to the back!  Here, I can knot it and weave in the ends!

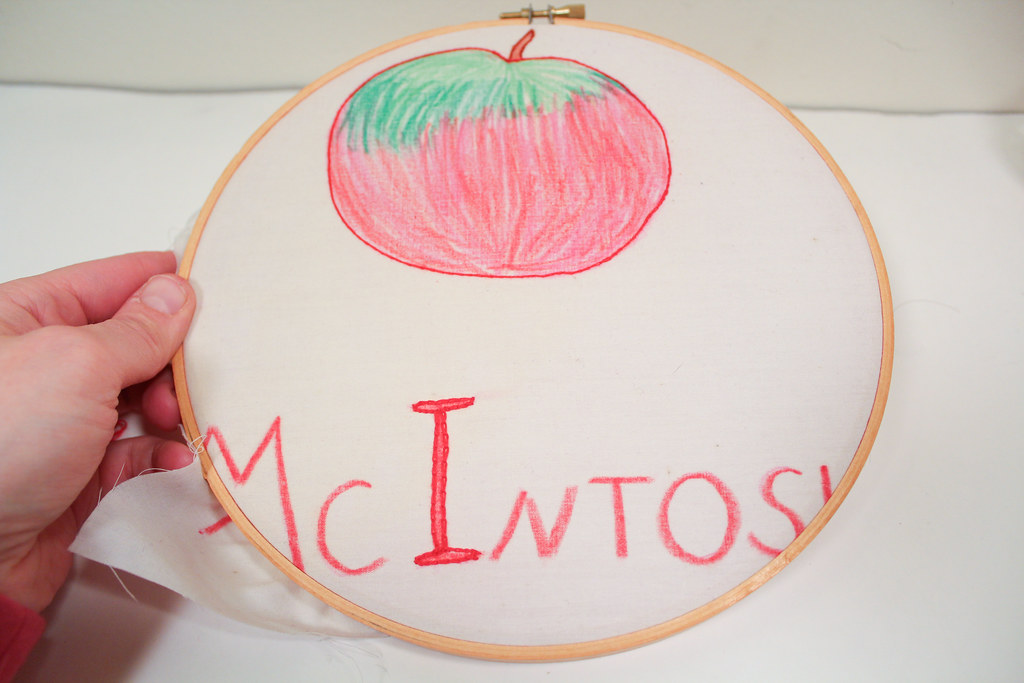
Tah-Dah!  What do you think?

Other Stitchings – Embroidery

As I mentioned before, Michael and I spent New Year’s up at the Farm.  We invited a few friends, including the friend I’ve had the longest, my best-friend Becca.  She was one of the bridesmaids at out wedding, and I’ve known her since I was 9 years old.

Becca and I riding in the back of the Jeep

Becca is amazing.  She’s smart, articulate, and willing to challenge people and make the them think.  So when I was trying to think of a bridesmaid gift for her, I wanted something was representative of our history, and something that was hand-crafted.  Something that showed thought and intention as well as love.  (As I’ve said before, there are few people who are knit/crochet-worthy for me, and fewer still who I’m willing to do other crafts for.)

I decided I was going to do some embroidery for her, of our old camp logo.  Chimney Corners Camp and Becket Camp are a sister and brother camp in the Berkshires, and the camp where both Becca and I grew up.  The camps both have lovely logos now, but the past logo was of a lake-scene, three paper-white-birches, a sailboat and pine trees.  In a very simple sense, it was actually a scene you might see in part of camp, while hiking around the lake.

There are many older staff members who are very attached to the old logo (some even have tattoos of it!), so I knew it would be the perfect thing to embroider.

Originally I only planned to do the outlines of all the different elements, and then color the rest in with crayon and iron it.  This method is how I normally do embroidery, as I have strong negative feelings toward working fill stitches.  So I did that on the pillow, even ironed on the color so it looked nice, and then decided that the pillow really called for everything to be filled in with stitches… everything except the paper birches, which would remain the white of the pillow.

Well, I was working up to the Nth hour, and had to wrap the gift just before we left for the wedding.  I told myself I’d get a picture of the pillow once Becca opened it… and promptly forgot.

But Becca is amazing, so she brought it to the farm for me to take a picture.

And in the joy of seeing friends, I forgot all about taking a picture of the pillow until she was leaving.  She was patient enough to remind me as she packed herself out of the farm just as the daylight was making its way over the field.

Embroidery, Chimney Corners Camp, Old Logo, BCCYMCA
Chimney Corners Camp Old Logo

Isn’t it pretty?