
Blocking is one of the things which simply transforms knits. When people tell me they don’t like the finished result of their work, my first response is always, “Did you block it?” Simply said, blocking can really, really make your projects shine.
So I’ve got a tutorial for you! Here’s how I block.
You will need:
- The piece you wish to block
- some towels
- some water (cool, but not cold)
- a place where the piece can dry, undisturbed
- optional: pins
- optional: something like Soak or Eculean if you wish for it to smell nice. Or essential oils work too.
- optional: things like blocking wires, pins, or in my case, a rubber band. You’ll see.
- optional: cats to watch what you’re doing (joking)
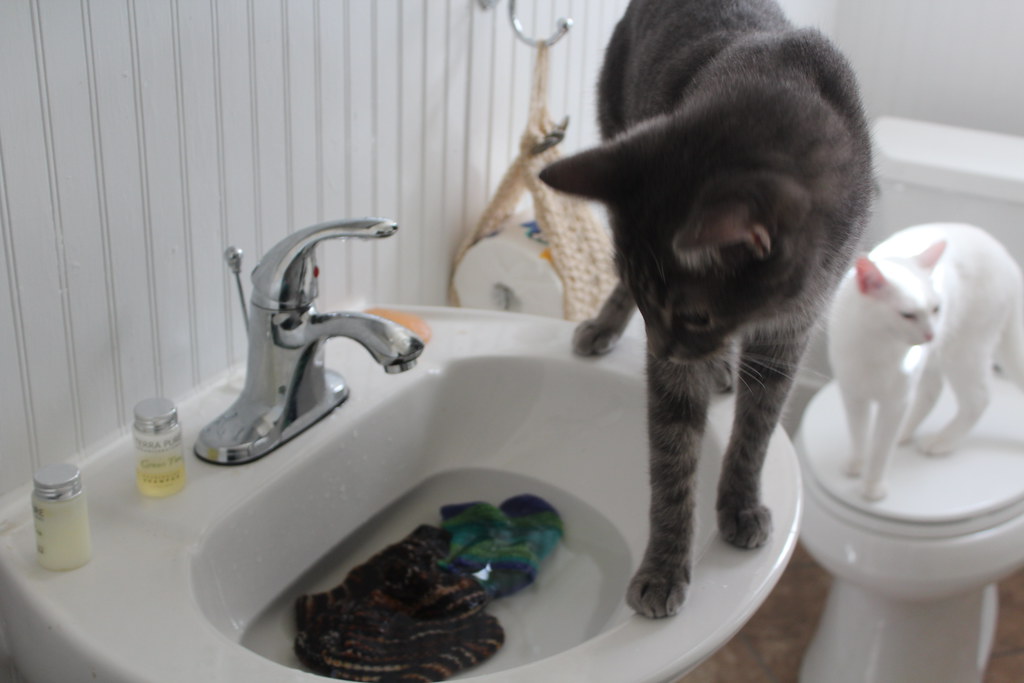
First, submerge your pieces in the water until they are completely wet. Plant-based fibers will suck up the water right away. Wool based fibers you might have to help a little. I’m impatient – I squeeze the piece gently to get all the air out, because wool likes to trap air in its fibers. Keep squeezing until no bubbles come out of your piece. Or, you can just walk away and come back in an hour. Both work.


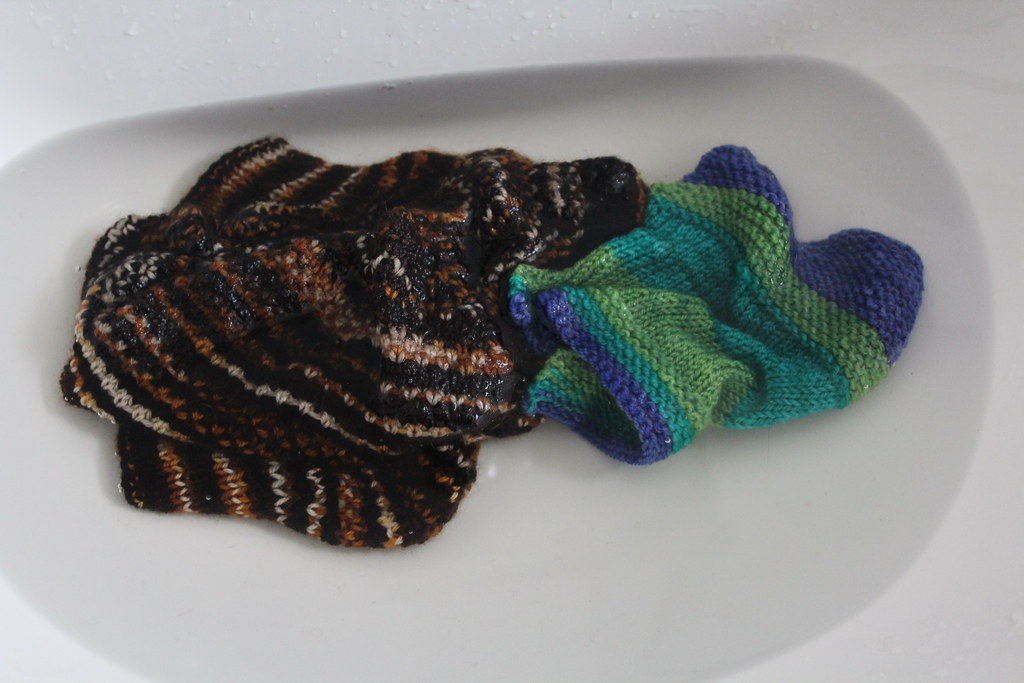
Now, gently squeeze the water out of your piece. Don’t wring, just squeeze.
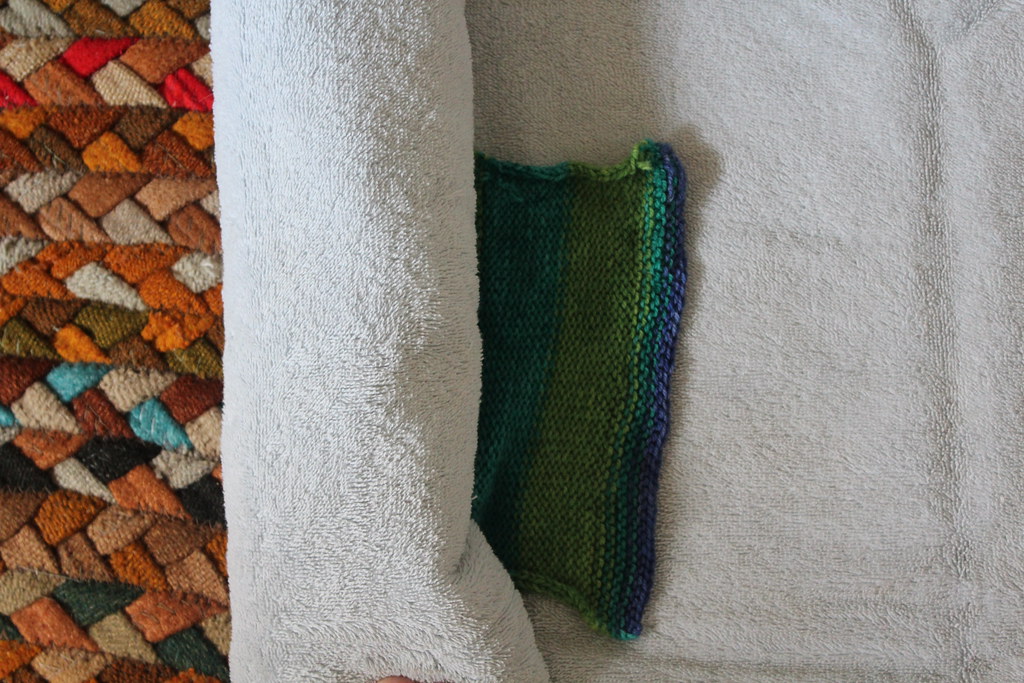
The next part’s my favorite part. Lay the pieces out on a towel.

Then, start jelly-rolling them in the towel.
Keep rolling.
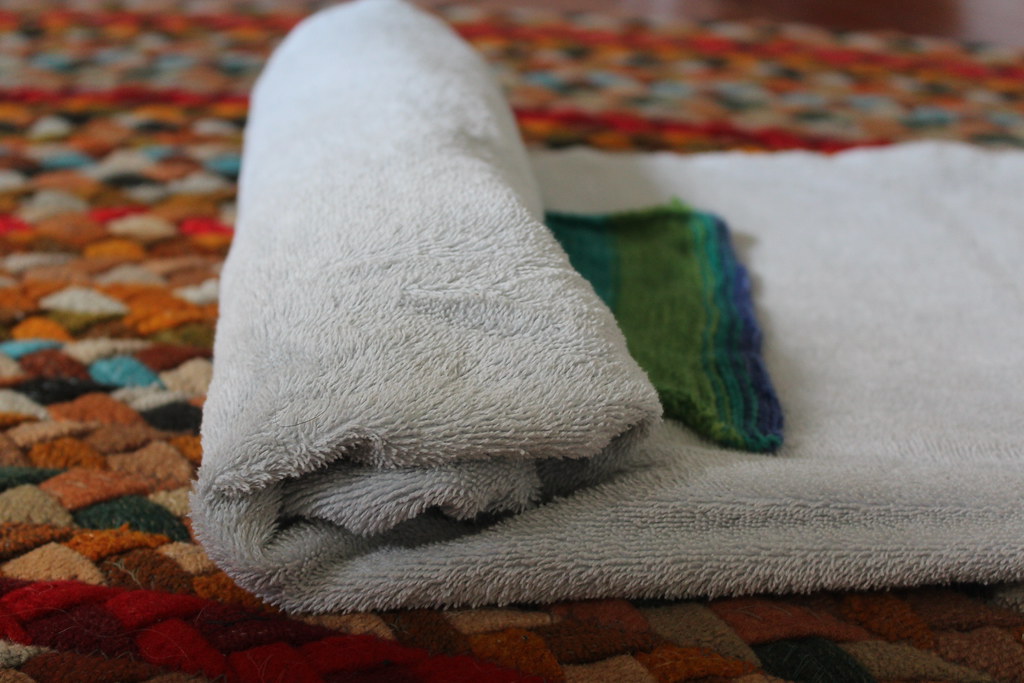
Until it looks like this.

Now, this is the highly technical part. I tell my students in class this, and they all laugh at me.
In your bare feet (don’t do it in socks – your socks may get wet!), step on the towel. Stand on it. Then shift around and do it again. You want to press ALL THE WATER OUT.
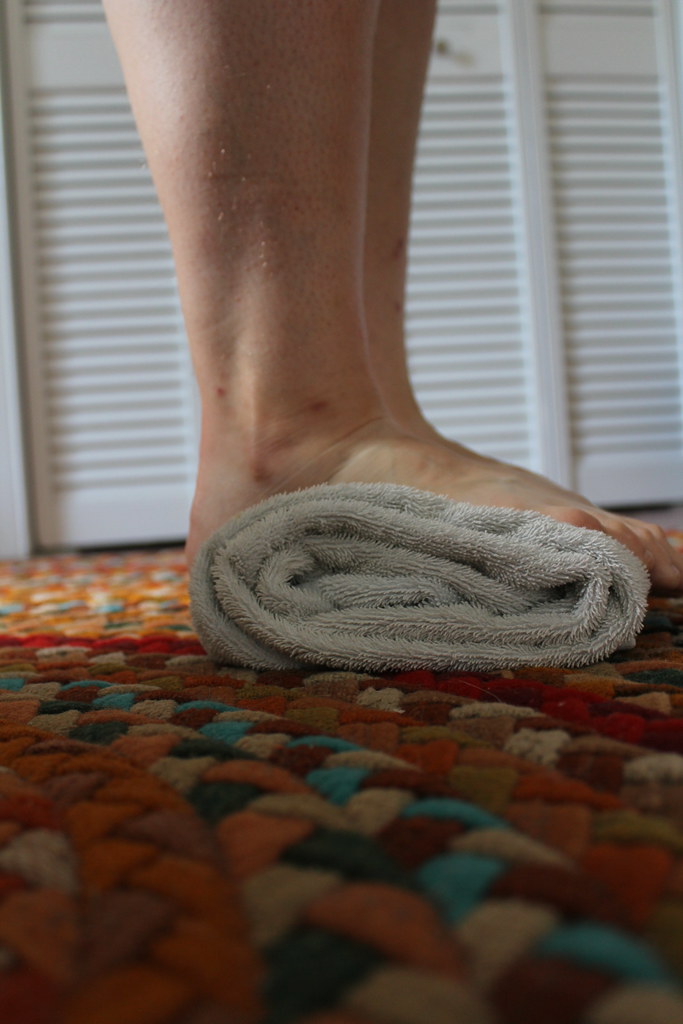
Sometimes, when I’m doing something really big, I need two or three iterations of this step – because the first towel gets SOAKED. This case, because I was blocking a swatch and a hat, I only needed one.
When you take your pieces out, they should be damp, but not wet.
Now what happens? Well, you have some choices.
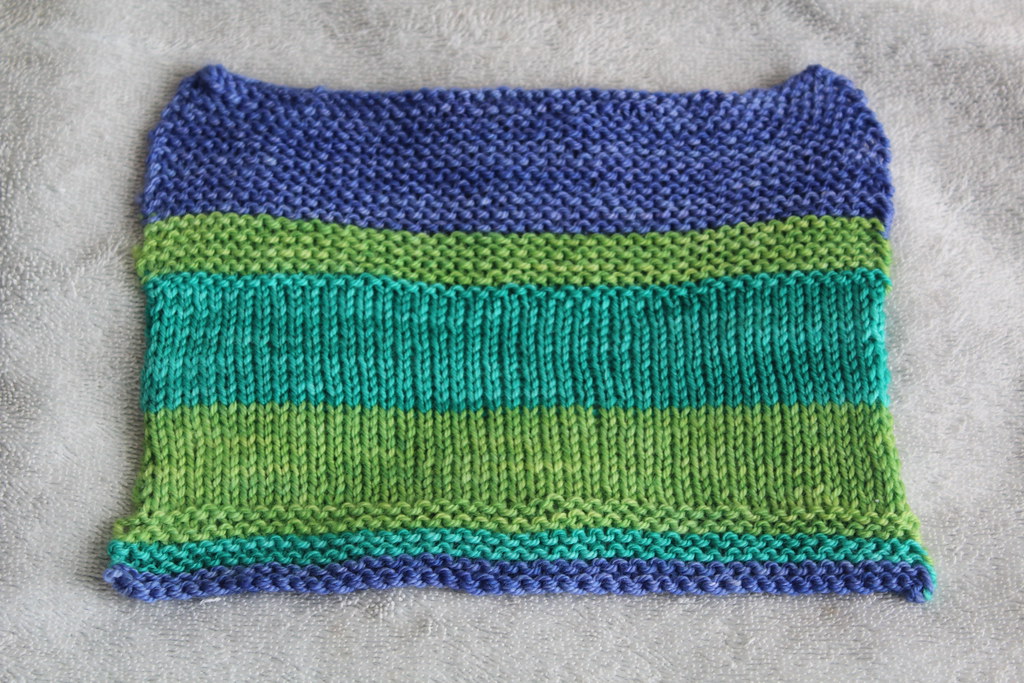
If the piece is something flat like my swatch, all you need to do is lay it out and pat it into shape. No need to stretch or contort the piece!
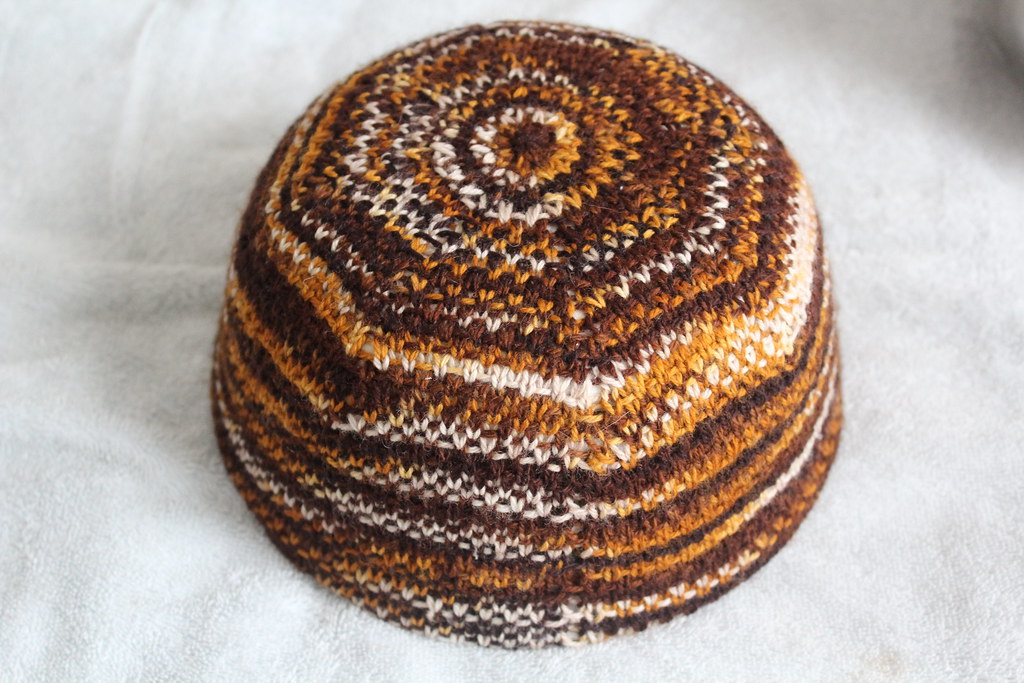
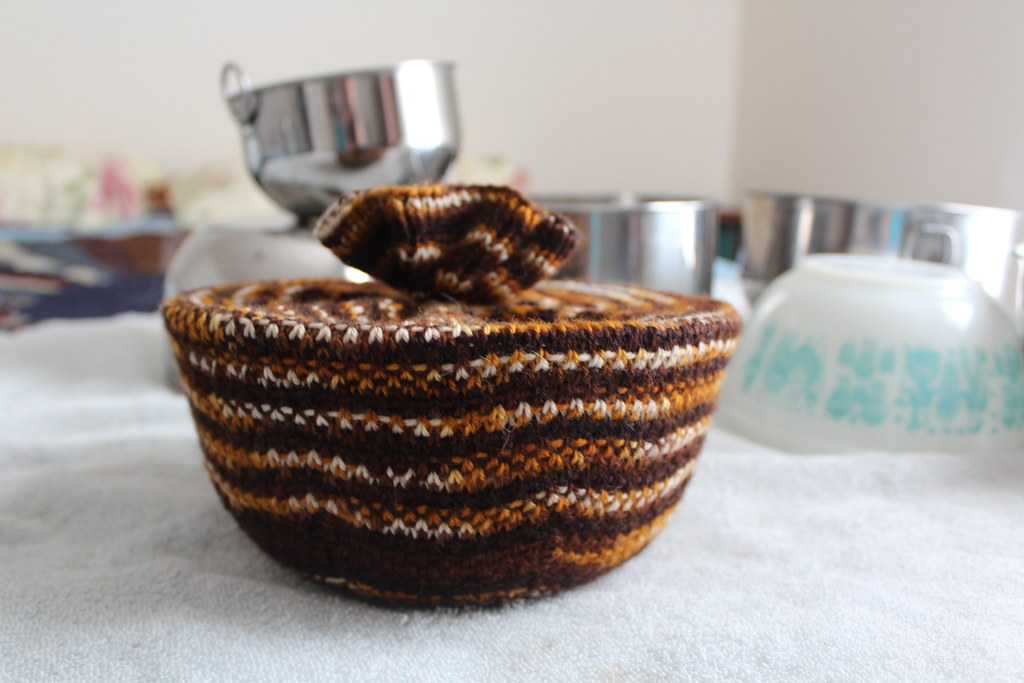
For my hat, I needed some assistance. I needed something larger than a head, because I wanted to block this piece open and stretch things out. I wanted the final hat to have drape and slouch. FYI: I did the same thing with my Triple H!

So I found a bowl that stretched the hat out, but left the ribbing at rest (because I didn’t want to block the ribbing out, I still wanted the ribbon stretchy).
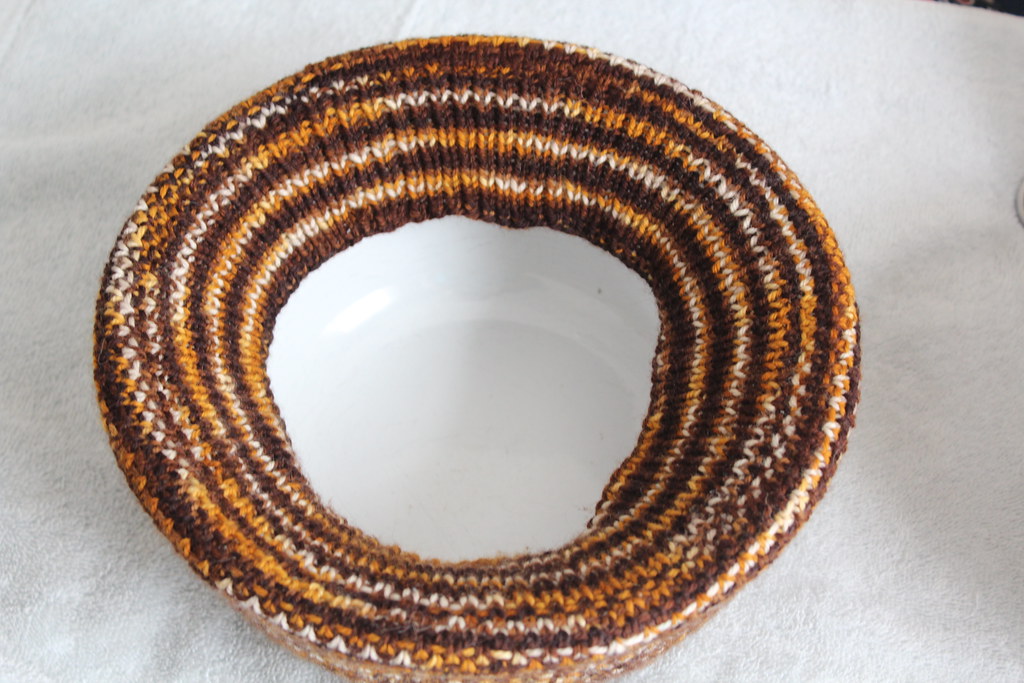
Here’s the hat stretched out over the bowl.
Still, the hat kept shifting out of place, so I figured I needed to take one step further. I pulled the ribbing in, and held it in place with a rubber band. Perfect!
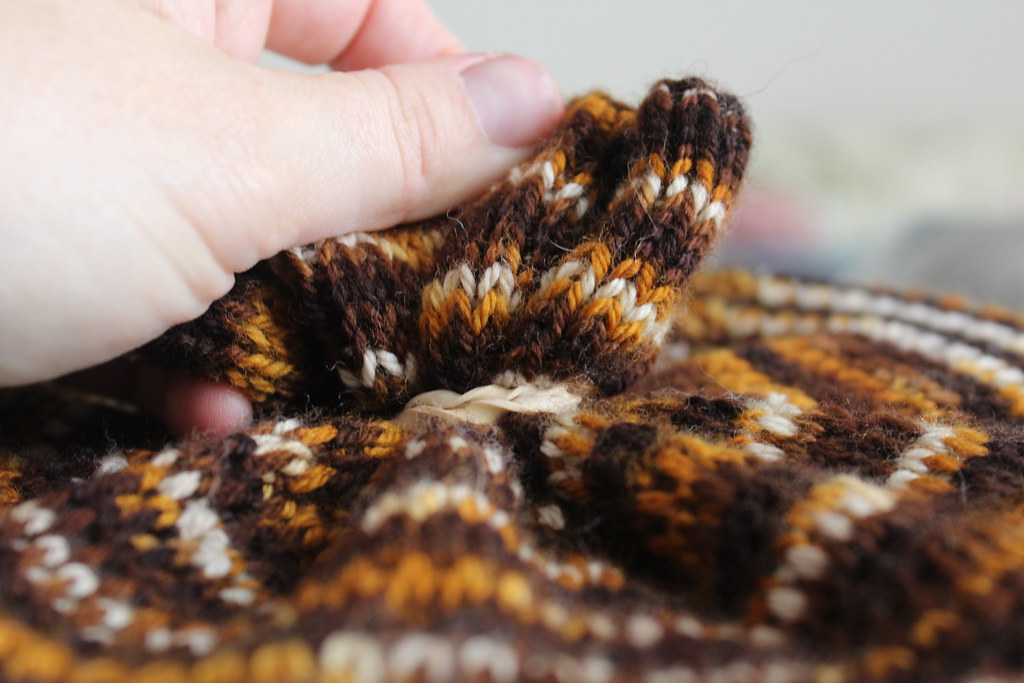
Then I left it to dry.
For something like the Sylva Shawl, I needed to take a bit more extreme measure. This shawl needed the lace to open up quite a bit, and I wanted to give the shawl a particular drape and swish.
So I used pins and blocking wires.
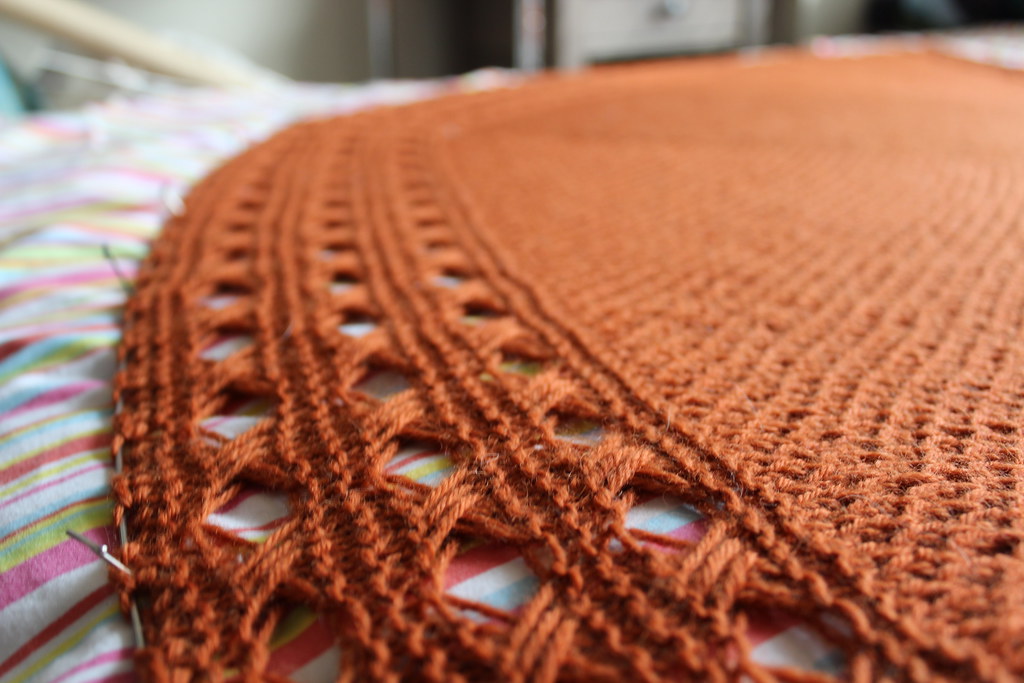
Blocking wires are great because you can bend them a little for a curved shawl like this. See how I threaded the blocking wire through the shawl? The pins are just holding the blocking wire in place.
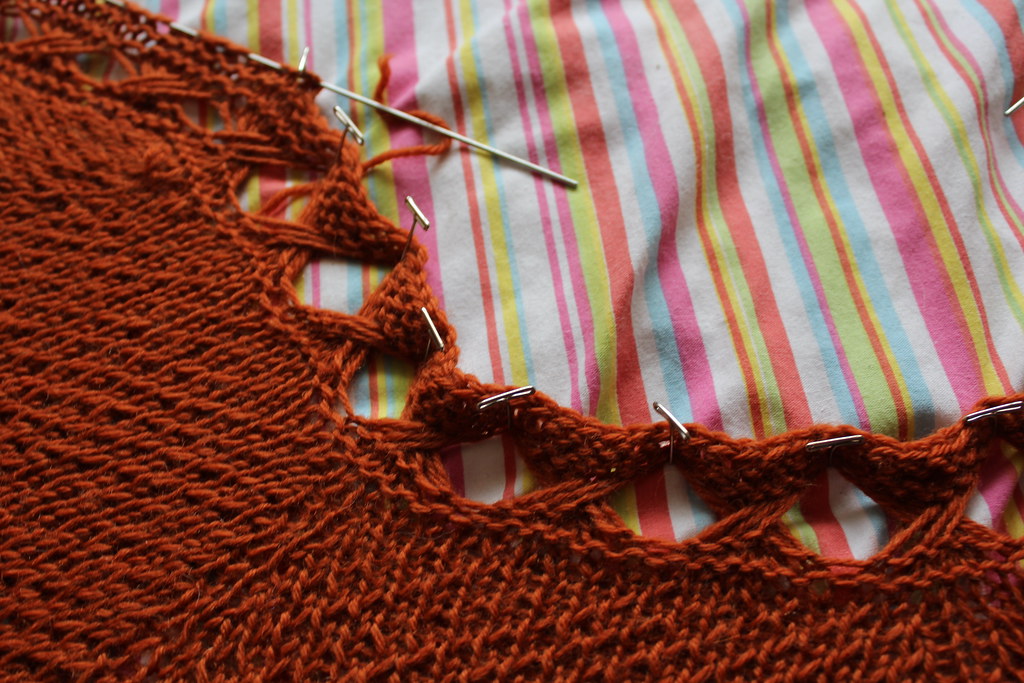
This thing was big enough I didn’t have anything big enough to block it on. So I pinned directly into the mattress. Shhhh! Don’t tell Mr. Turtle!

Sylva Shawl, all blocked out.
